Looking to automate tweets for your personal account or business?
With Crontap & IFTTT it is possible to call your API (or any other API, really) and automatically tweet!
However, parsing the response from the API requires a little bit of scripting. So keep in mind, this article assumes you have at least some basic JavaScript knowledge.
🚨 The Twitter integration on IFTTT requires that you have a Pro
subscription.
Moreover, if you want to connect more than one Twitter account, you will need a
Pro+ subscription.
The Crontap free plan has no limitation on integrations though, so integrate away!
Primer on webhooks
Crontap is capable of integrating with various services via webhooks.
Webhooks are the digital messengers that deliver real-time updates and data between applications, enabling seamless integration and automation. With webhooks, you can streamline processes, trigger custom actions, and revolutionize the way applications communicate and collaborate.
Still curios? Check out this in-depth article on webhooks.
Short intro
In this guide, we will be sending out a tweet hunted.space every day at 10:00 PM & 18:00 PM.
The tweet will looks something like this:
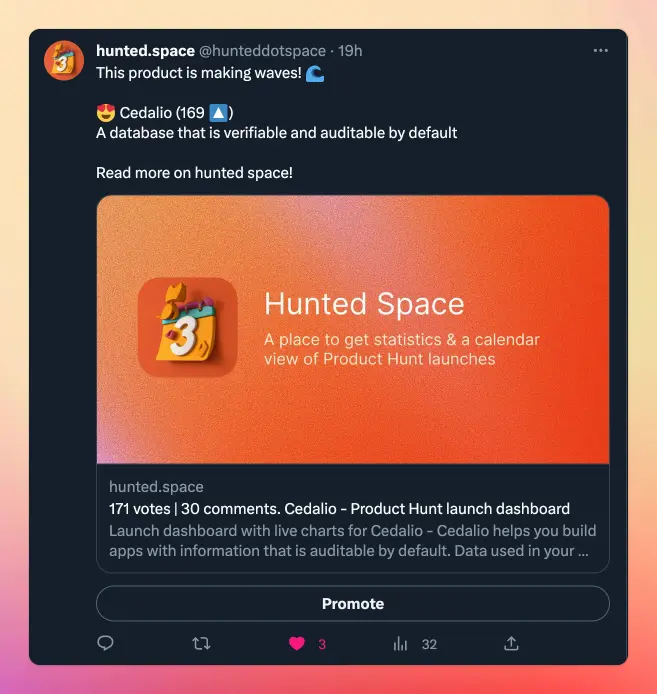
We're going to use the Hunted Space API to fetch the latest hunted products.
However, this will work with any API that returns JSON data + any twitter account.
The only difference is in formatting the tweet, which is done via an IFTTT script.
Preparing IFTTT
Sign in to your IFTTT account and create a new applet, then
-
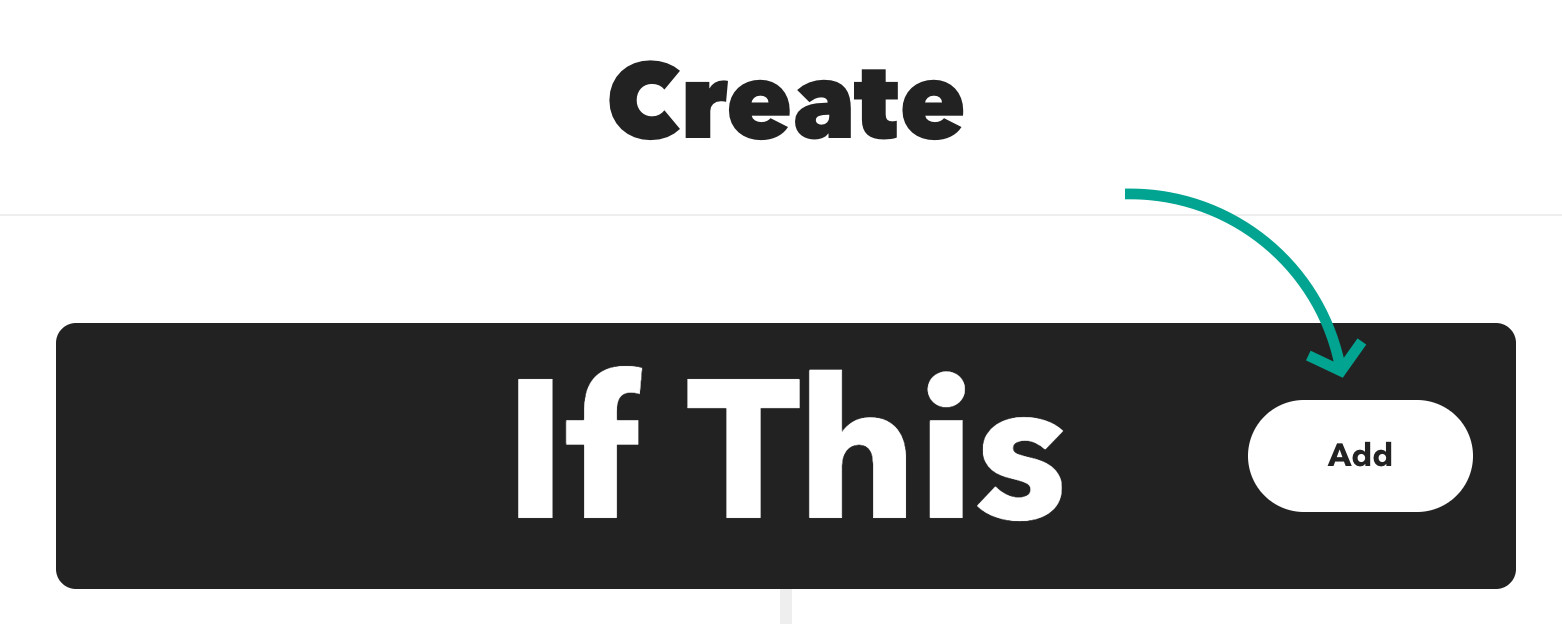
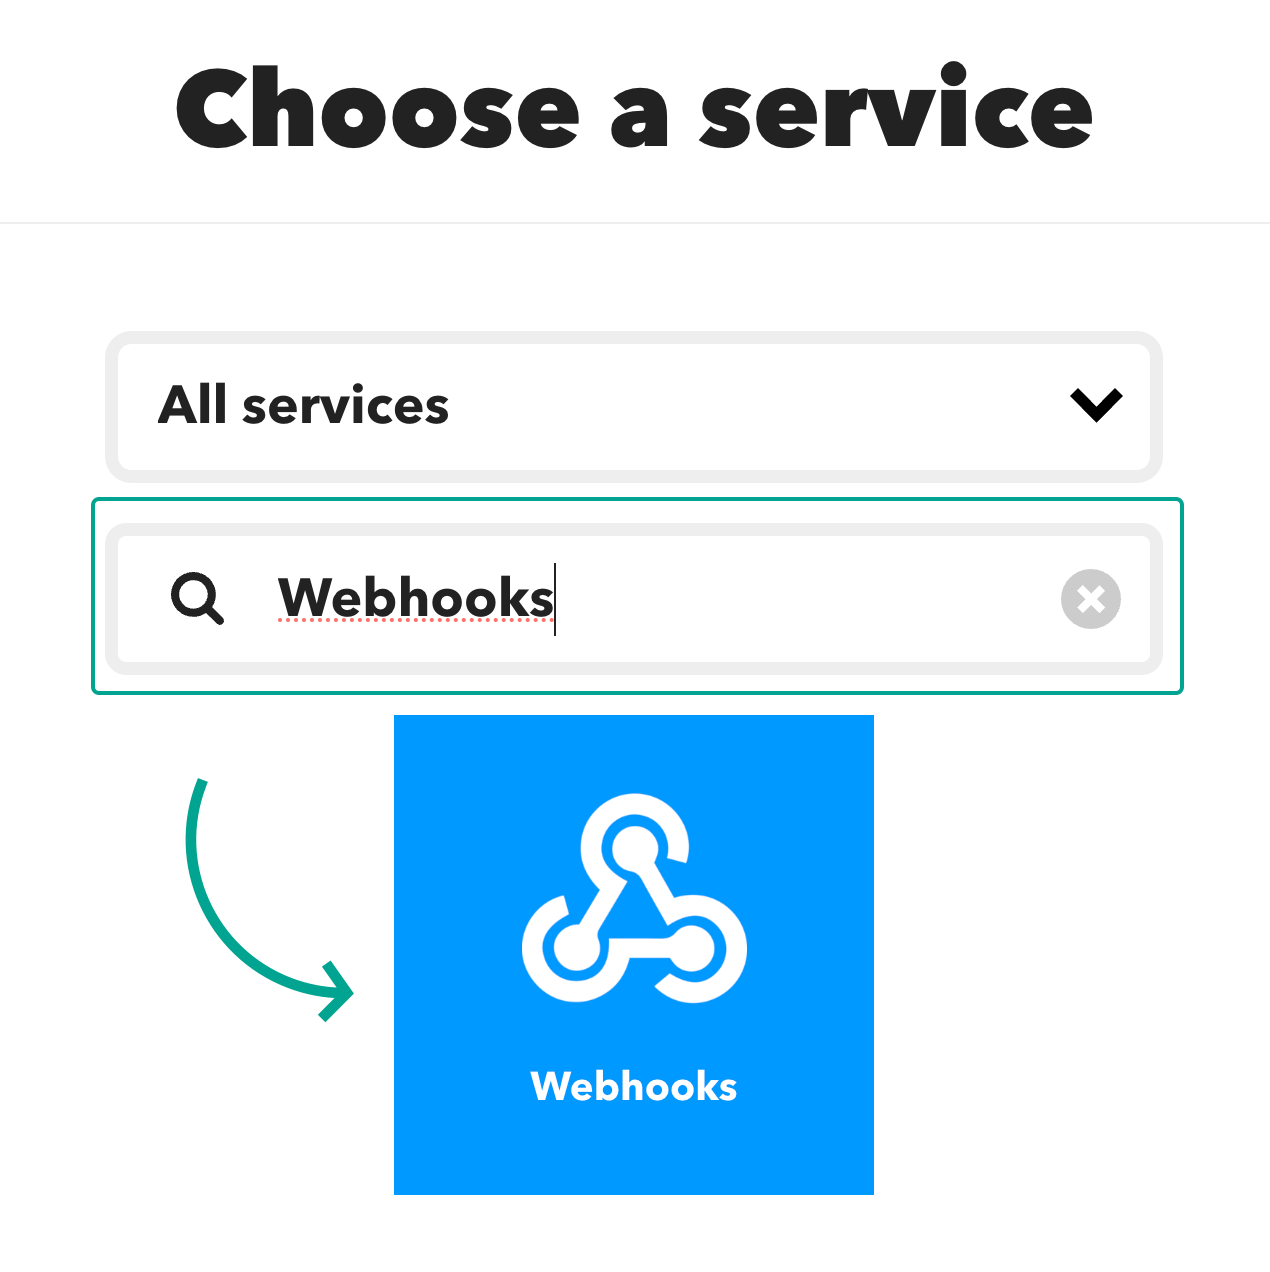
In the "If this" section press "Add", then
- search for the "Webhooks" service
- and select it
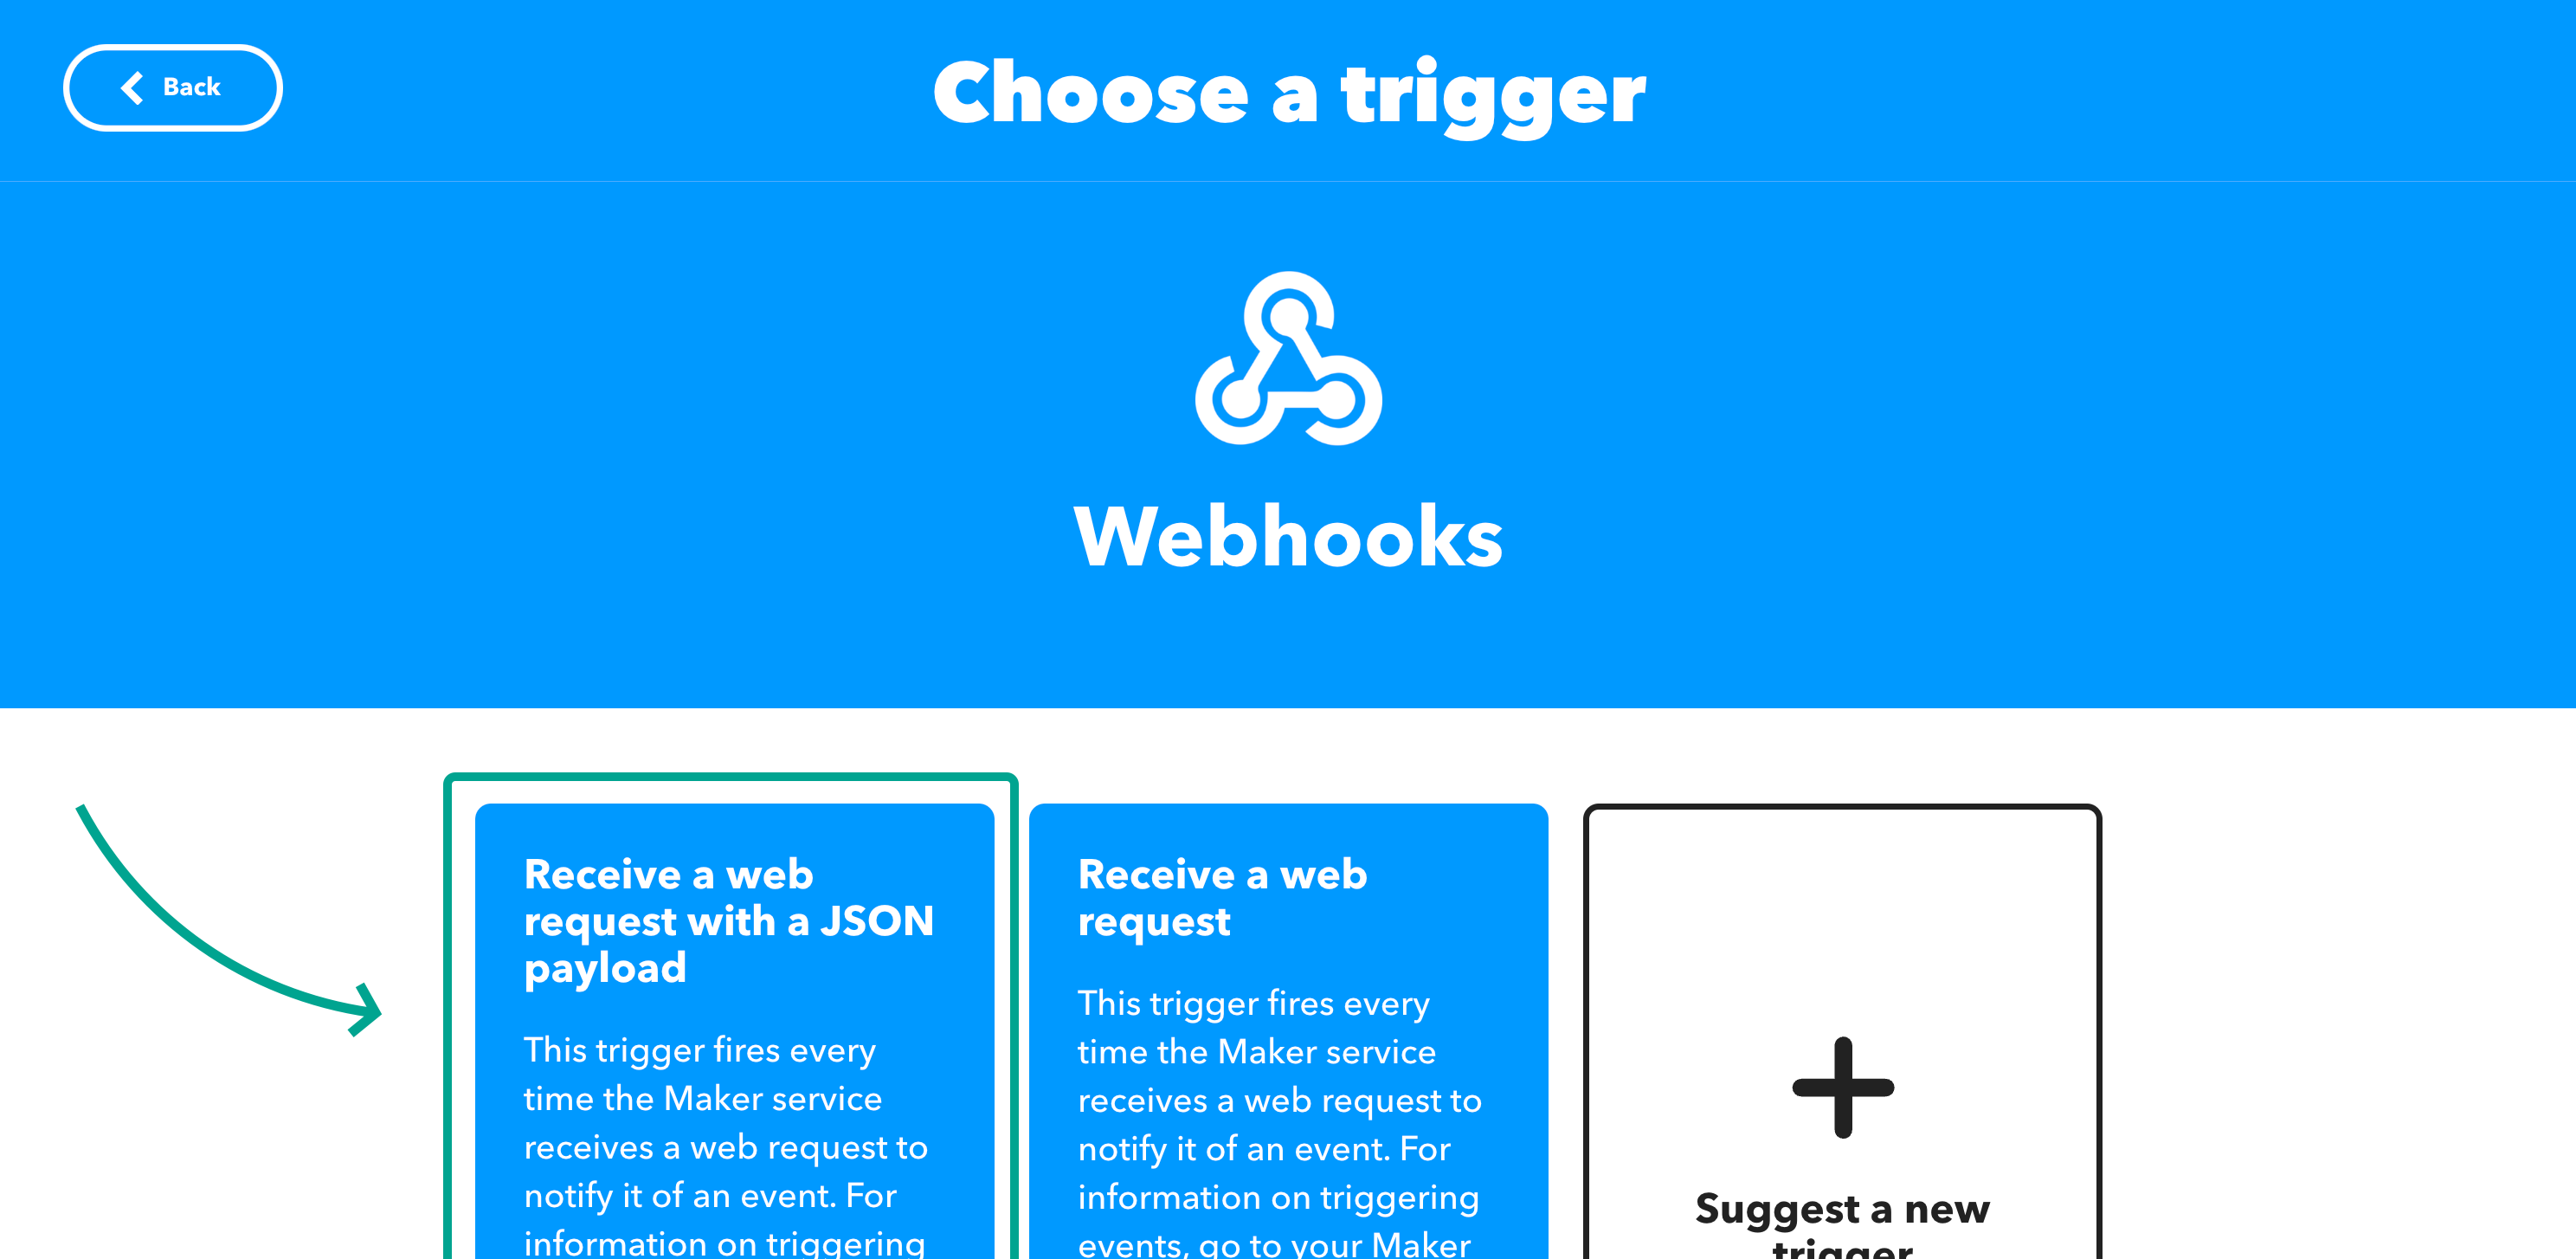
-
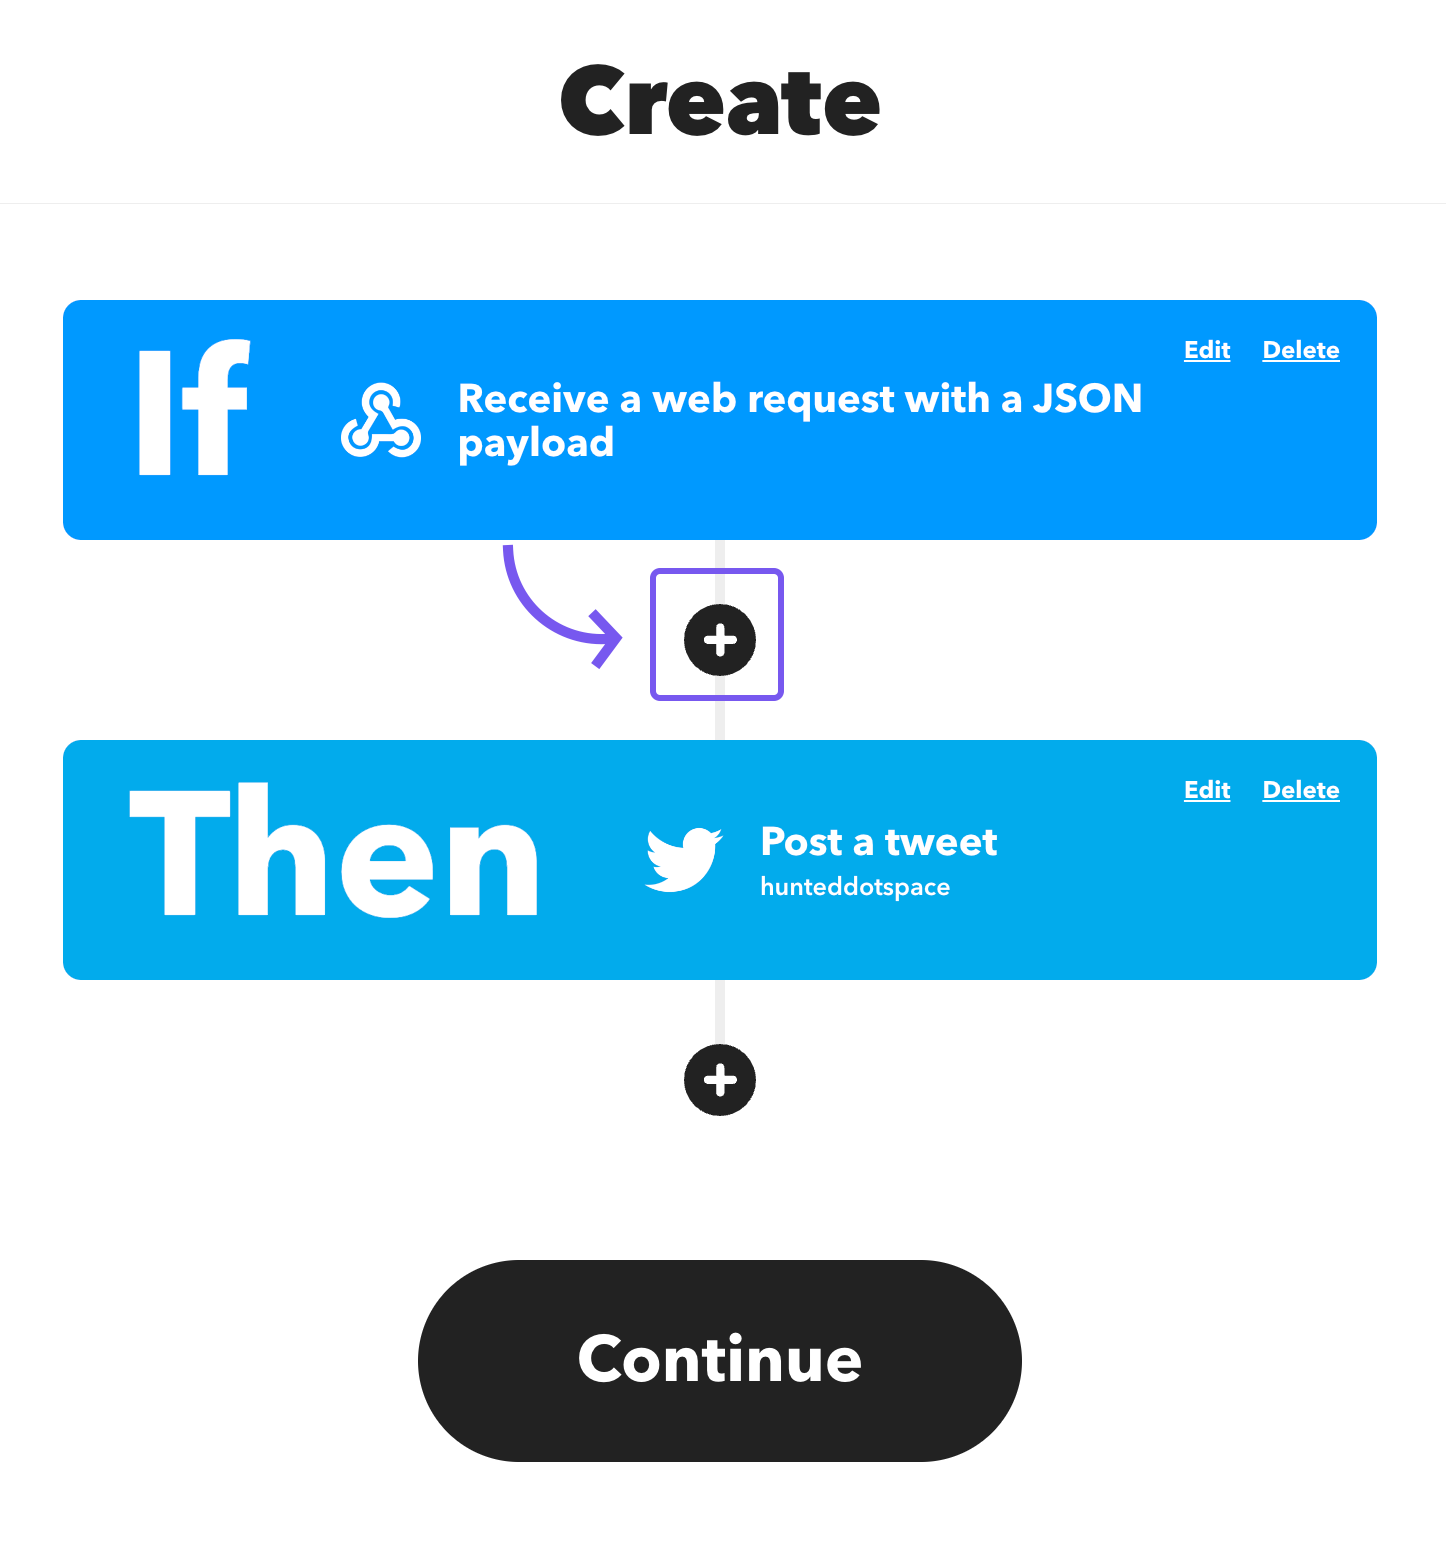
Select the Received a web request with a JSON payload trigger.
-
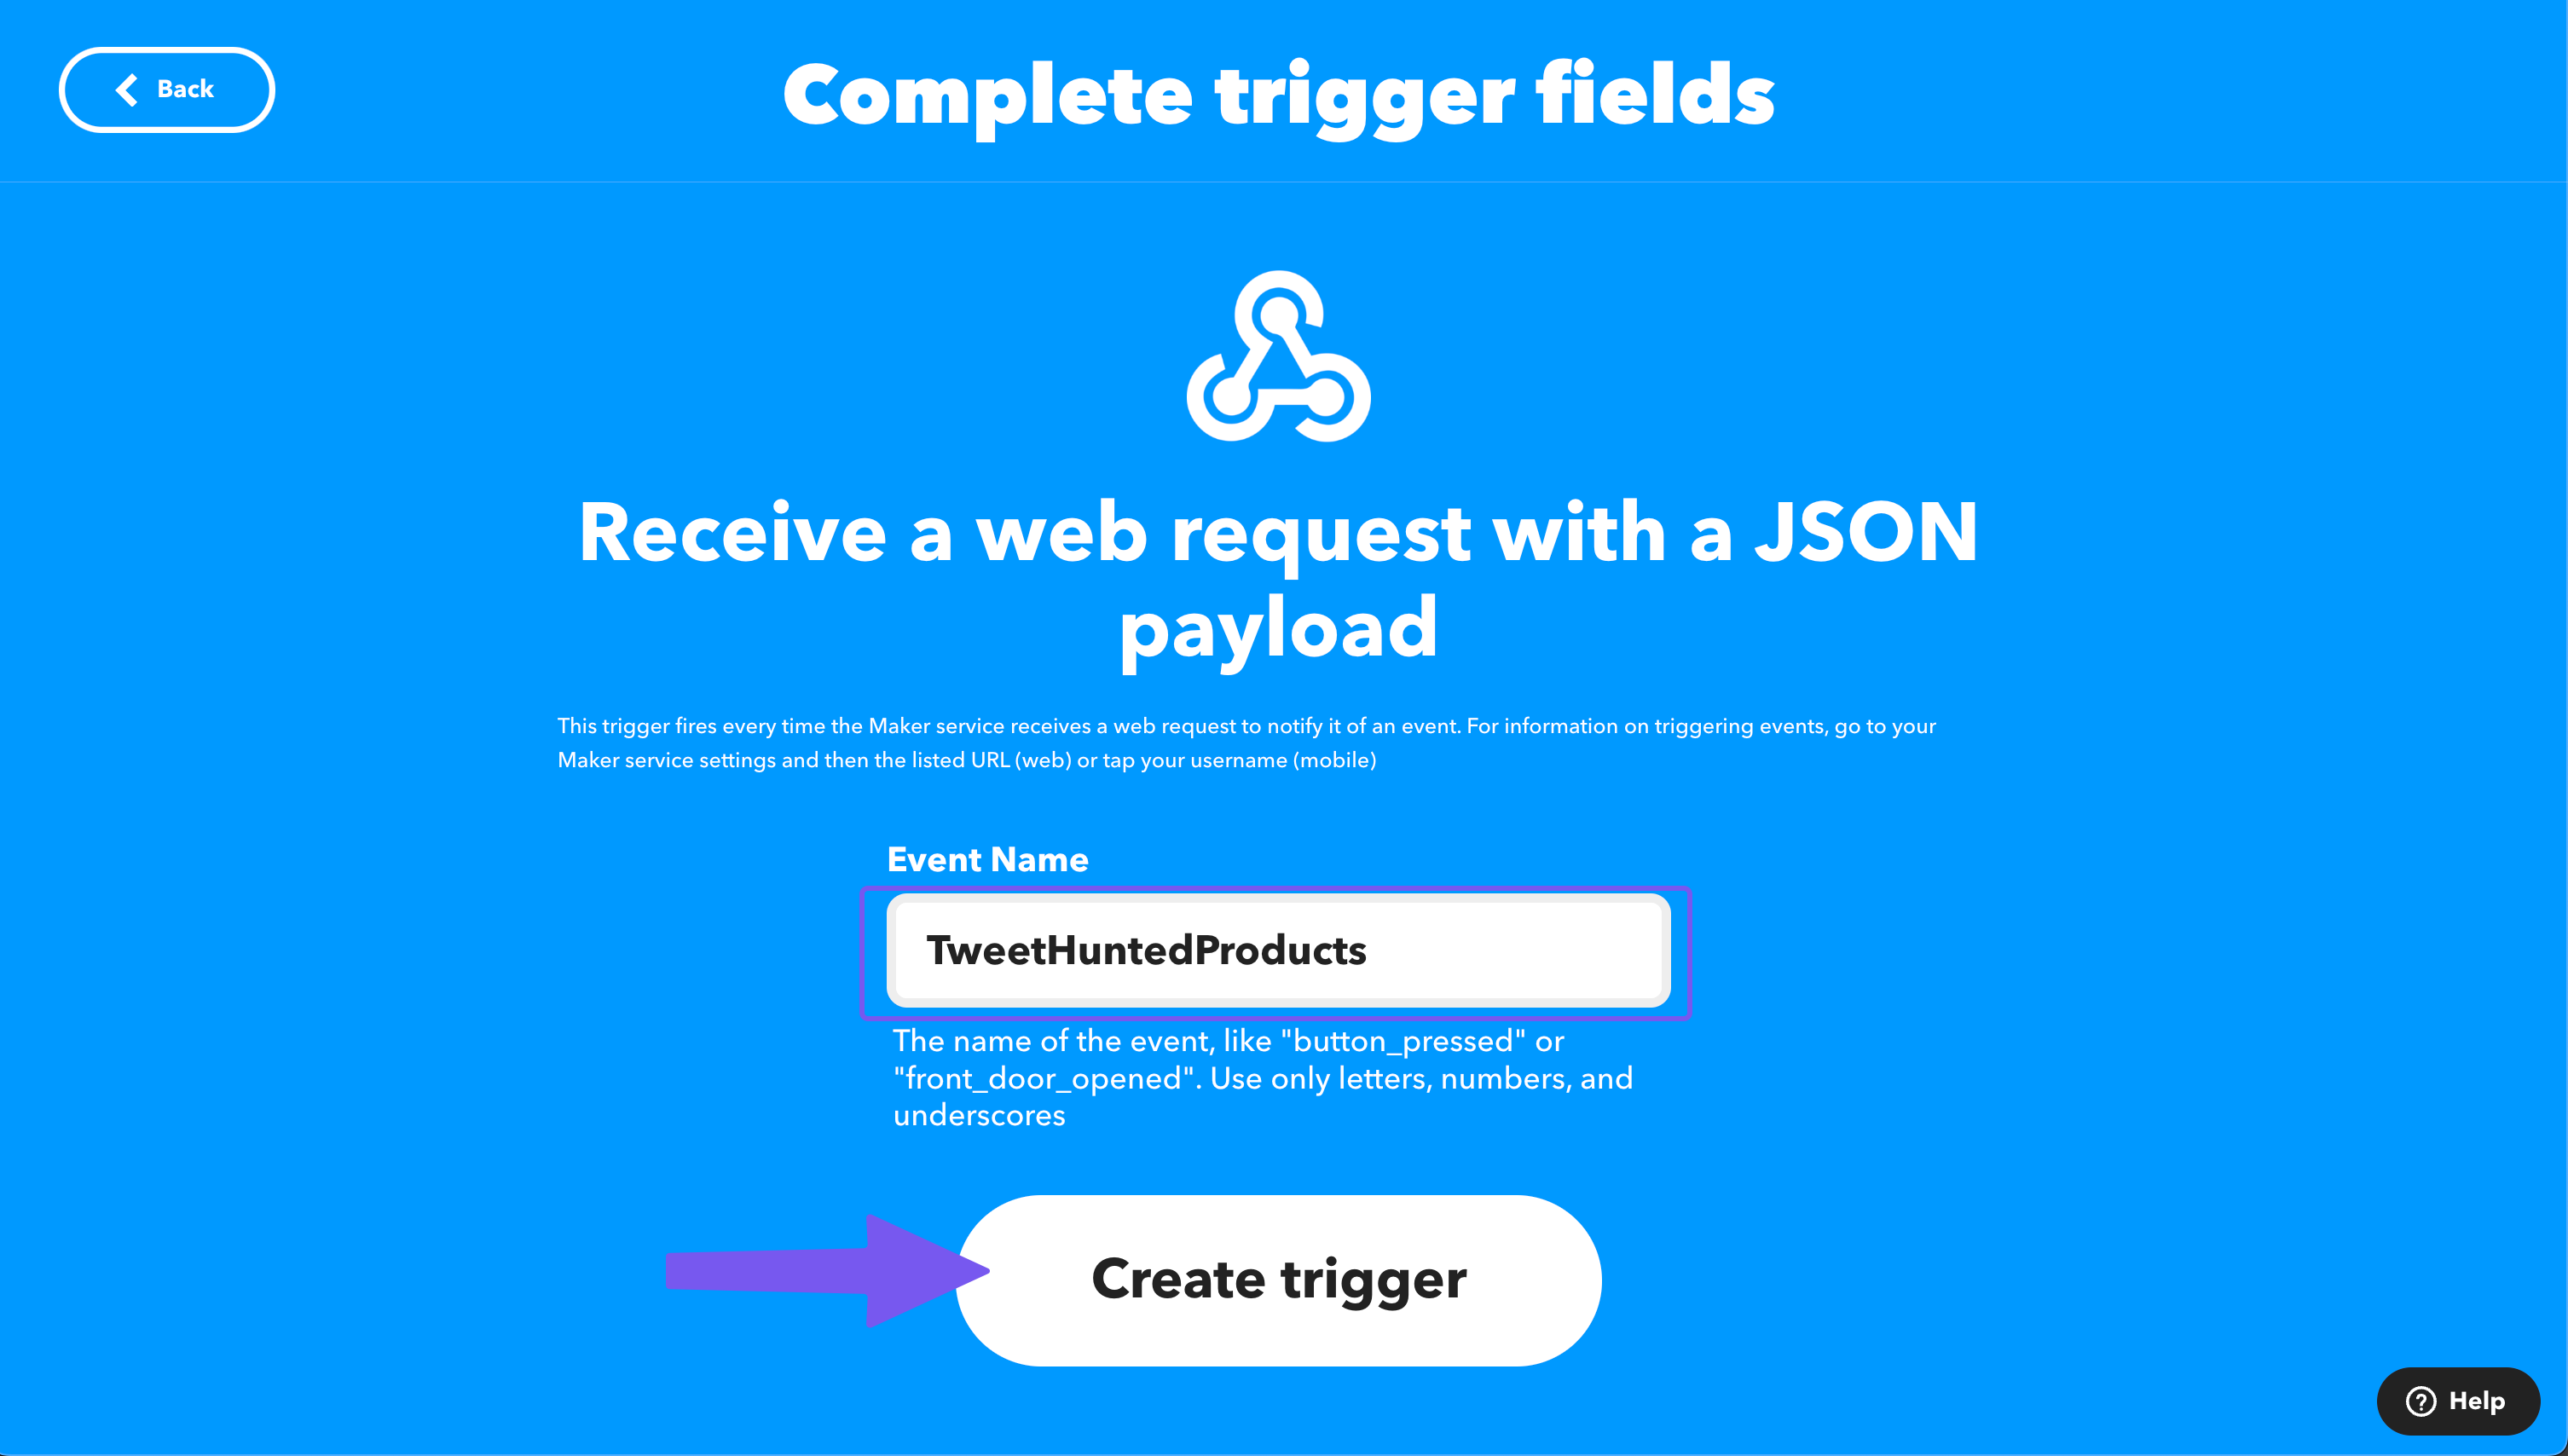
Give it a name e.g. "TweetHuntedProducts".
- avoid spaces and special characters
- keep this name handy, we will need it later
-
Press Create Trigger
-
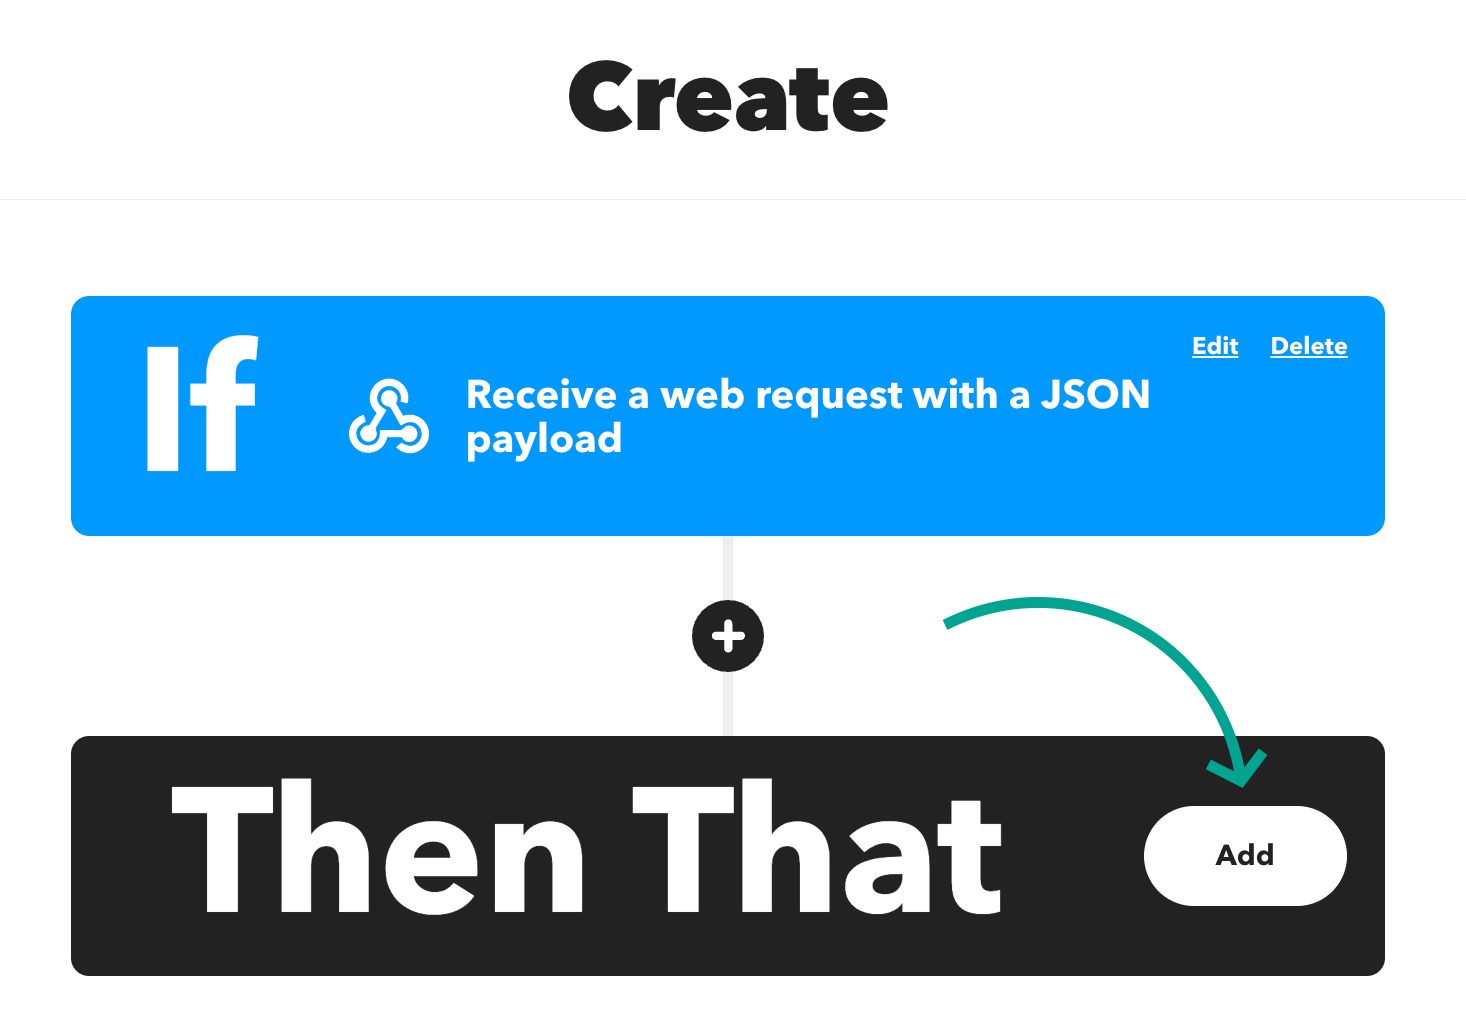
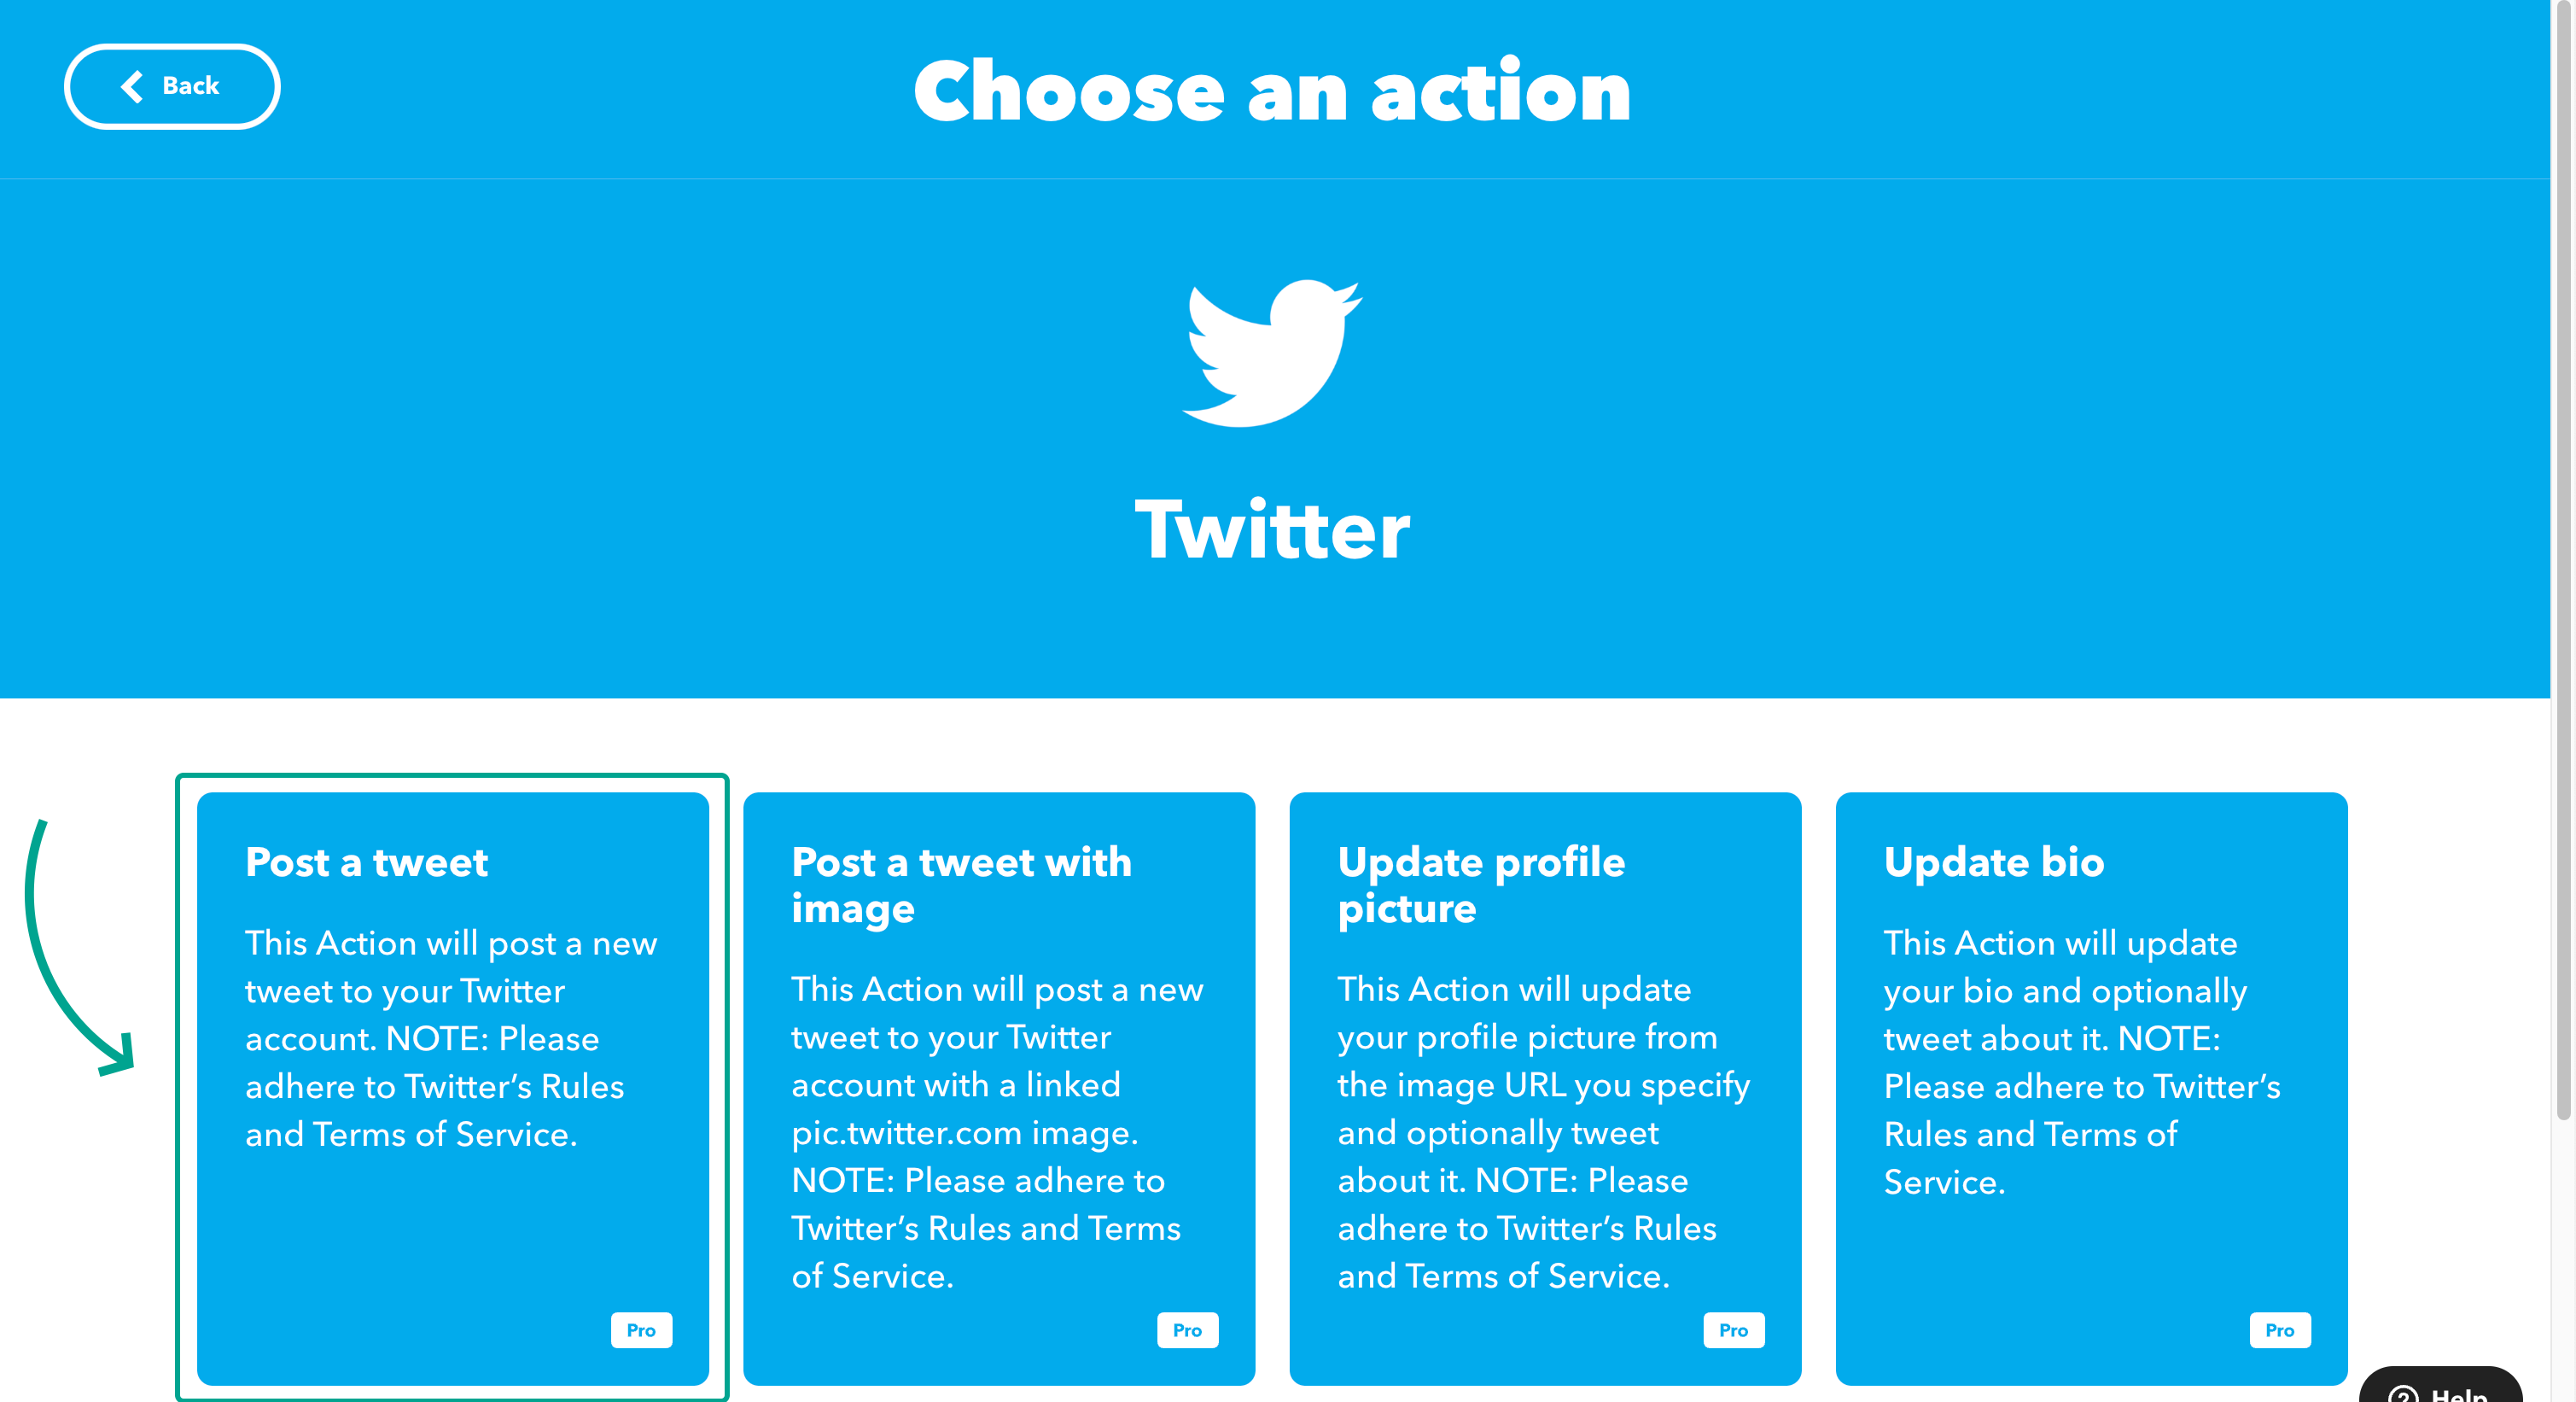
In the "Then that" section press "Add", then
- search for the "Twitter" service
- and select it
-
Select the Post a tweet action.
- Connect your Twitter account or select an existing one.
- Press Create action.

Leave the default tweet text as is, we will be overriding it with our own text in the next section.
Those are all the actions we need to do on IFTTT. Now we need to add the script that will parse the JSON data from the API and create the tweet.
Parsing data on IFTTT using "Filter code"
Now we'll need to take the data that Crontap will send us and parse it into a tweet. To do that:
- press the round plus icon button in between the "If" and "Then" sections.
-
press on the "Filter code" option.
- you'll be taken to the code editor
-
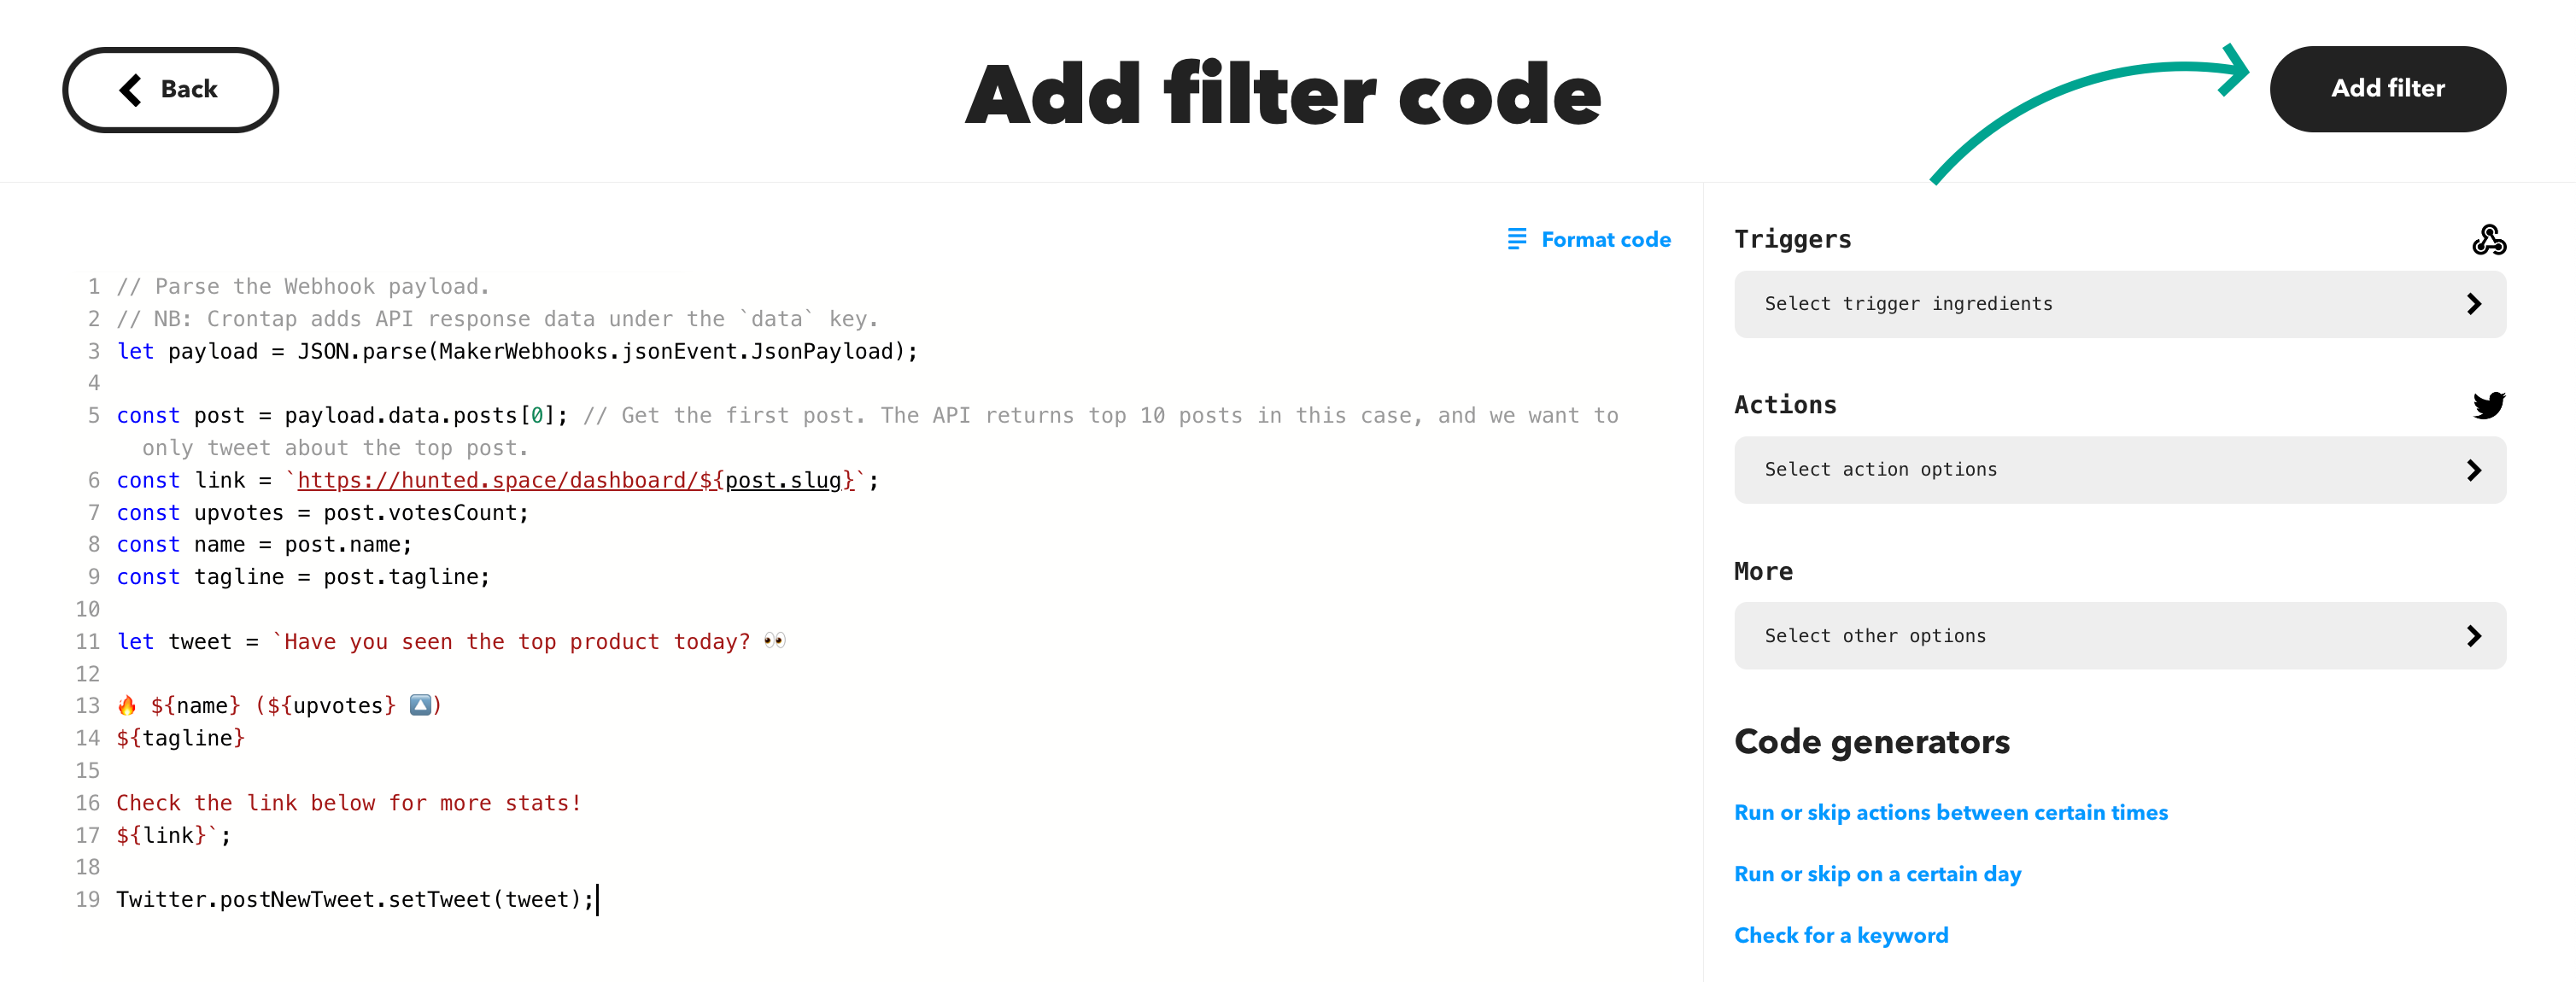
add the code that parses the response and creates the tweet
-
in general, you can get the response data by accessing the
datavariable.let payload = JSON.parse(MakerWebhooks.jsonEvent.JsonPayload); -
then, you need to format your tweet and set it like this:
Twitter.postNewTweet.setTweet('...');
-
-
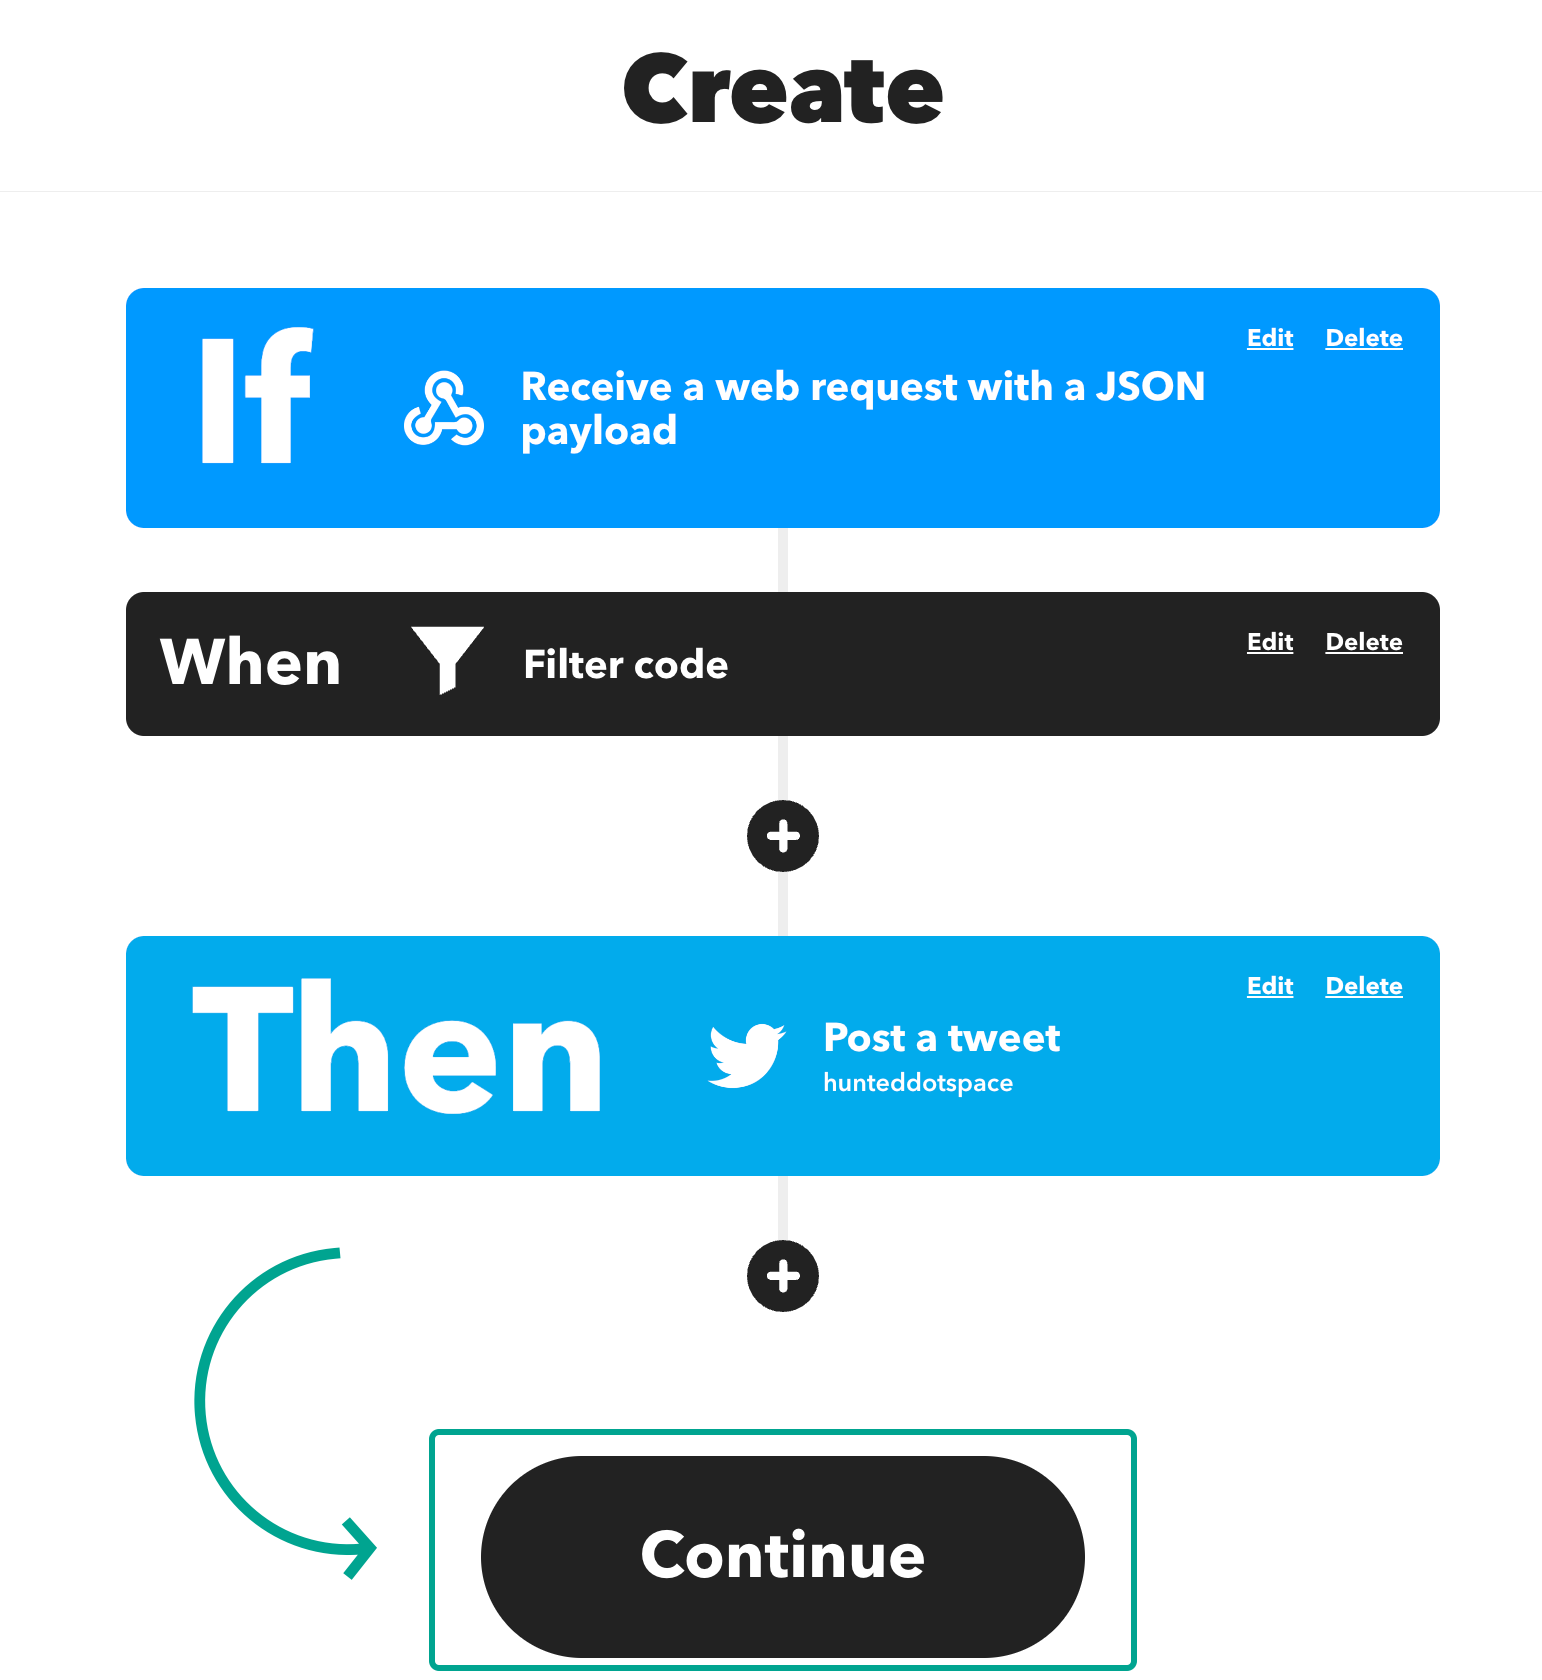
Press Add filter.
-
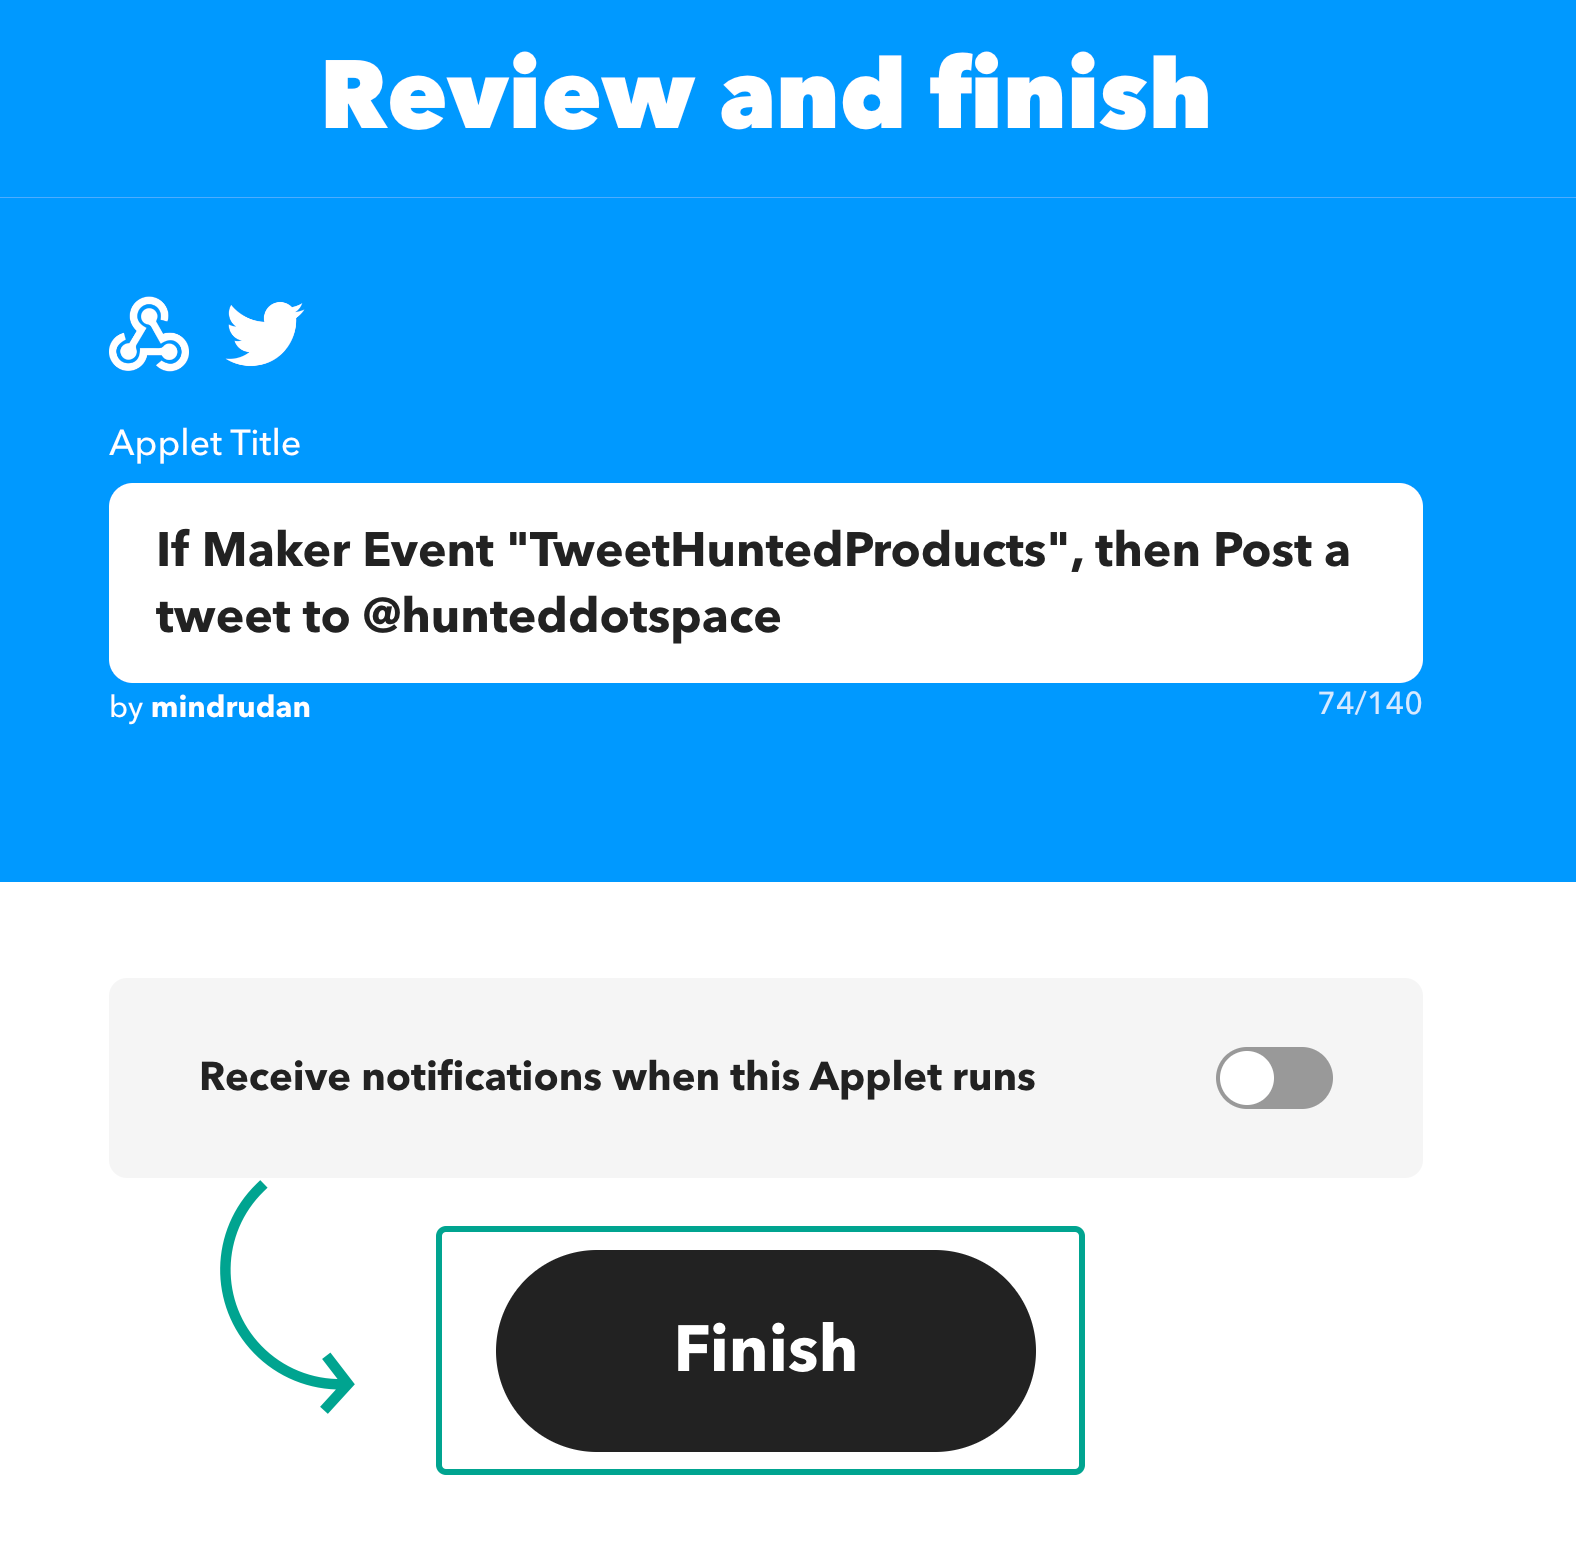
Press Continue.
-
Press Finish (feel free to change the title of the applet).
😅 Phew! That was the hard part.
Now we only need to get the IFTTT webhook URL and then jump to Crontap. That's
going to be a lot easier to set up!
Getting your IFTTT webhook URL
Before we switch to Crontap, we need to grab your webhook URL.
To do that got to the webhook integrations page here: https://ifttt.com/maker_webhooks.
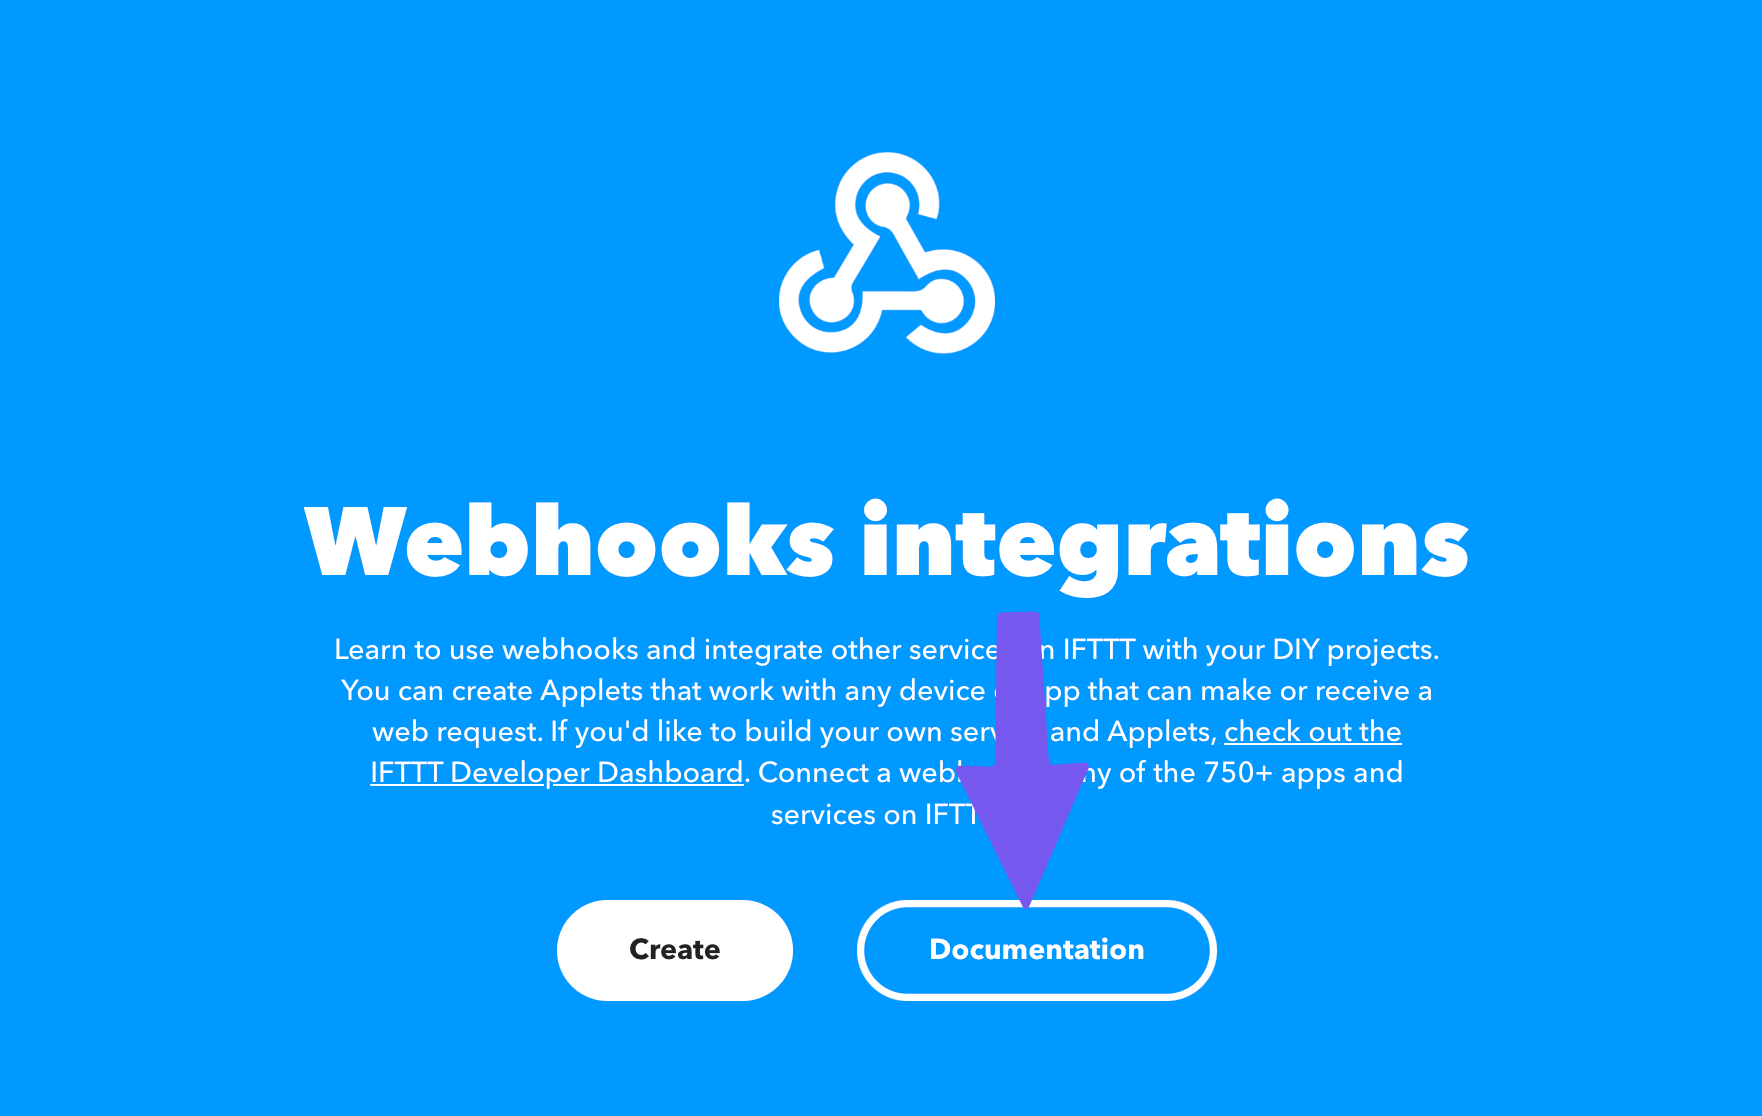
-
Press on the Documentation button.
-
On this page, you will find your webhook URL. Replace the
{event}part with the name you gave your webhook in step 3 (e.g.TweetHuntedProducts).
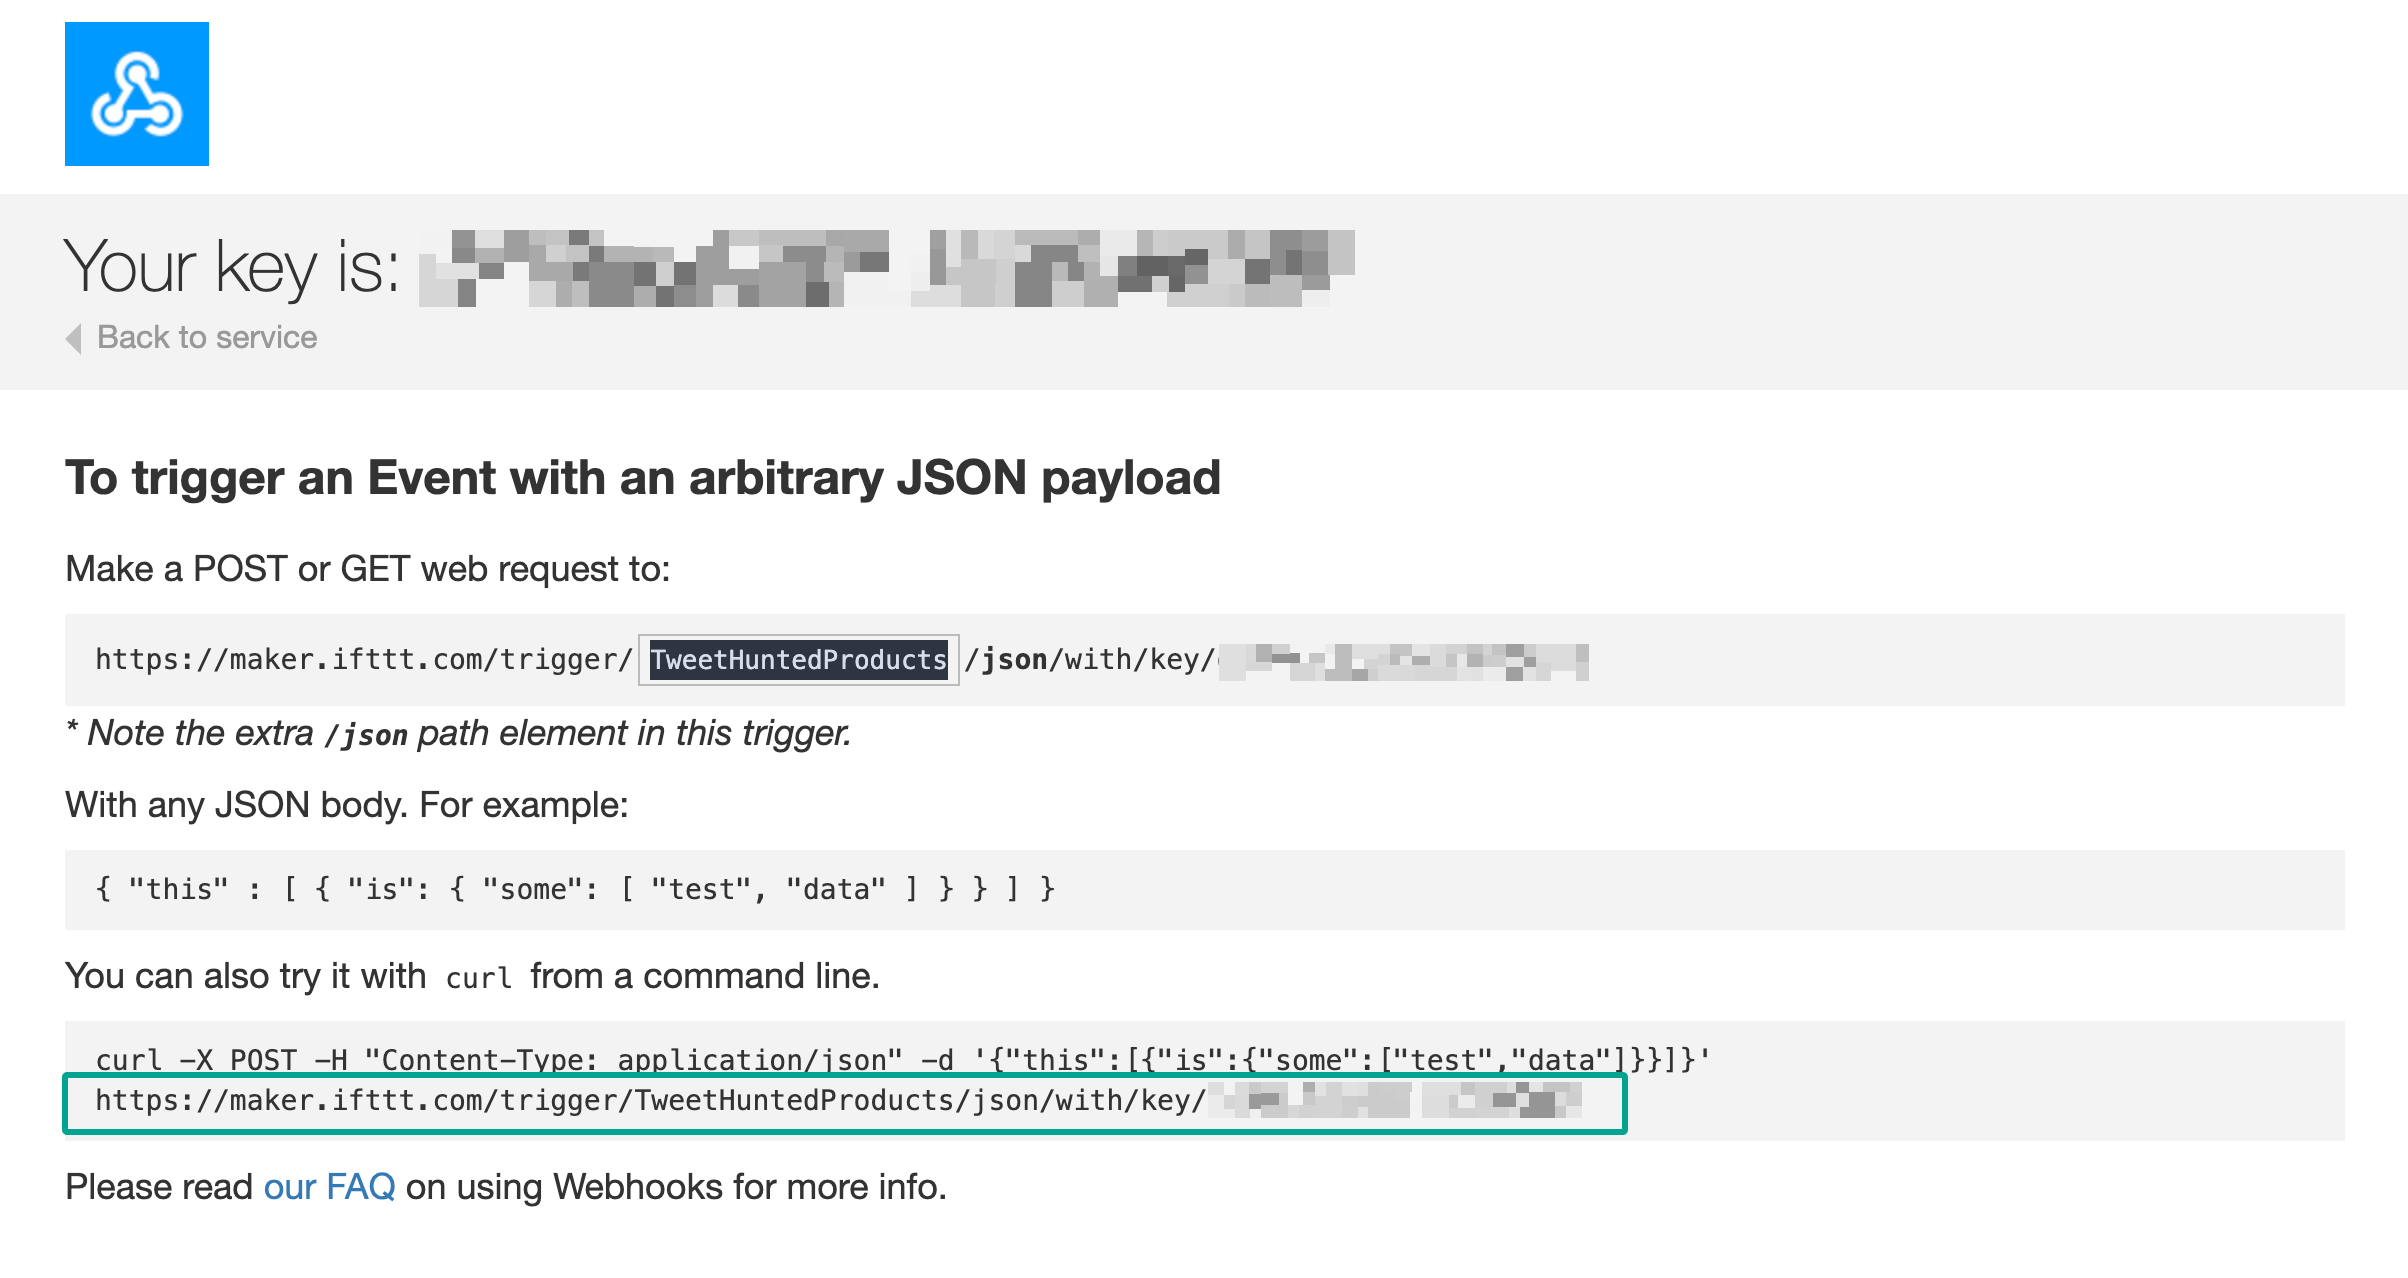
Copy the URL as highlighted above and keep it handy, we will paste that shortly in the Crontap integration section.
Setting up with a schedule in Crontap
Start by creating a new schedule in Crontap.
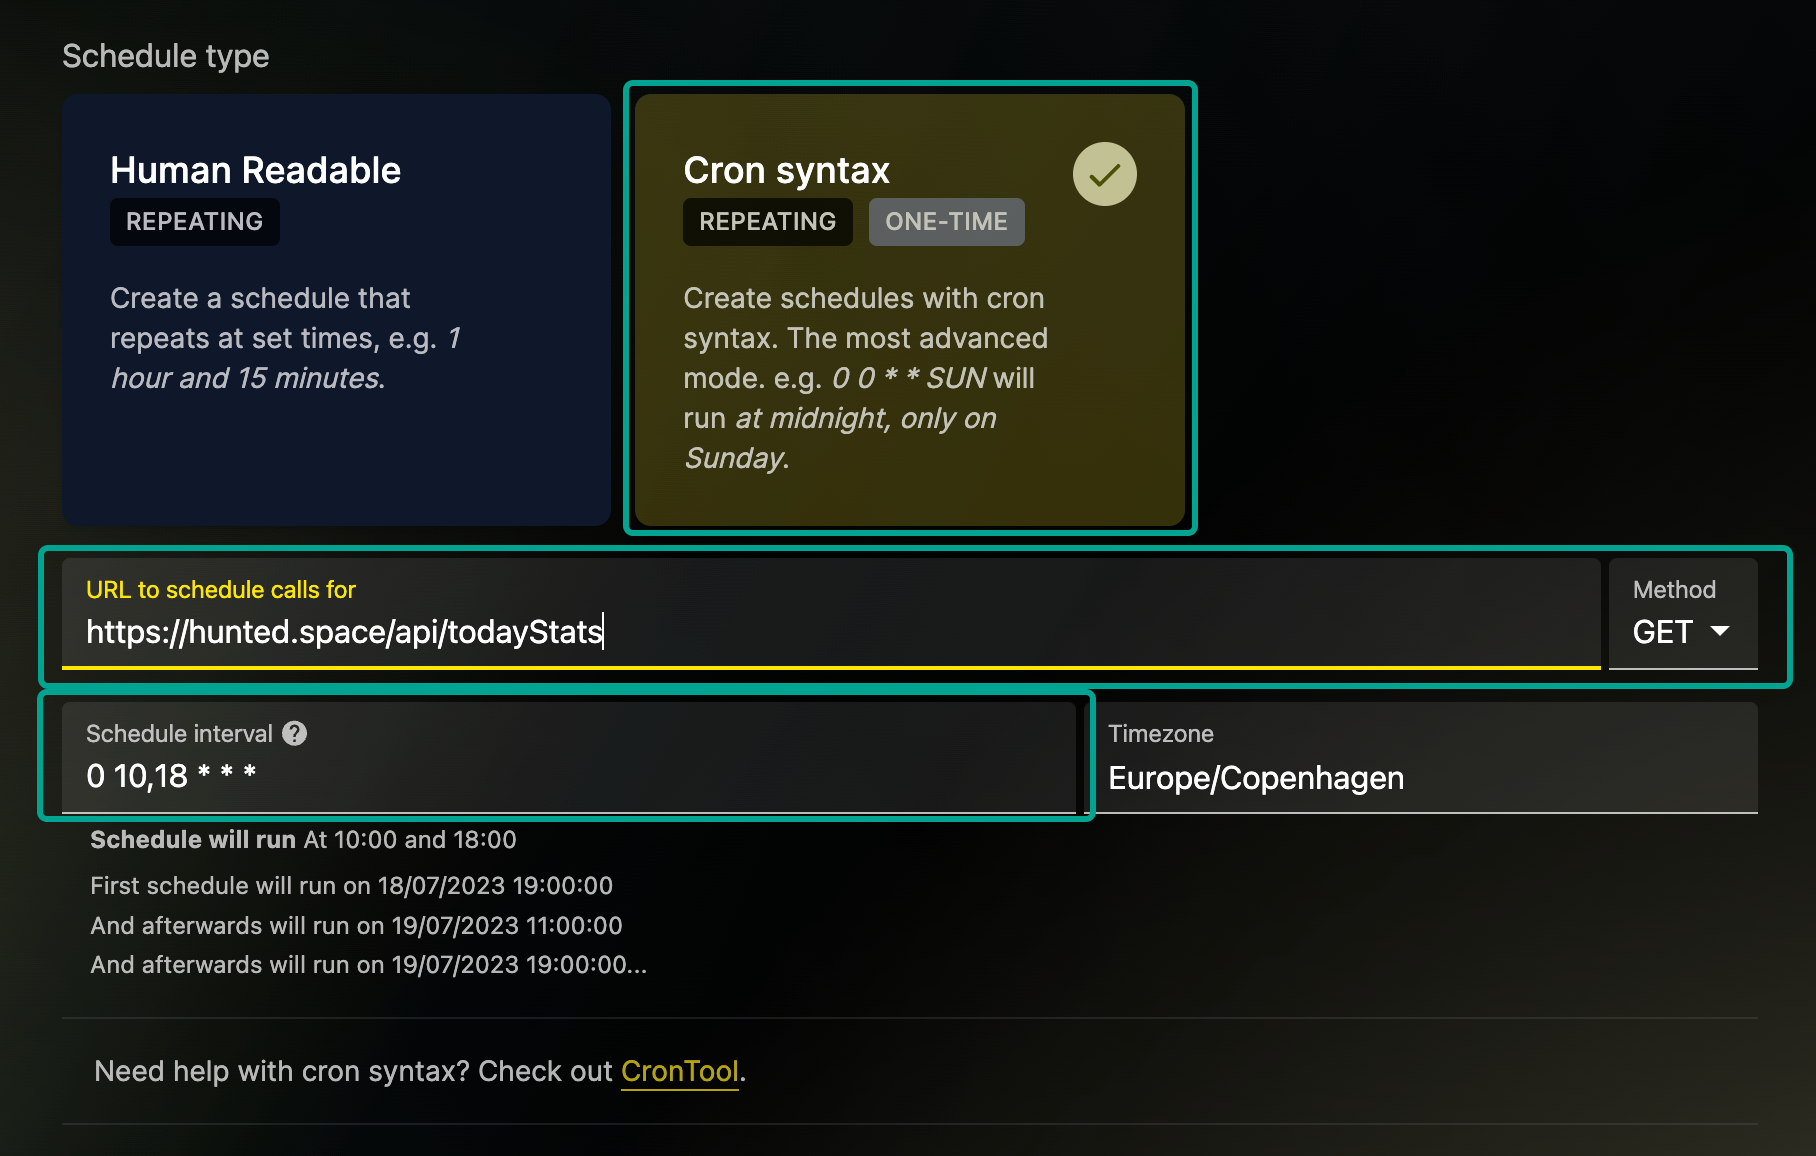
- Select the "Cron Syntax" schedule type.
- As the url, add the API endpoint you want to call. In our case, it is
https://api.hunted.space/todayStats. - Set the schedule interval to
0 10,18 * * *(this will run the schedule every day at 10:00 PM & 18:00 PM).
Scroll down to the last section called Integrations.

- Press the Add Integration button.
- Paste the webhook URL you copied from IFTTT ealier into Webhook URL field.
- Enable the Call on success option.
- Press Save integrations.

- Press Create schedule.
That's it! 🎉
You have successfully configured your IFTTT integration with Crontap.
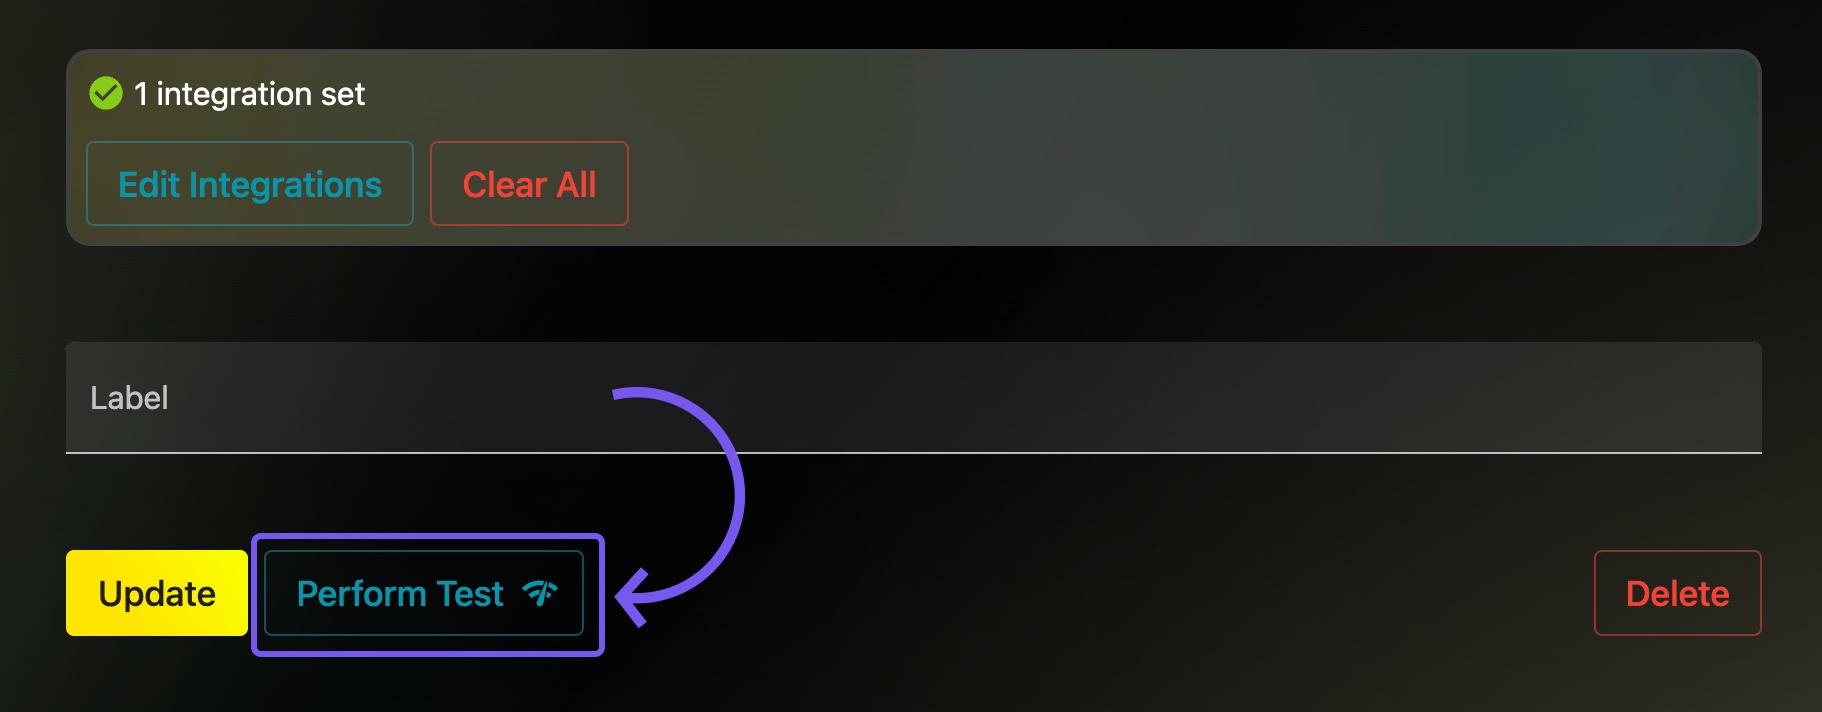
If you'd like to test your integration, you can press on Perform test in Crontap and see if the tweet was sent out.
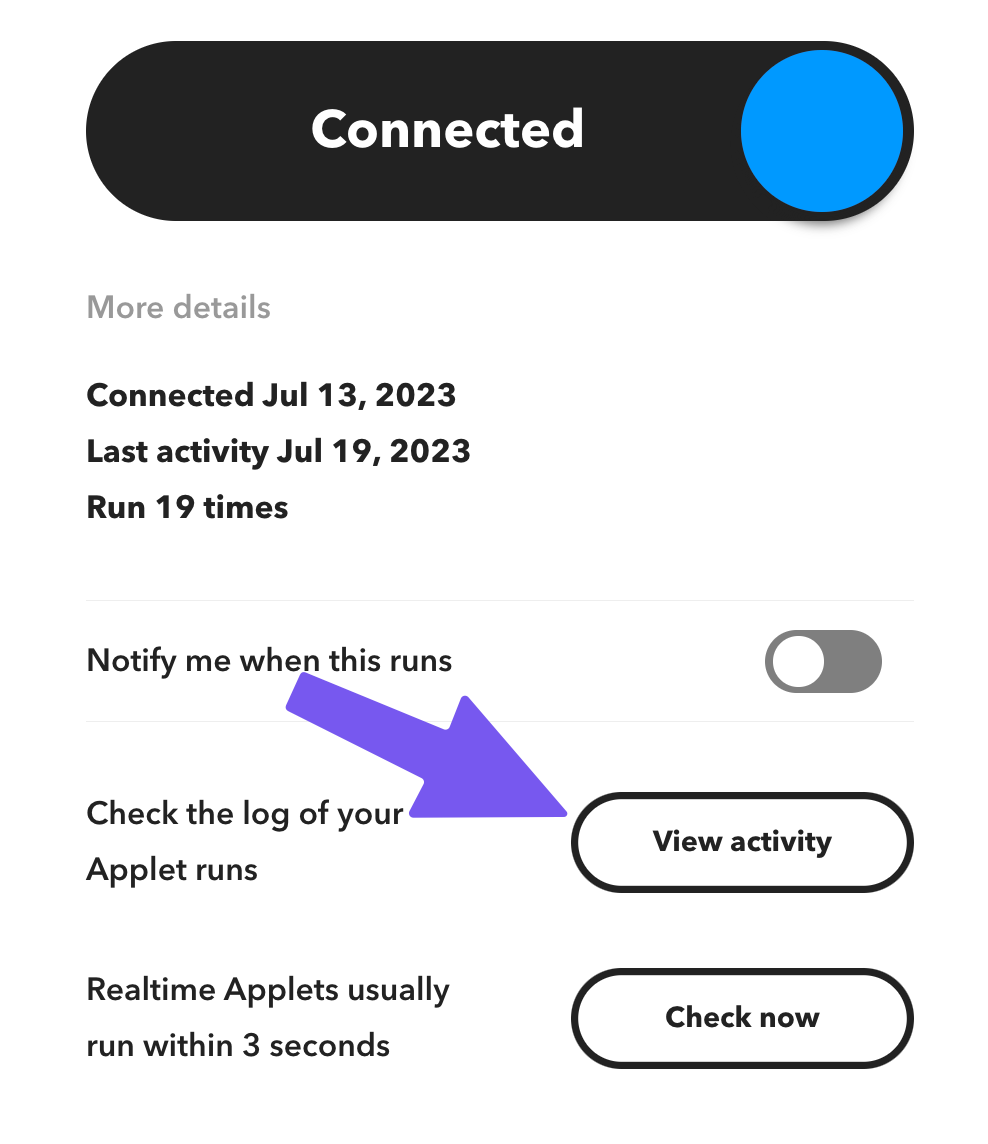
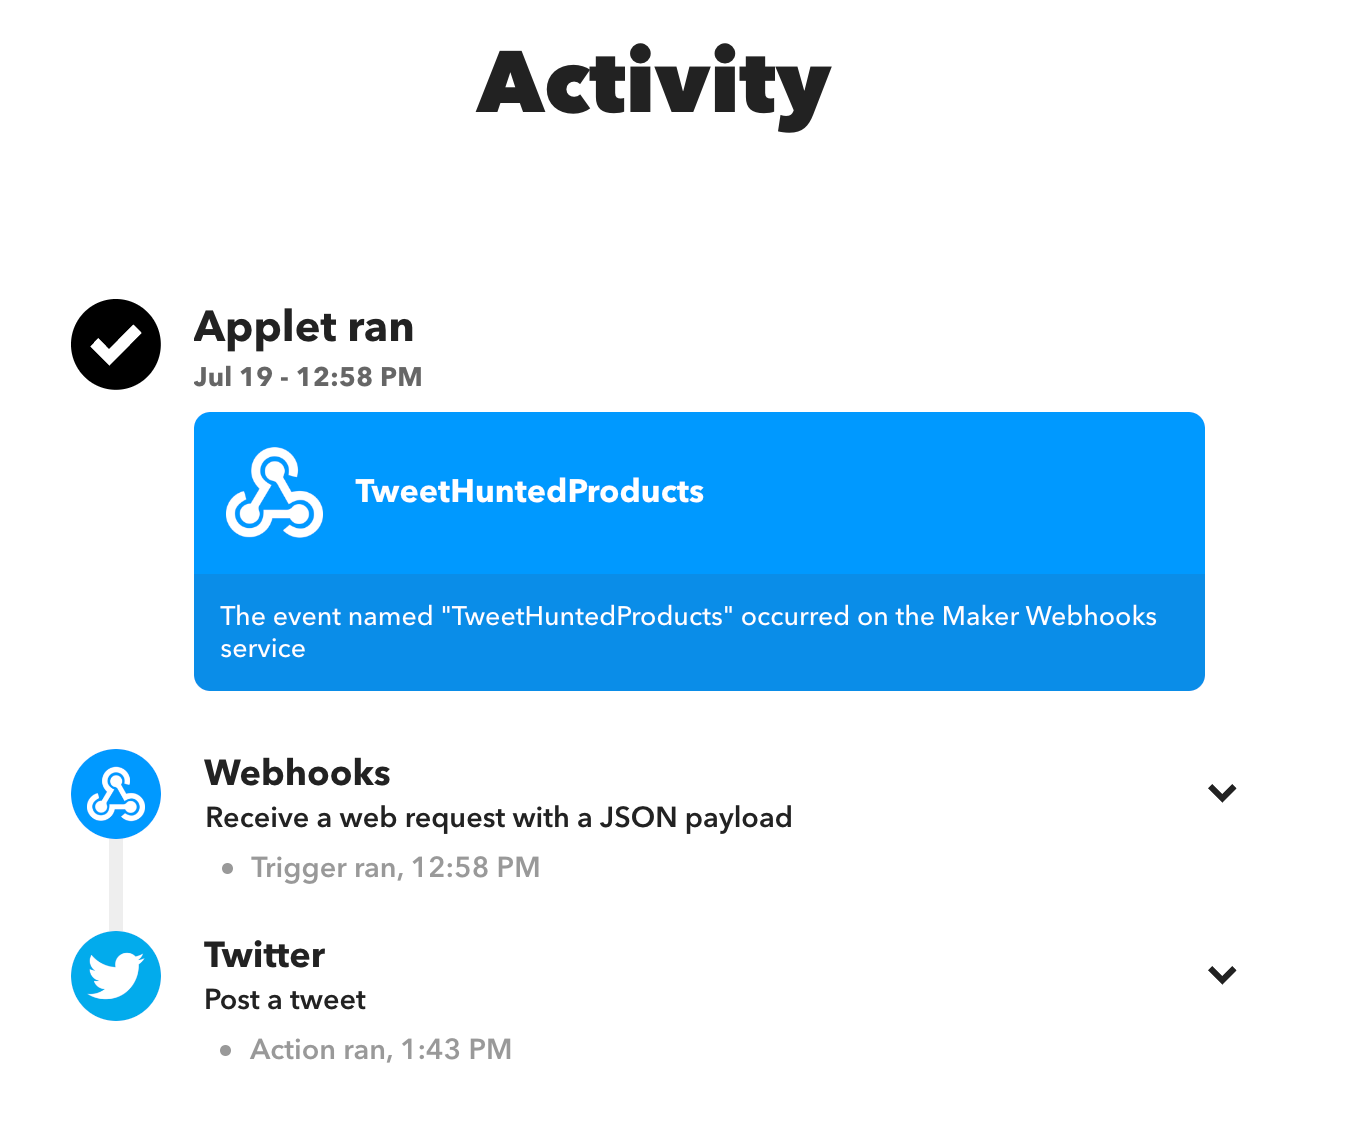
If you can't see the tweet, but the test was successful, check your IFTTT activity feed for more information. To do that, find your applet and press on the Activity button.