Zapier allows communicating with more than 5000+ apps and services, including Teams, Slack, Telegram, Gmail, Discord, and more. If a schedule fails or succeeds, you'll be able to send a notification to any of these services.
Primer on webhooks
Crontap is capable of integrating with various services via webhooks.
Webhooks are the digital messengers that deliver real-time updates and data between applications, enabling seamless integration and automation. With webhooks, you can streamline processes, trigger custom actions, and revolutionize the way applications communicate and collaborate.
Still curios? Check out this in-depth article on webhooks.
Getting started
Sign in to the zapier.com and create a new Zap. Search for the Webhooks by Zapier app as a trigger.
-
Select Catch Hook as a trigger event.
- Then press Continue.
-
Press continue again (no trigger configuration is needed).
-
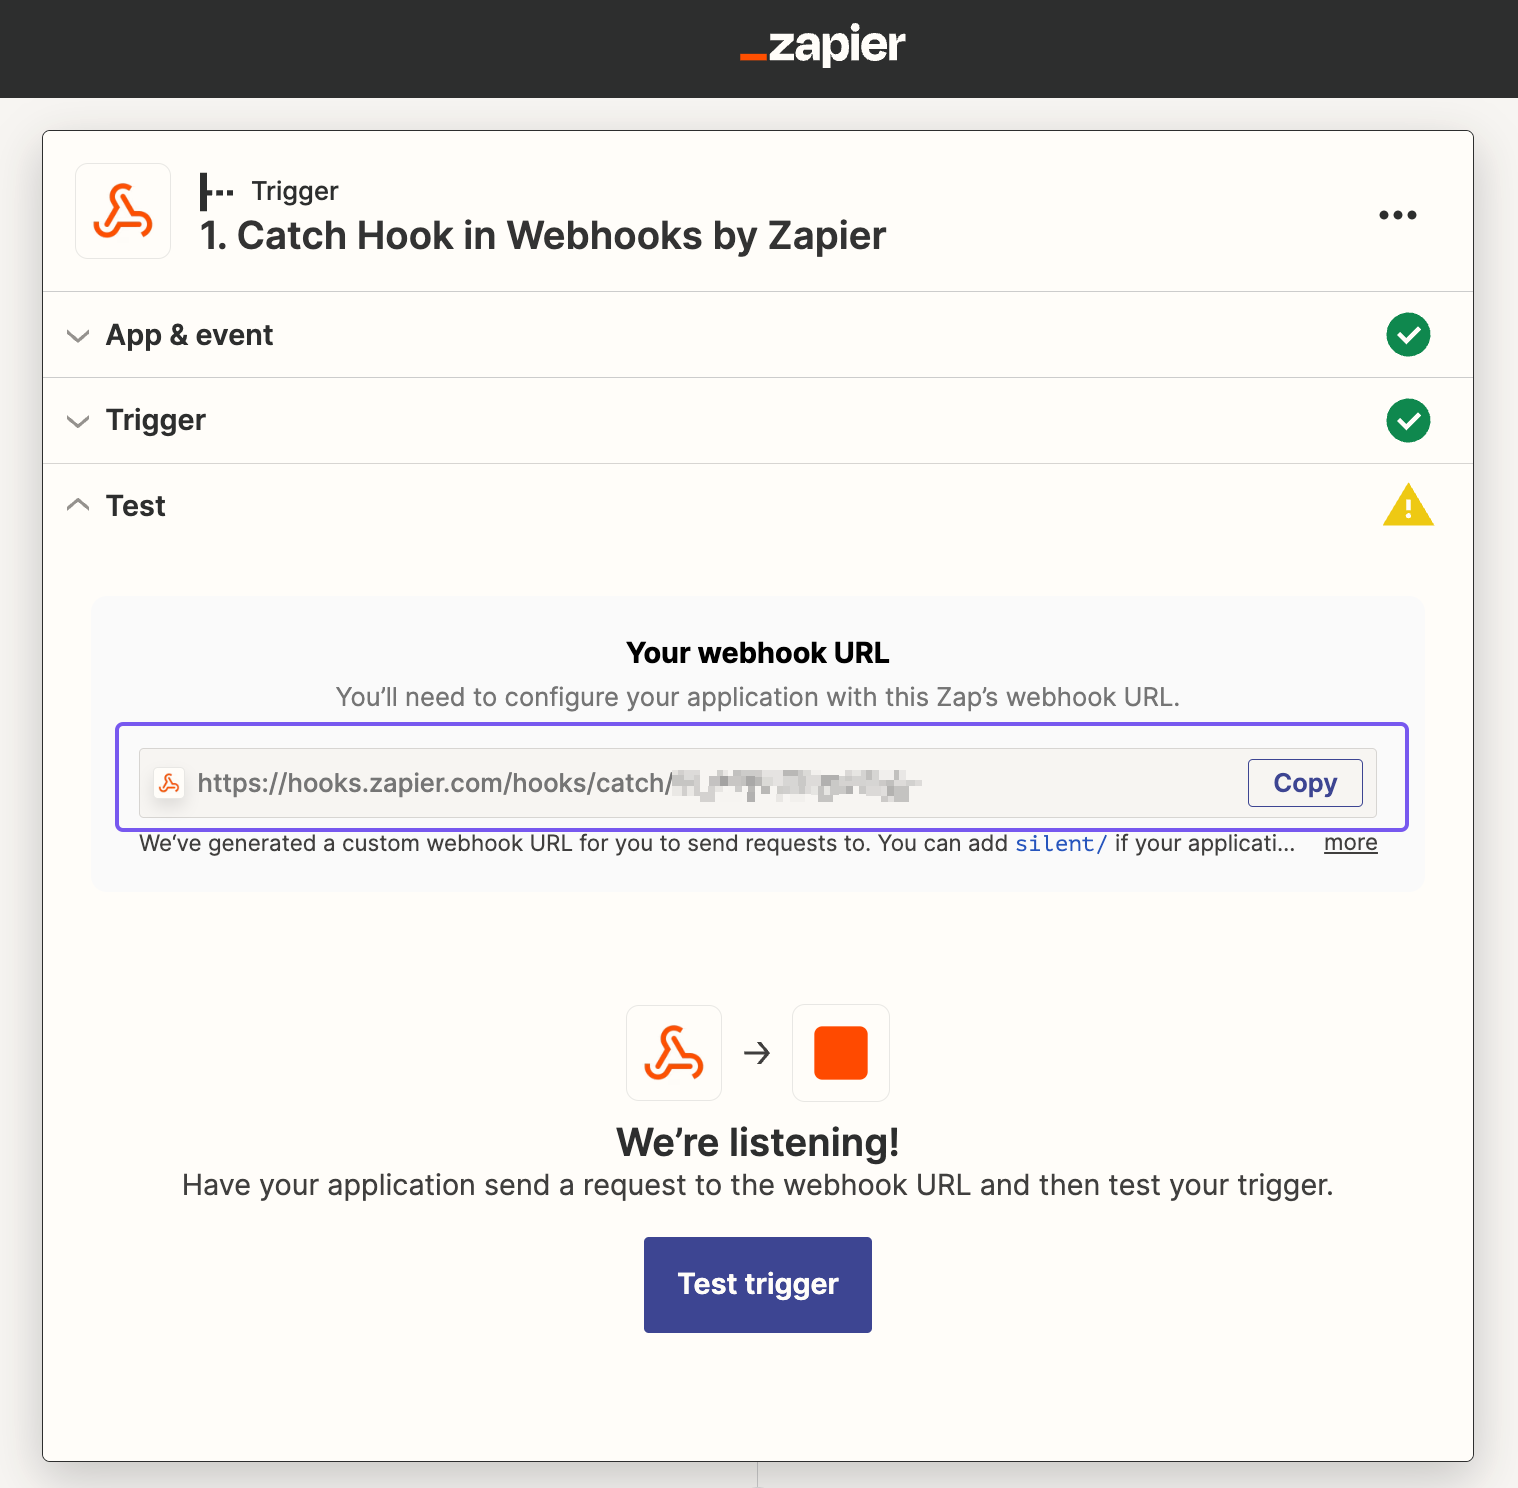
You'll see a Webhook URL. Copy it. Keep this page open, we'll come back to it later.
It should look something like this:
Setting up with a schedule in Crontap
Create a schedule or edit an existing one.
On the schedule editing page, scroll down to the last section called Integrations.
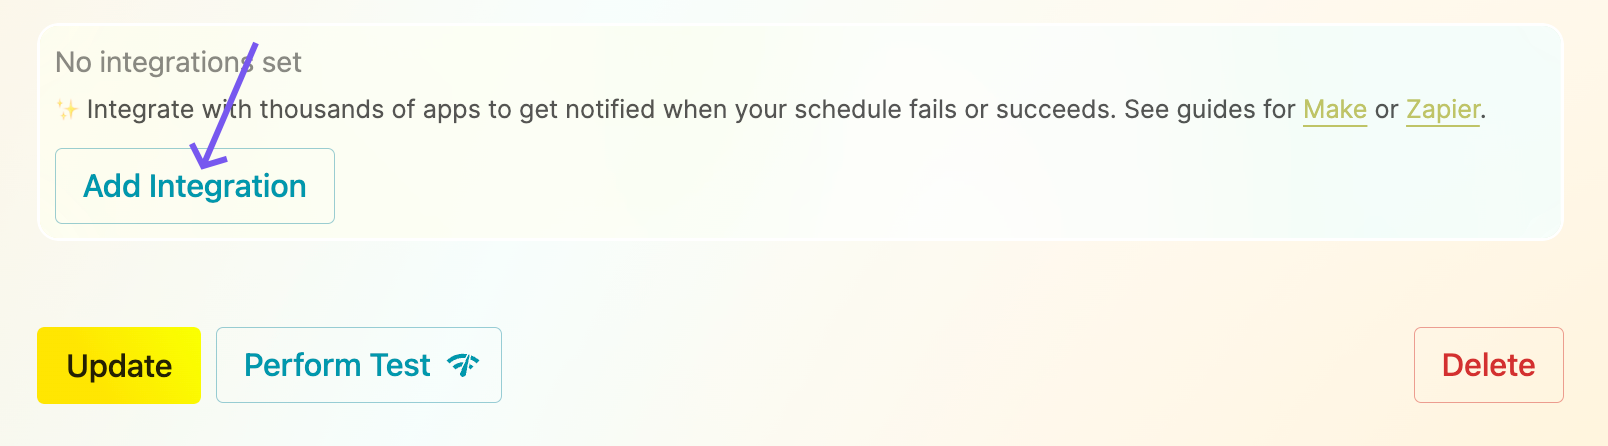
- Press the Add Integration button.
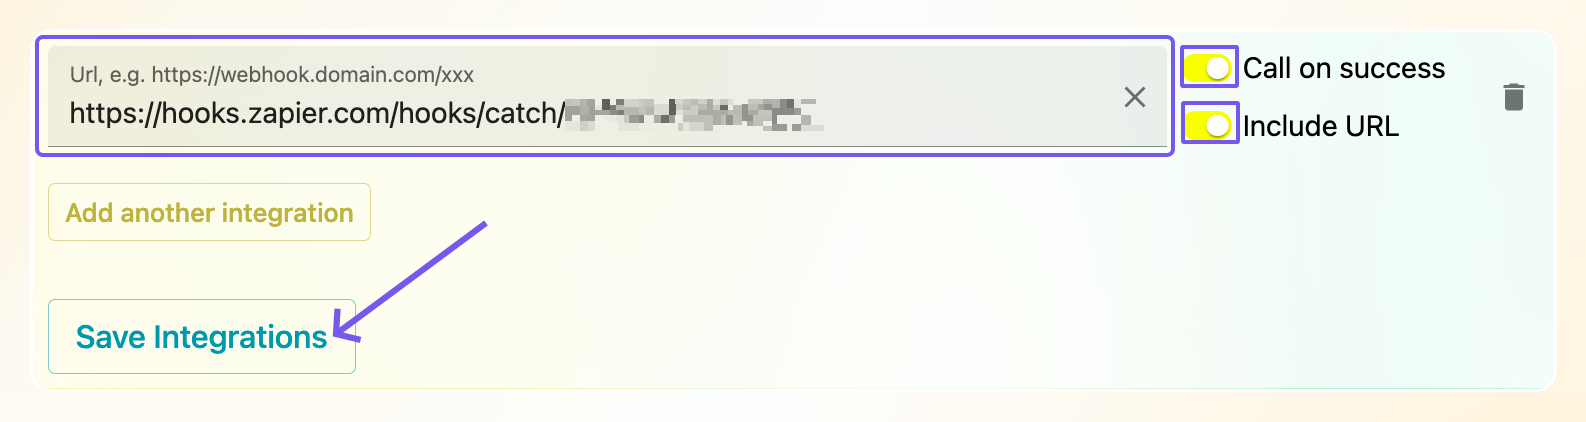
- Paste the URL you copied from make.com into the Webhook URL field.
- Optionally, you can
- Include URL:
onthe url of the schedule will be sent to make.com so you can display it in the notification etc. This is off by default in case the URL is sensitive. - Call on success:
onif you want to send a notification when the schedule succeeds. This should be off in most cases, but we want to have it on so we can test things out. You can turn it off later.
- Include URL:
- Press Save integrations.
Now all that's left is to test it out!
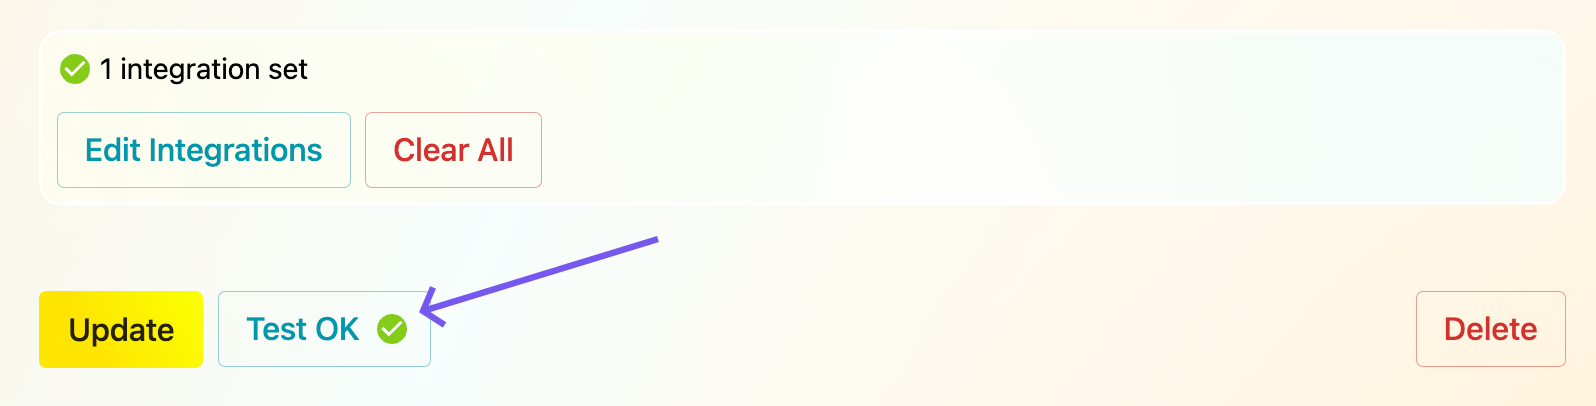
- Press Update/Create to save your settings
- Press Perform test to test it out.
If the schedule ran OK, you should see the button change to Test OK.
That's all that is needed in Crontap!
Let's head over to make.com to link it with an app. For this example, we'll use Slack.
Finishing up Zapier configuration
Now let's get back to the Zap we created earlier. Hope you still have the tab open!
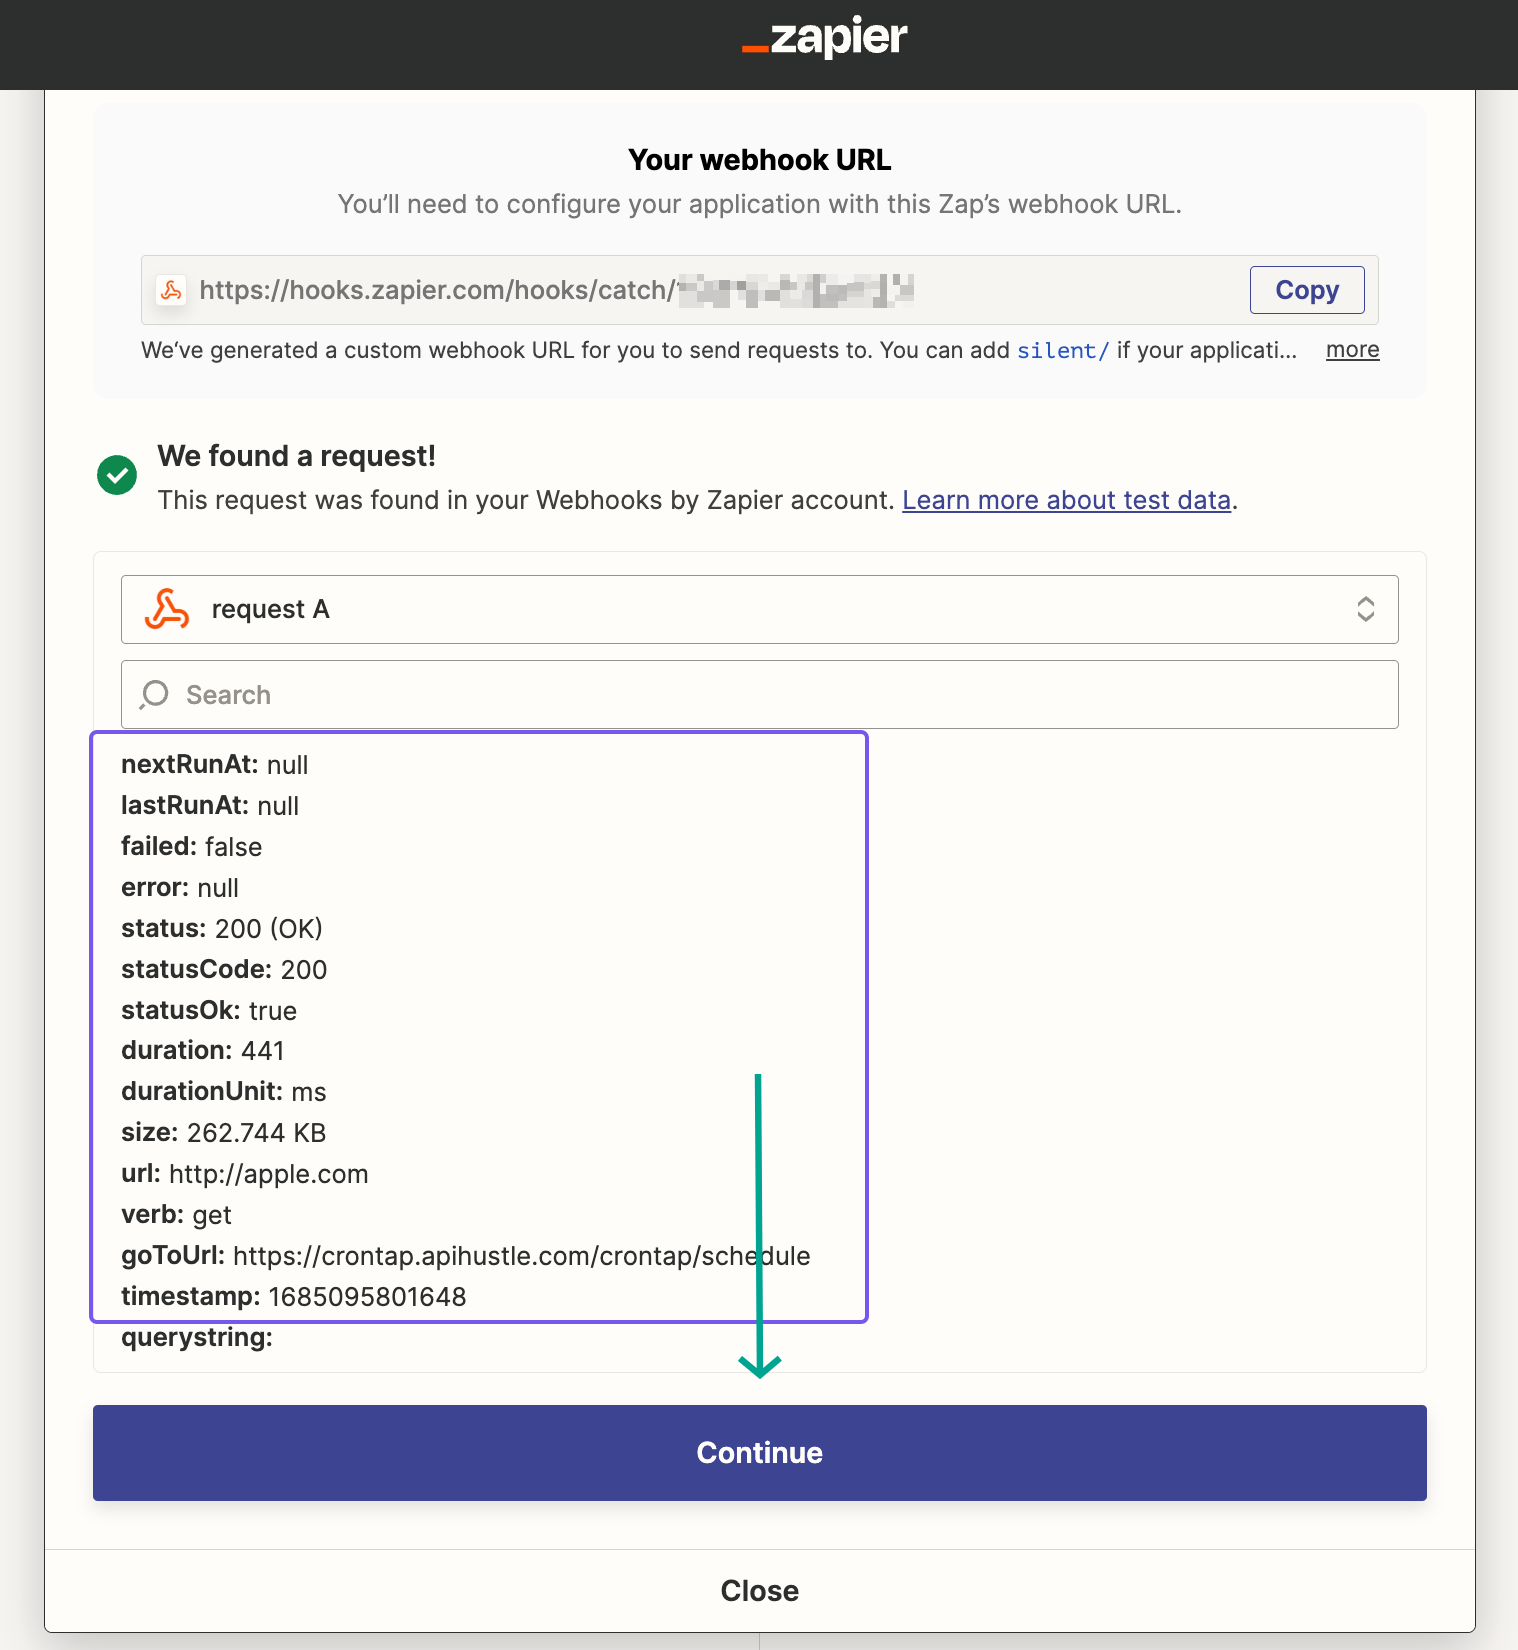
Press Test trigger. Regardless if the schedule actually failed or succeeded, Zapier should now confirm that it received the request.
You should also see request data. This is the data that Crontap sends to Zapier.
Press Continue.
Integrating with Slack
Last part now - we are almost done.
-
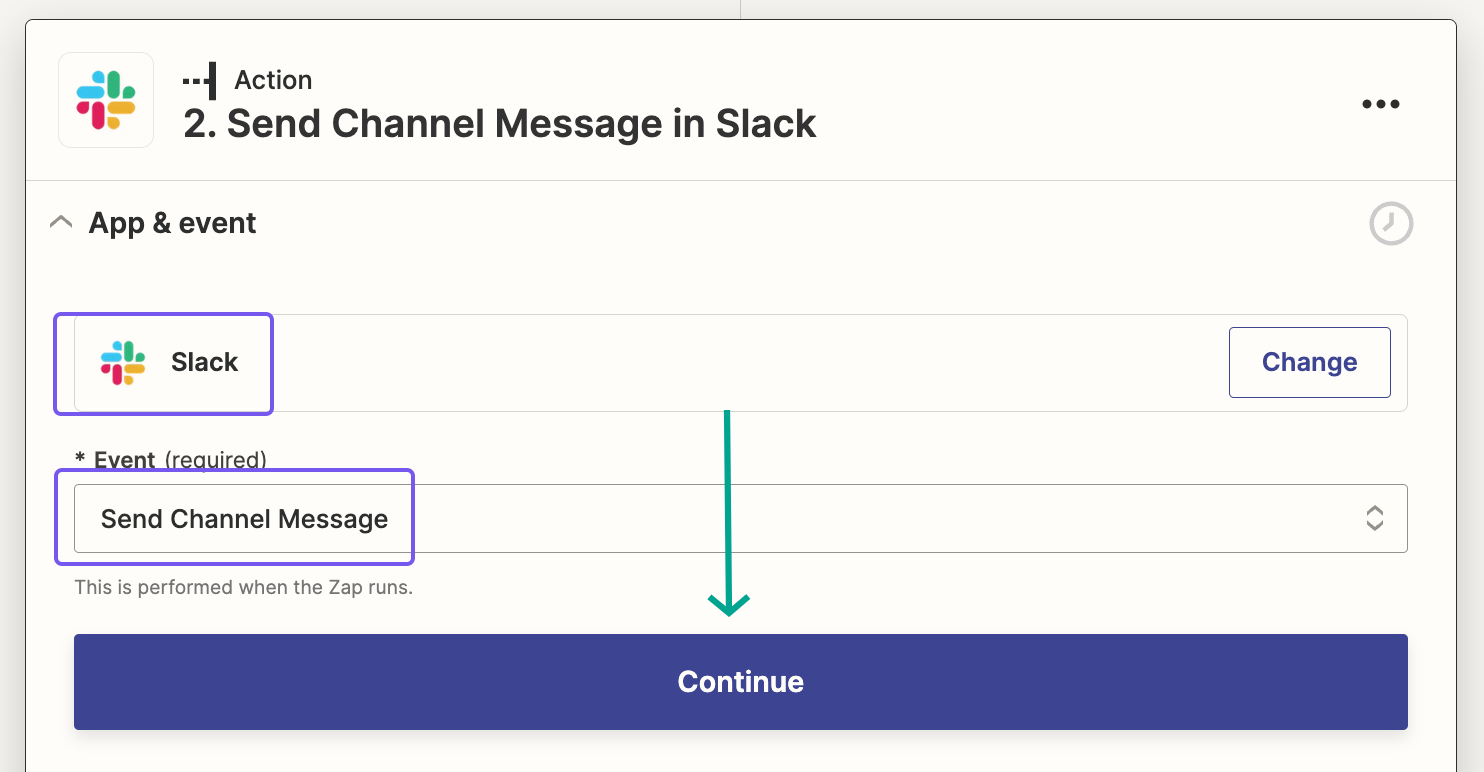
Search for Slack as an action app.
-
Select Send Channel Message as an action event.
-
Press Continue.
-
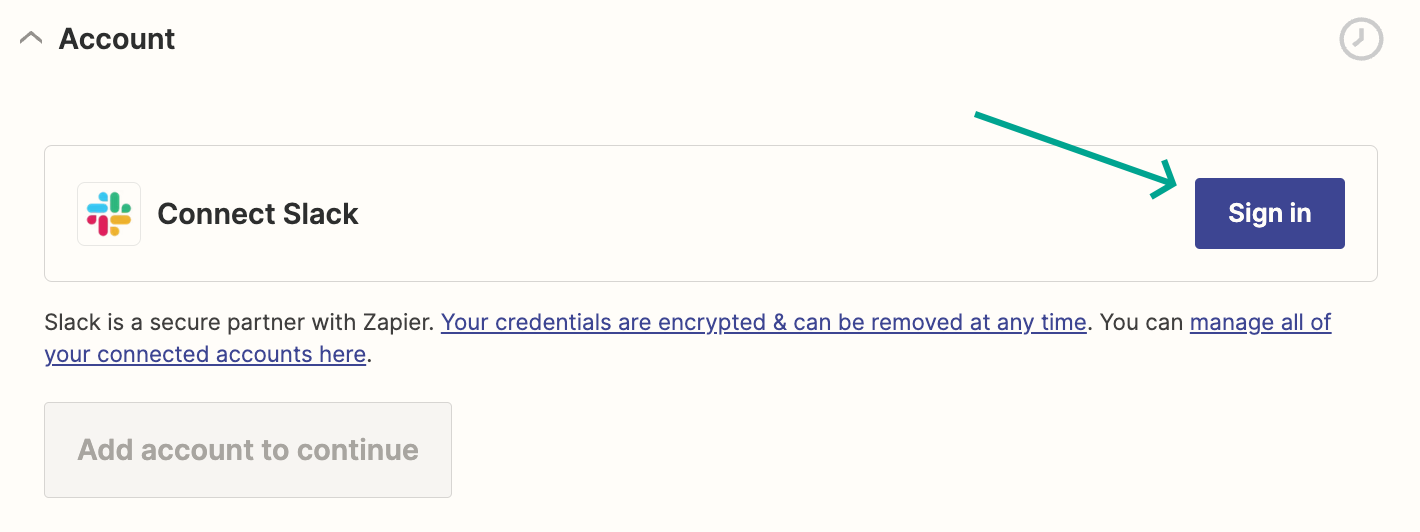
press Sign in on the right side.
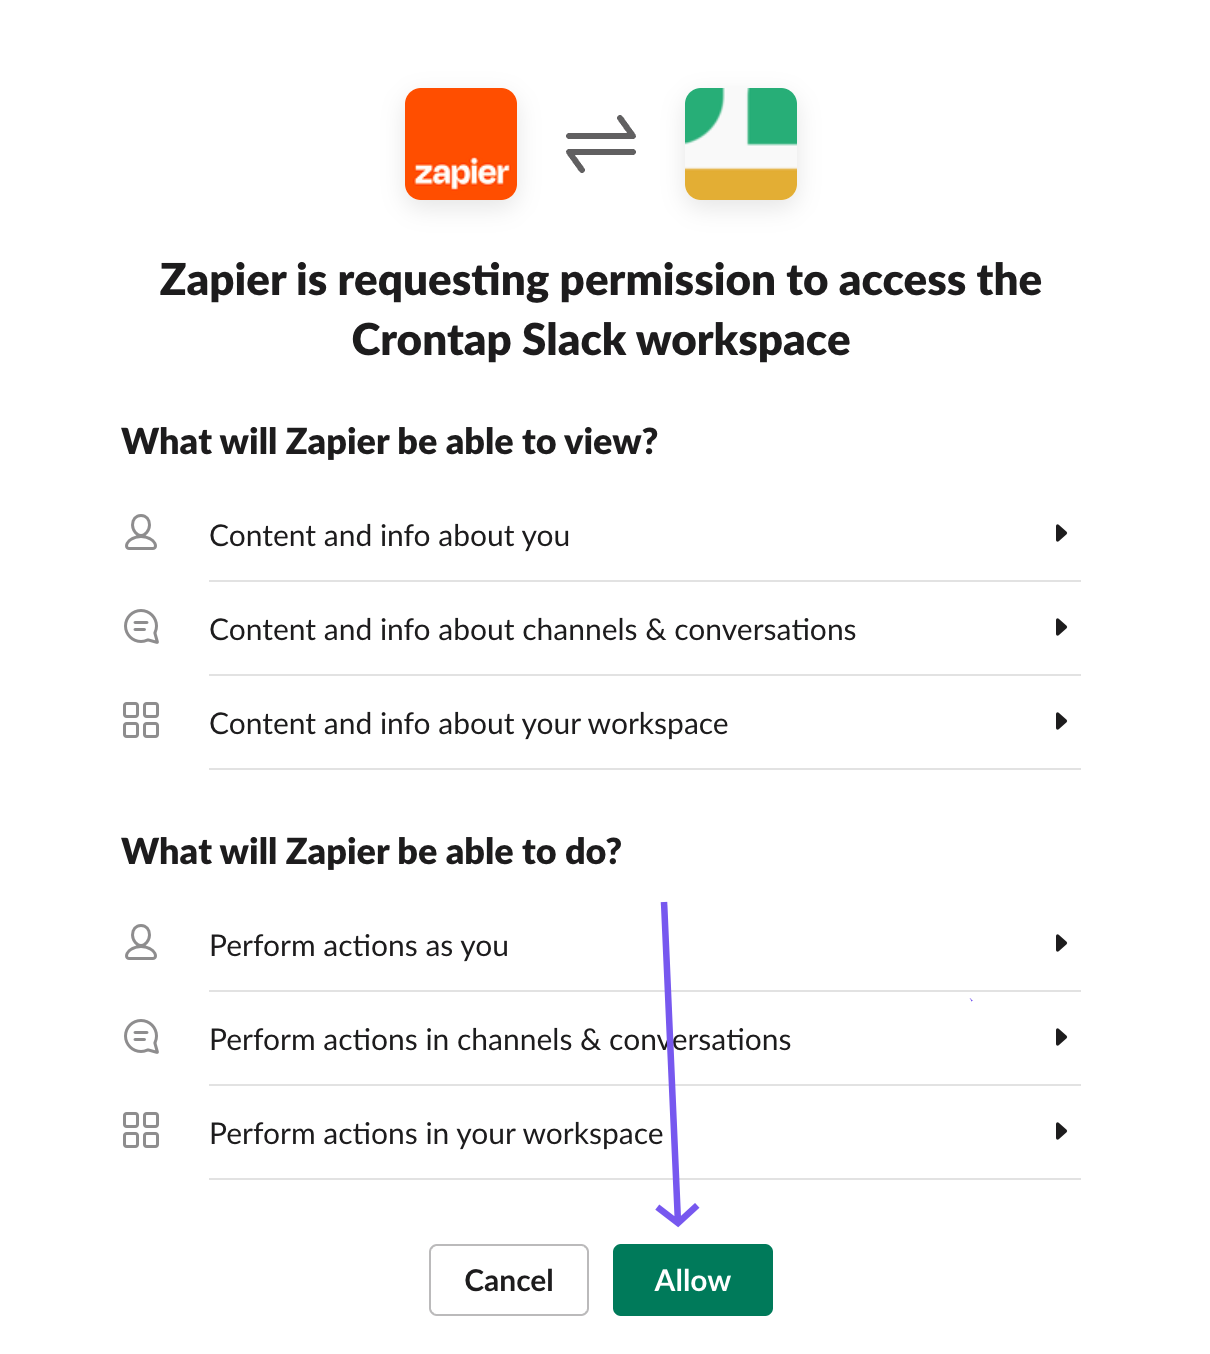
- authorize by pressing Allow
- Note: you might have to sign in to your workspace if you are not already signed in.
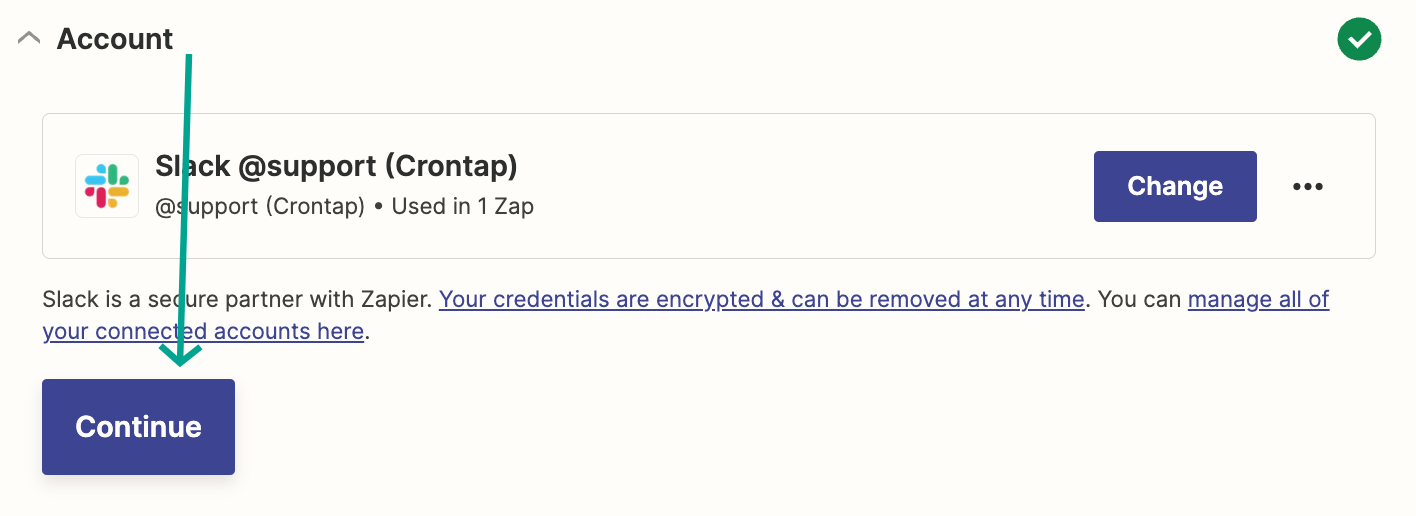
- press Continue.
- authorize by pressing Allow
-
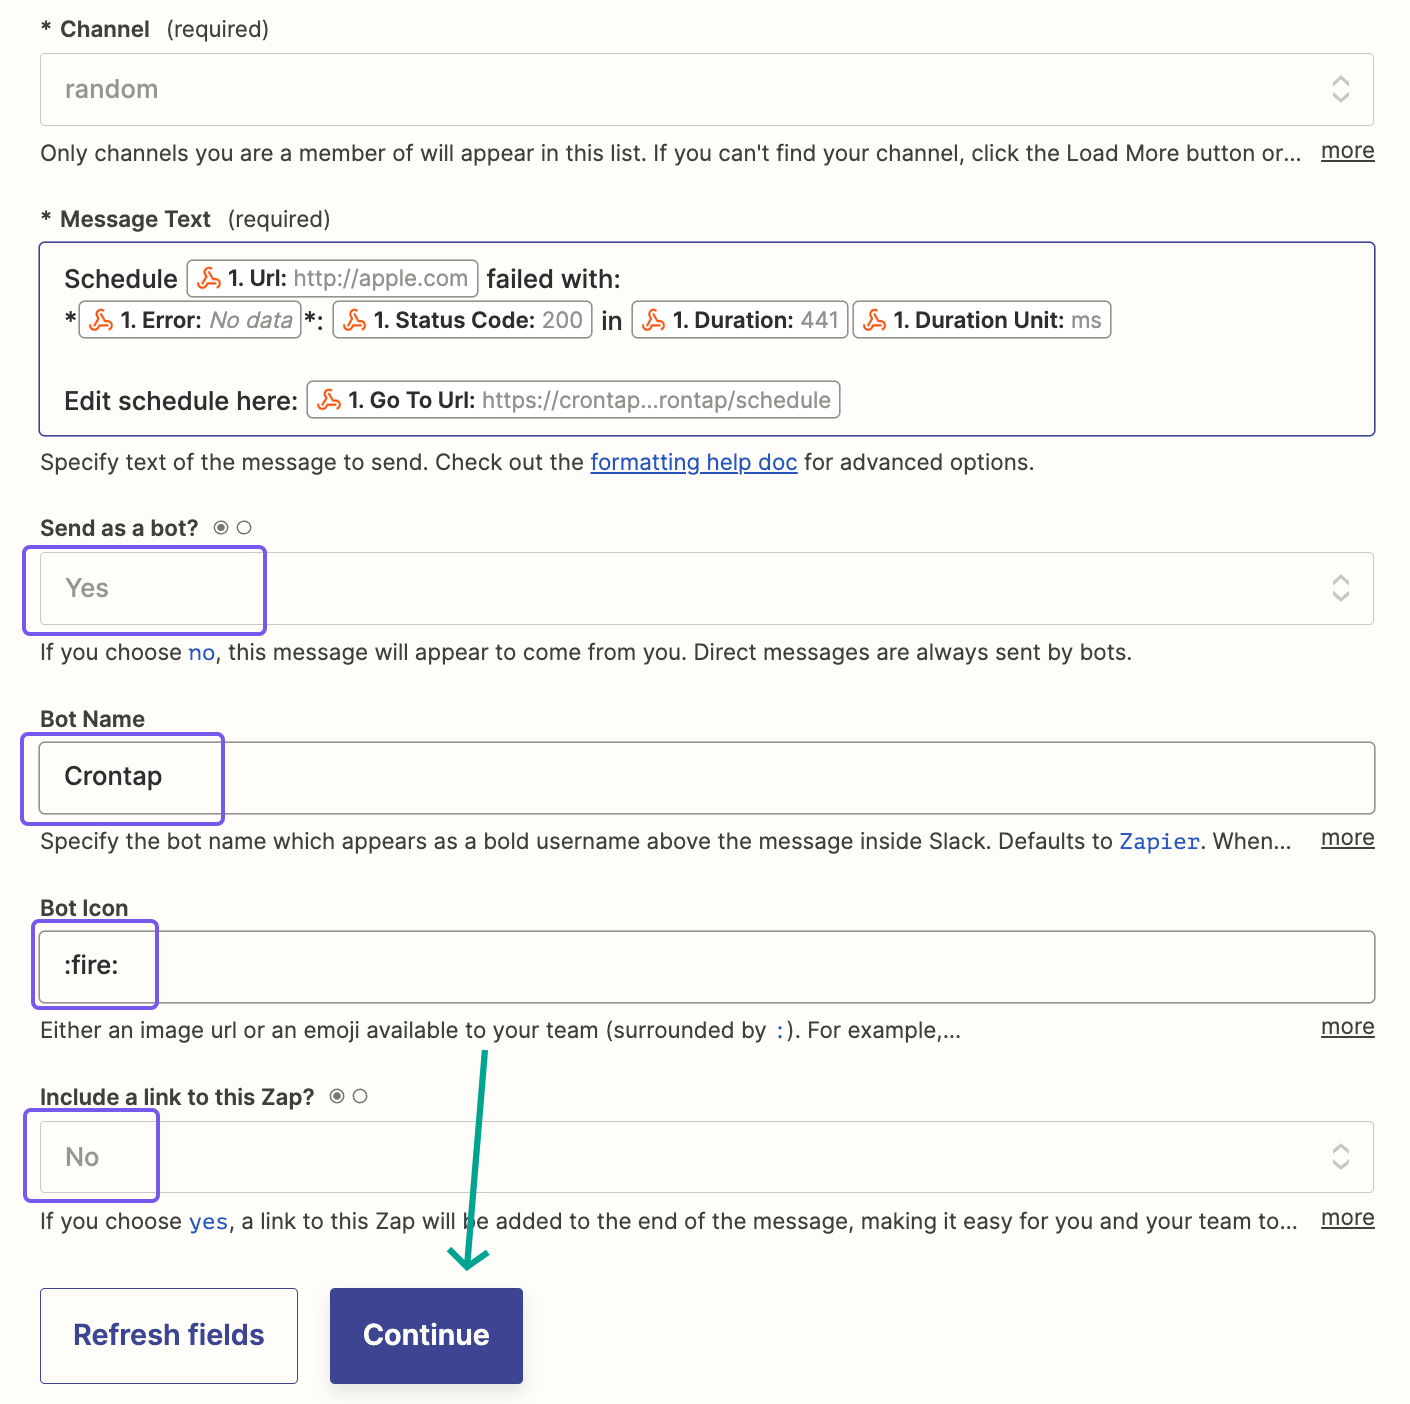
then pick a channel to send the message in e.g. #random.
-
insert a text. Here we have the option to add data from the schedule.
- for example we can show the error, status code, schedule url or a link to the schedule in Crontap:
goToUrl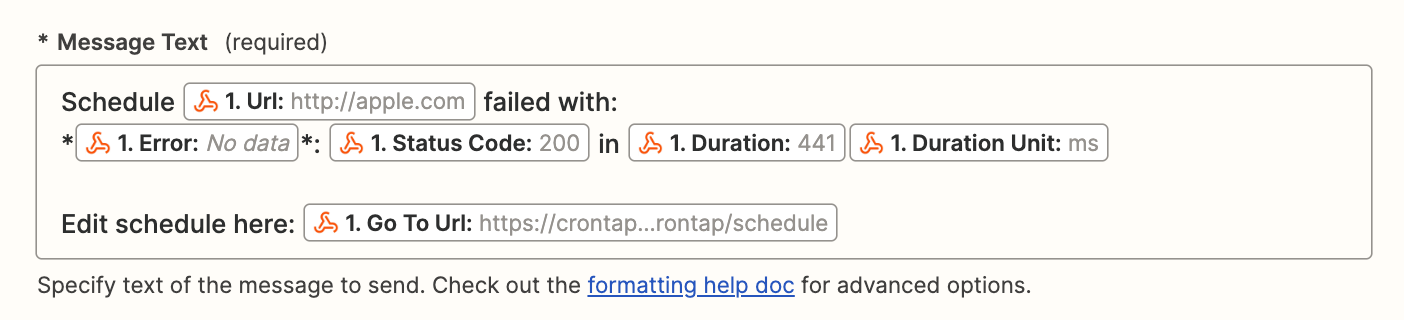
- for example we can show the error, status code, schedule url or a link to the schedule in Crontap:
-
optionally give the bot a name and icon if you want to customize it.
-
it's recommended to turn Include a link to this Zap off since we provide links to the schedule itself.
-
press Continue. No other configuration needed but feel free to make other changes if you want to.
Entire configuration should look something like this:
-
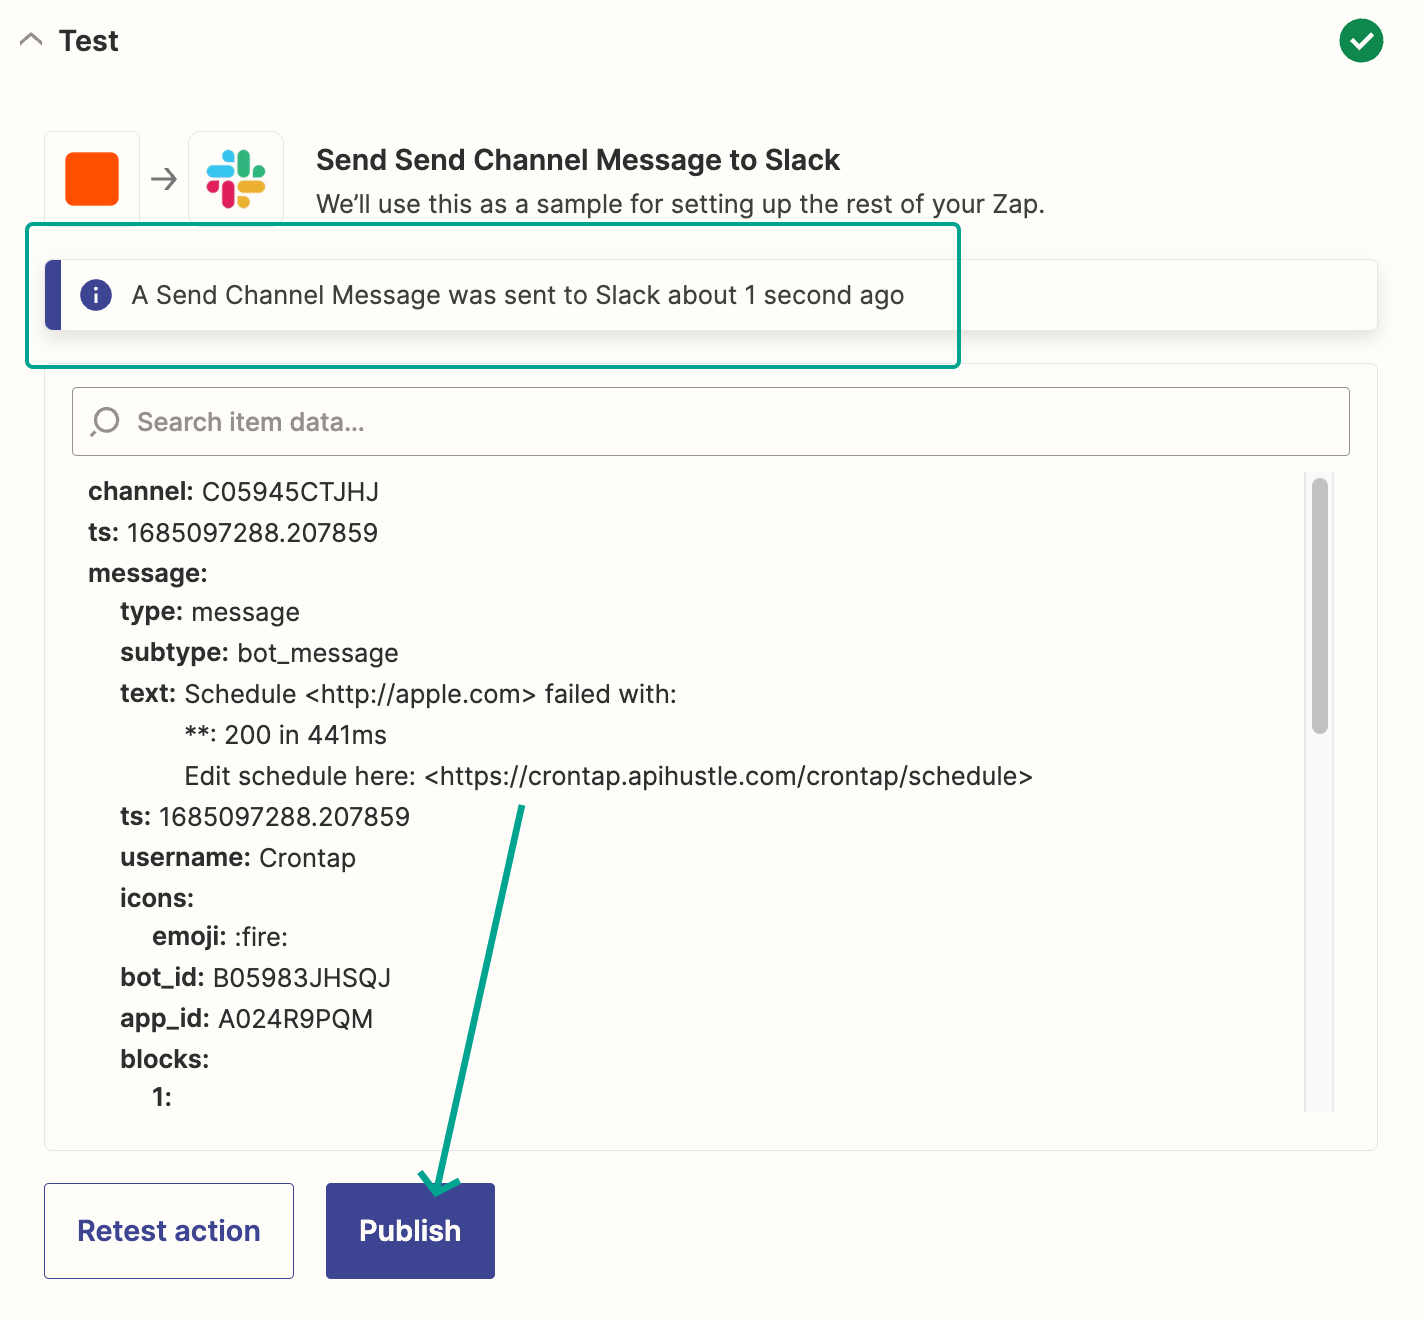
finally press Test action
- you should see a confirmation that the message was sent to Slack.
- press publish to finish the Zap!
That's it! Remember to head back to Crontap and turn off the Call on success option if you don't want to get notifications on every successful run, unless you want that 😊.
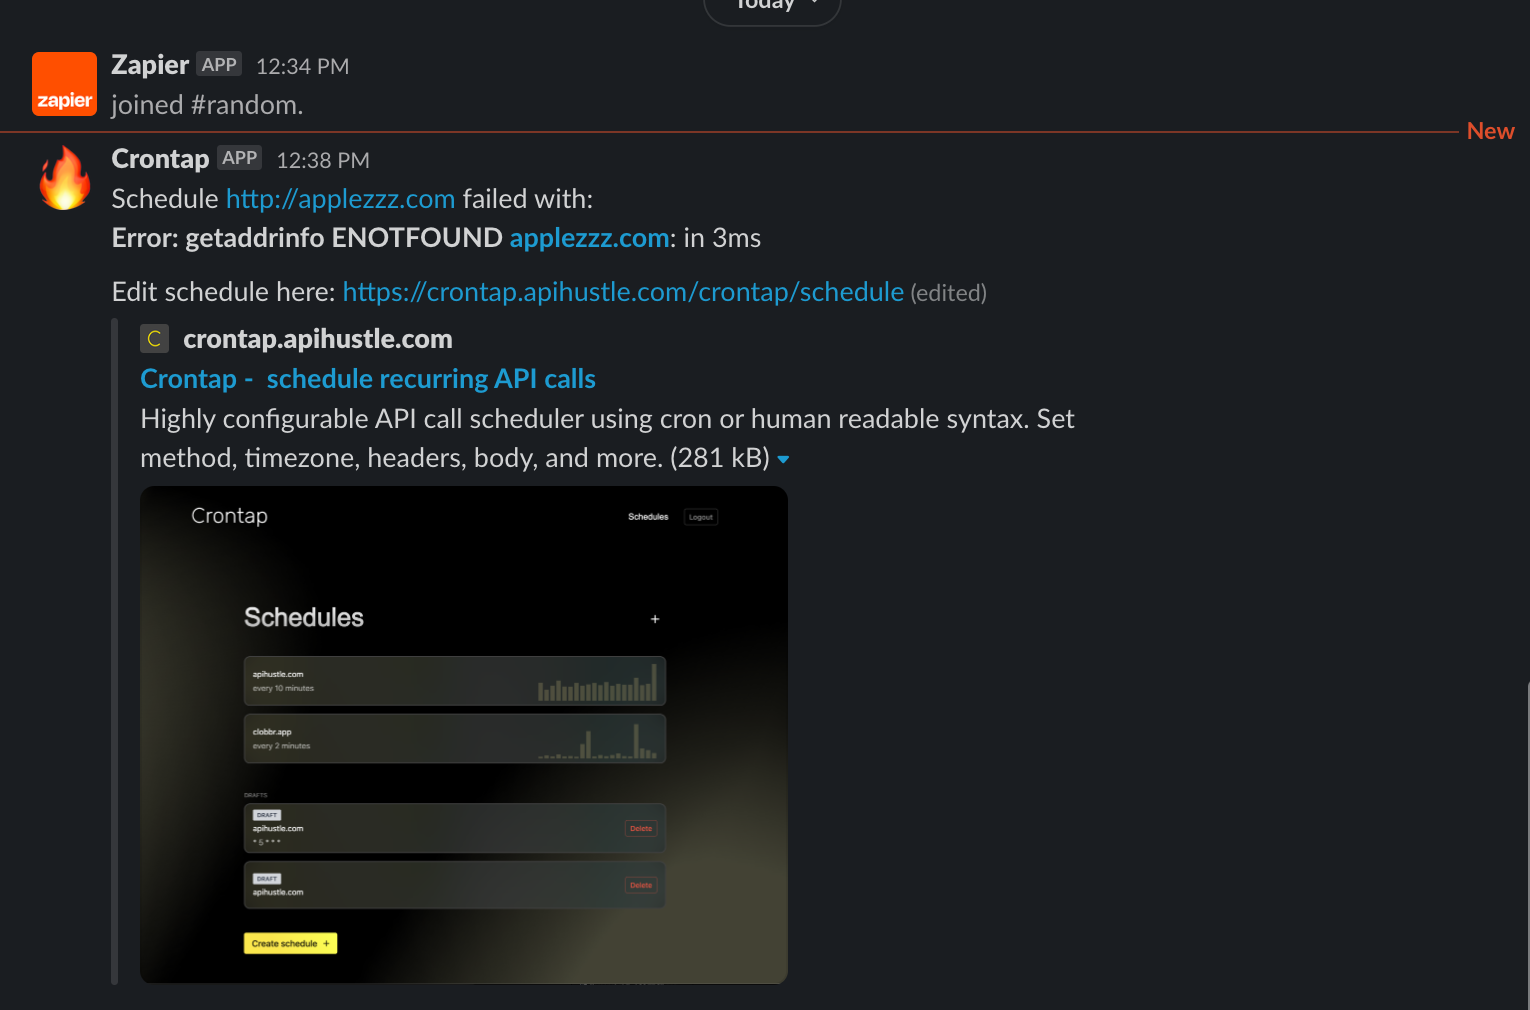
Otherwise, the next time a schedule fails, you should get a notification in Slack! 🎉