
Zapier allows integrating Crontap schedules with Airtable. This can be used for data collection, data processing, and data visualization or anything in between!
👀 Looking for the Make.com guide? Please head over to the Make and Airtable guide ↗️ instead.
Primer on webhooks
Crontap is capable of integrating with various services via webhooks.
Webhooks are the digital messengers that deliver real-time updates and data between applications, enabling seamless integration and automation. With webhooks, you can streamline processes, trigger custom actions, and revolutionize the way applications communicate and collaborate.
Still curios? Check out this in-depth article on webhooks.
Preparing Airtable
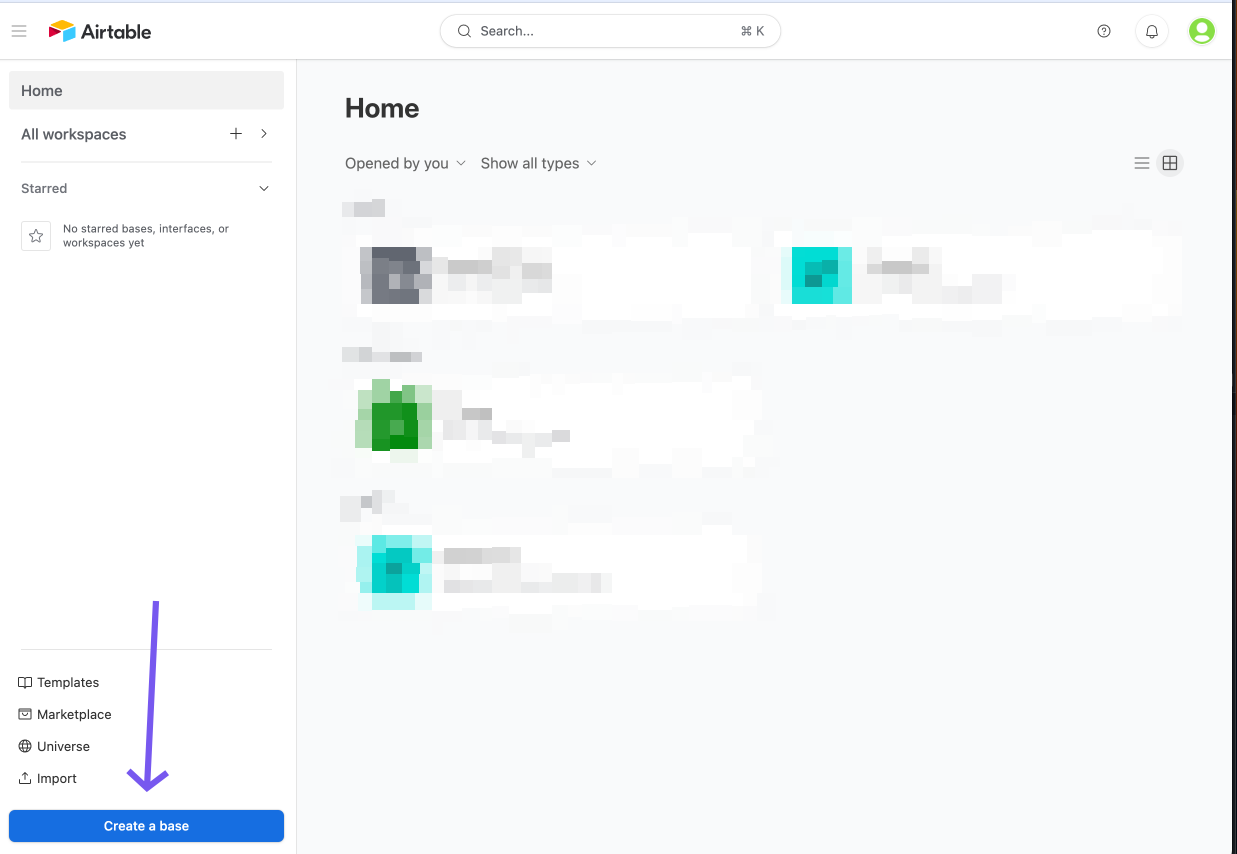
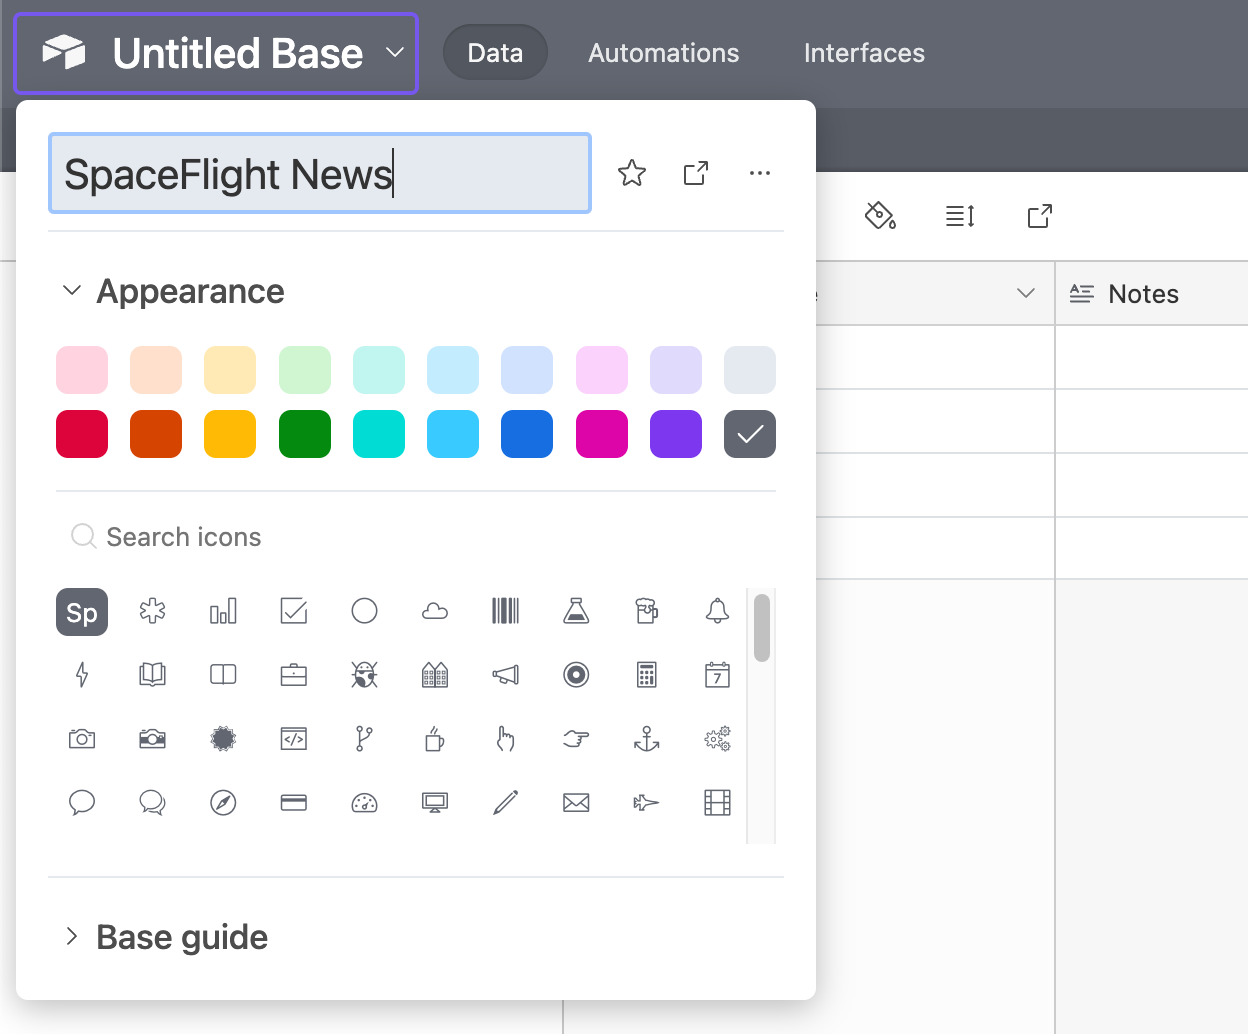
Sign in to airtable.com and create a new base. Let's call it SpaceFlight News so we can easily identify it later.
Delete all existing rows & fields in the table and create the following fields:
- id - number
- title - single line text
- summary - long text
- url - URL
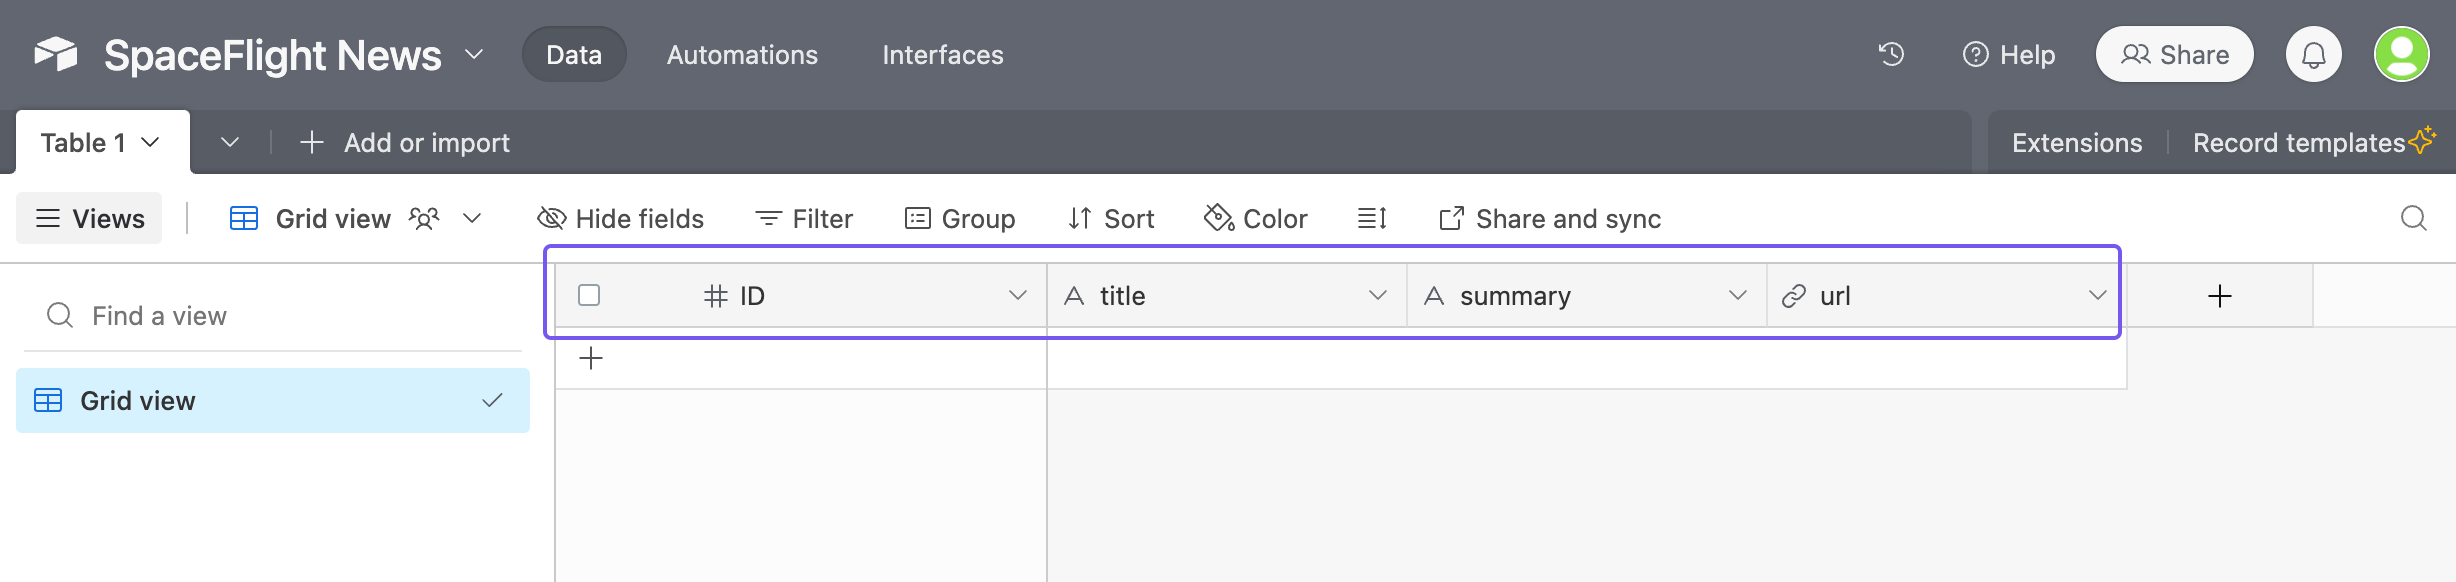
This configuration is needed for the example we'll be using in this tutorial. Feel free to use your own configuration depending on what URL/API you've chosen to use in the Crontap schedule.
Let's head over to Zapier to connect with Airtable. Keep this tab open as we'll be coming back to it later to check if data is being sent to Airtable.
Setting things up in Zapier
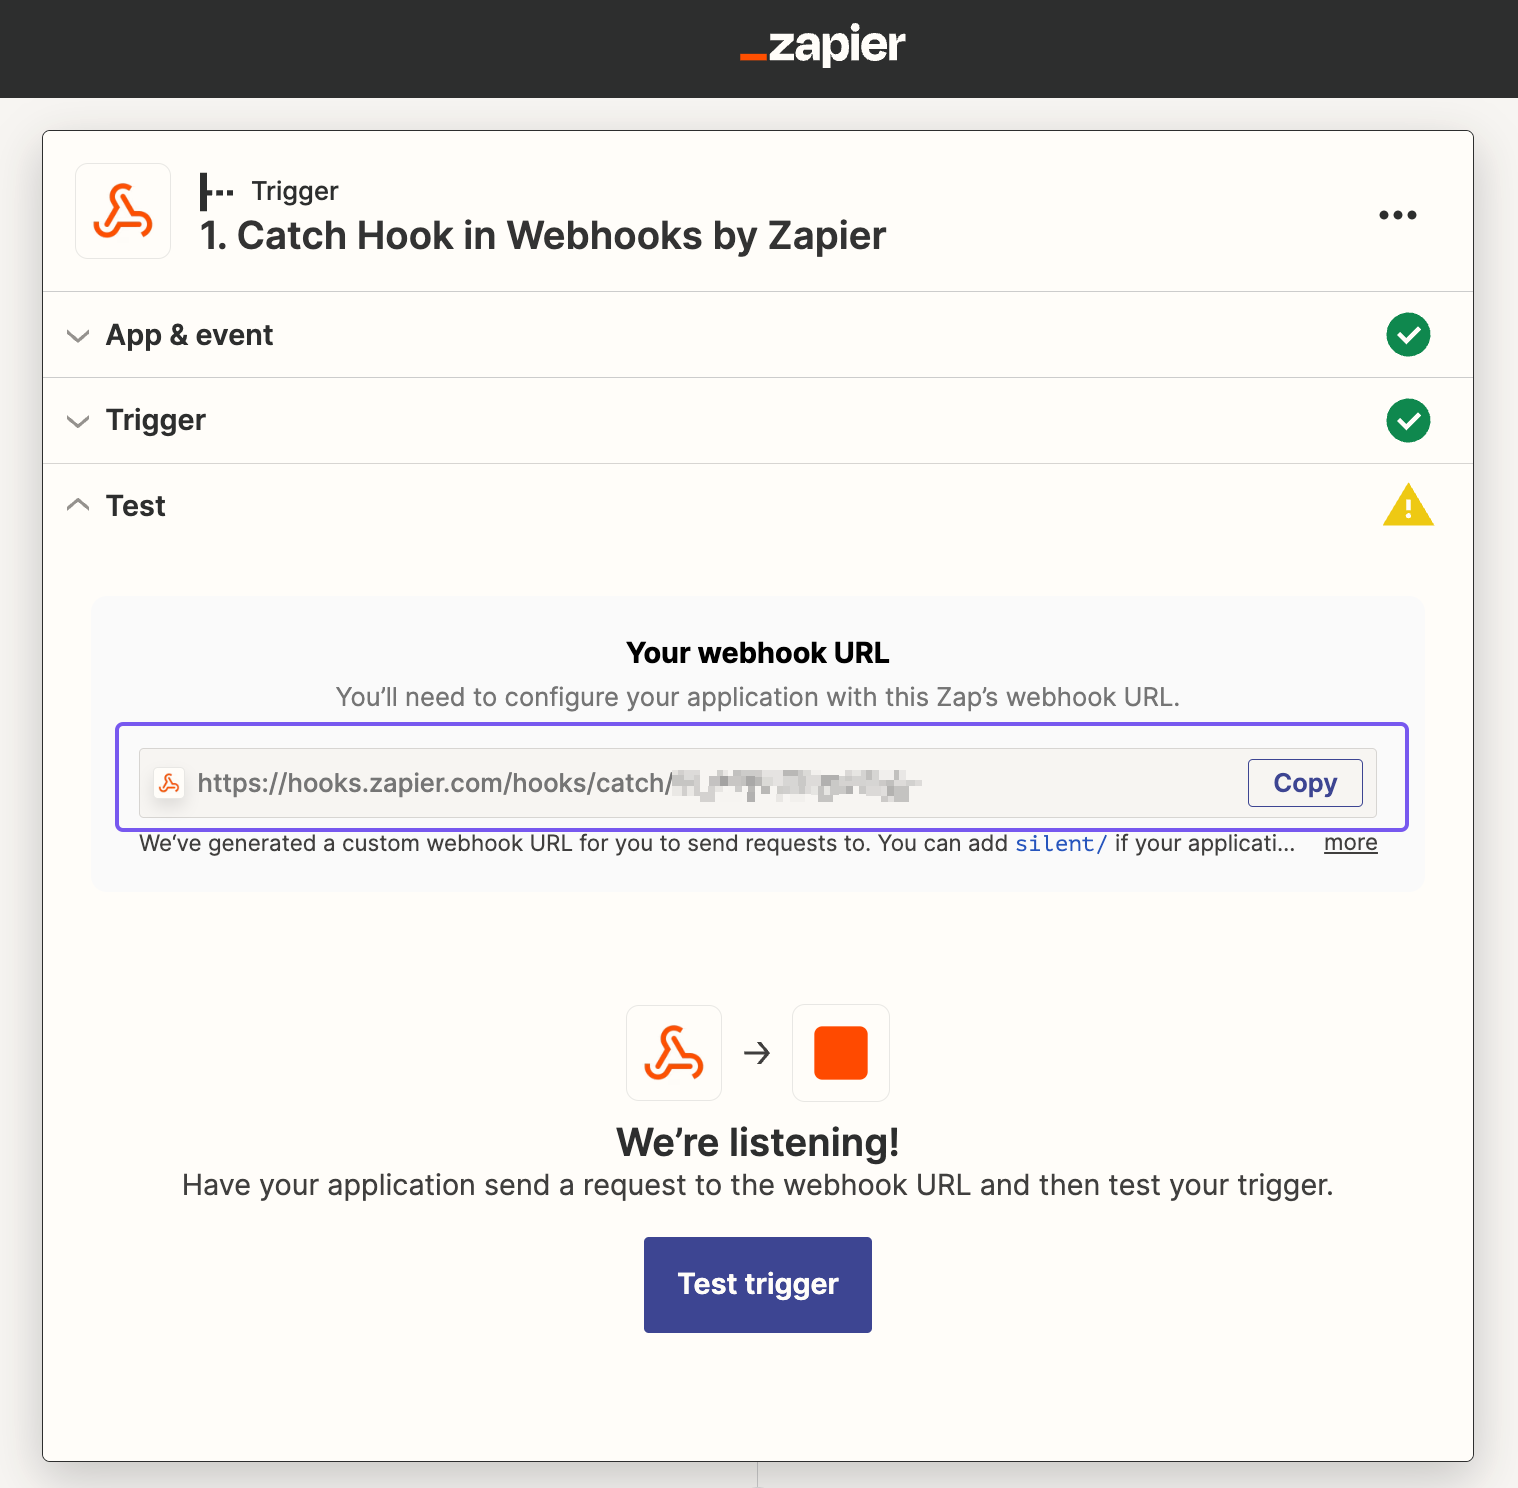
Sign in to the zapier.com and create a new Zap. Search for the Webhooks by Zapier app as a trigger.
-
Select Catch Hook as a trigger event.
- Then press Continue.
-
Press continue again (no trigger configuration is needed).
-
You'll see a Webhook URL. Copy it. Keep this page open, we'll come back to it later.
It should look something like this:
Setting up with a schedule in Crontap
Create a schedule or edit an existing one.
📝 Note: for the purpose of this tutorial, we'll be using a schedule that runs every 4 hours to get a space flight article. We'll use the Open API from SpaceFlight News - api.spaceflightnewsapi.net/v3/articles/19465.
Feel free to use the same url in your Crontap schedule.
On the schedule editing page, scroll down to the last section called Integrations.
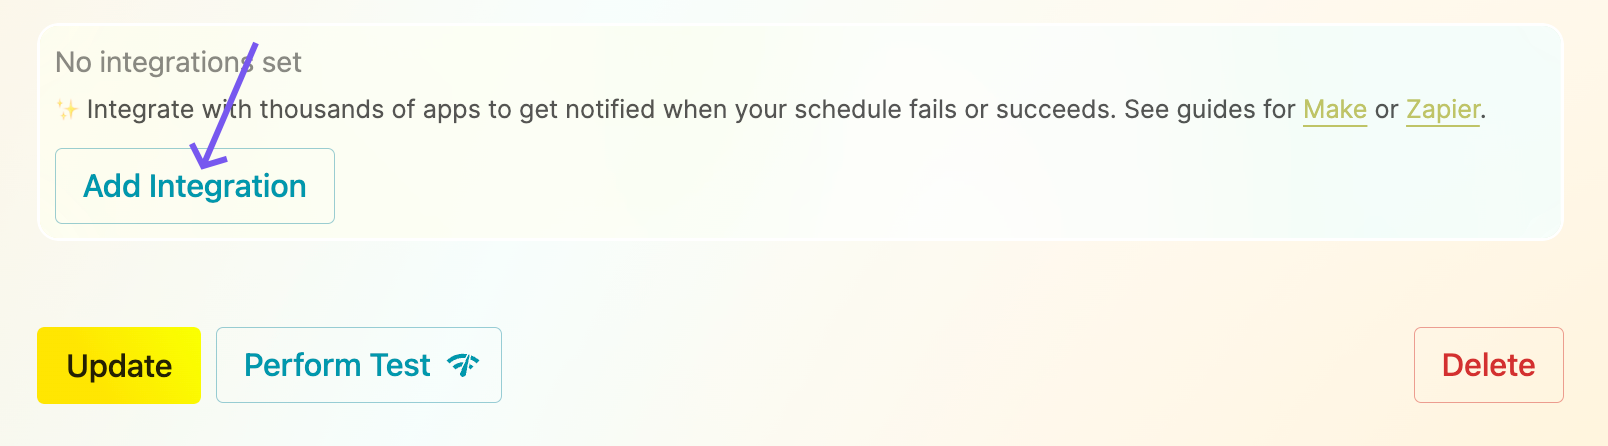
- Press the Add Integration button.
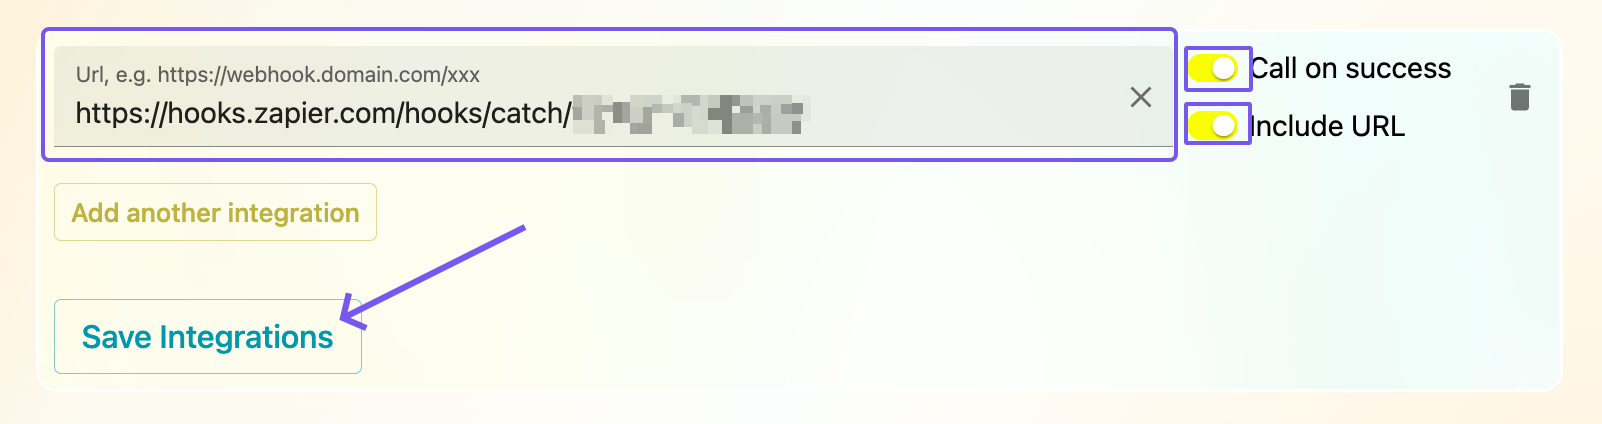
- Paste the URL you copied from Zapier into the Webhook URL field.
- Optionally, you can
- Include URL:
onthe url of the schedule will be sent to Zapier so you can display it in the notification etc. This is off by default in case the URL is sensitive. - Call on success:
onif you want to send a notification when the schedule succeeds.
Keep in mind if you turn this on and have frequent schedules, you might hit the limit of Zapier's plans.
- Include URL:
- Press Save integrations.
Now all that's left is to test it out!
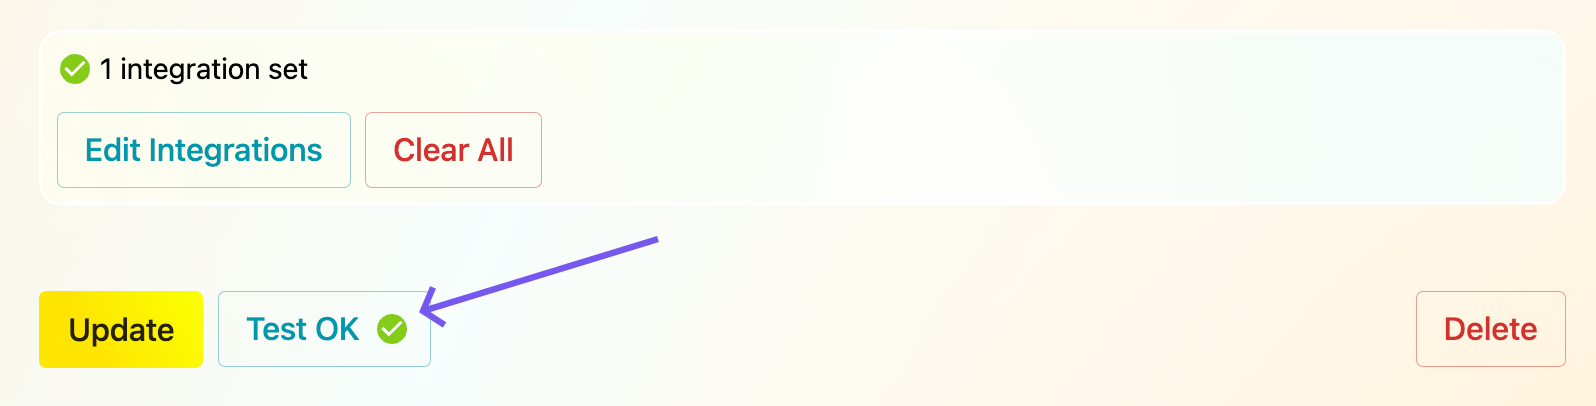
- Press Update/Create to save your settings
- Press Perform test to test it out.
If the schedule ran OK, you should see the button change to Test OK.
That's all that is needed in Crontap!
Let's head over to Zapier to link it with Airtable
Integrating Airtable on Zapier
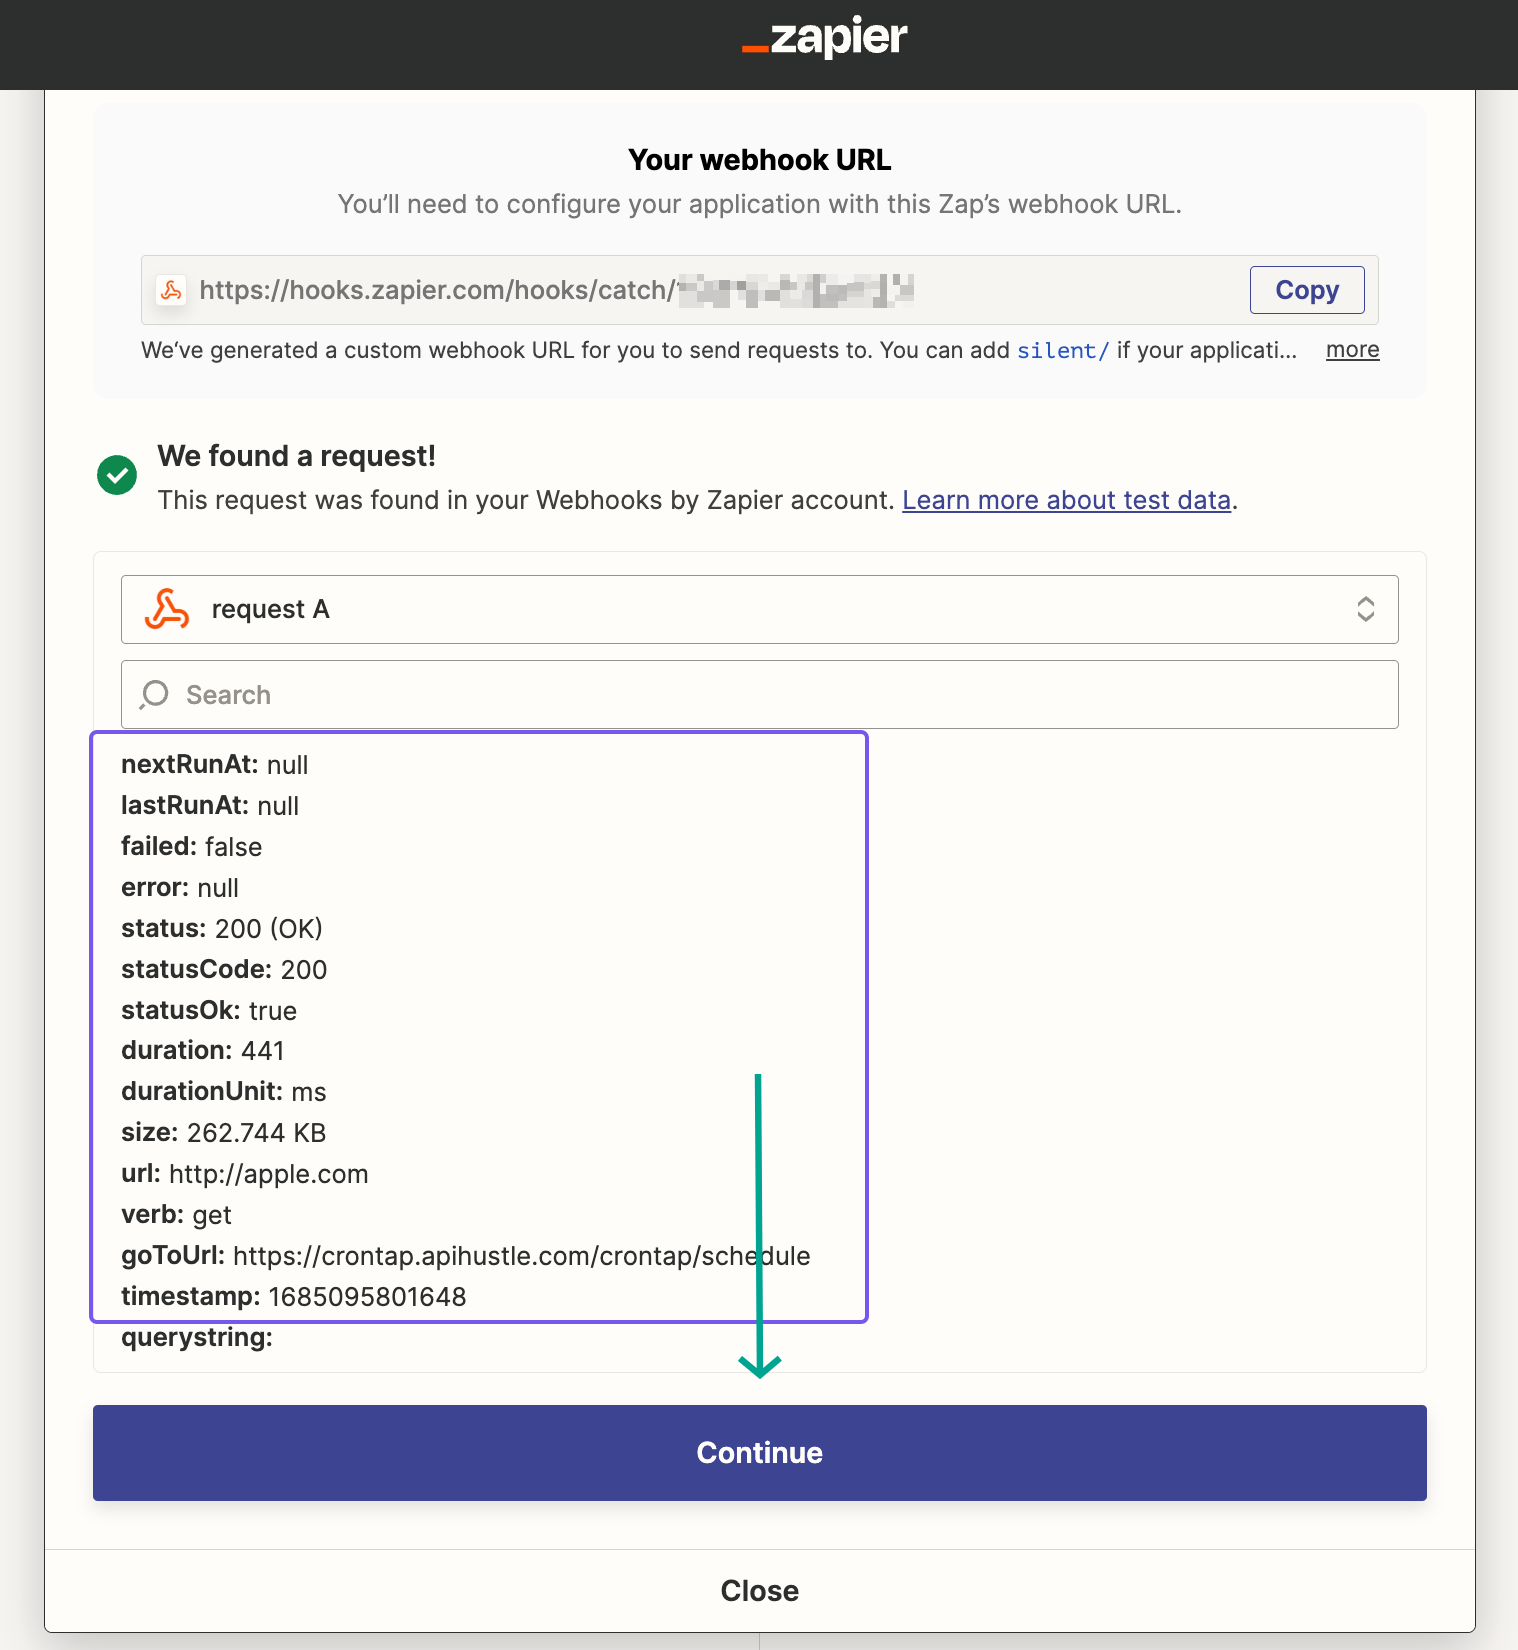
Now let's get back to the Zap we created earlier. Hope you still have the tab open!
Press Test trigger. Regardless if the schedule actually failed or succeeded, Zapier should now confirm that it received the request.
You should also see request data. This is the data that Crontap sends to Zapier.
-
Press Continue, then
-
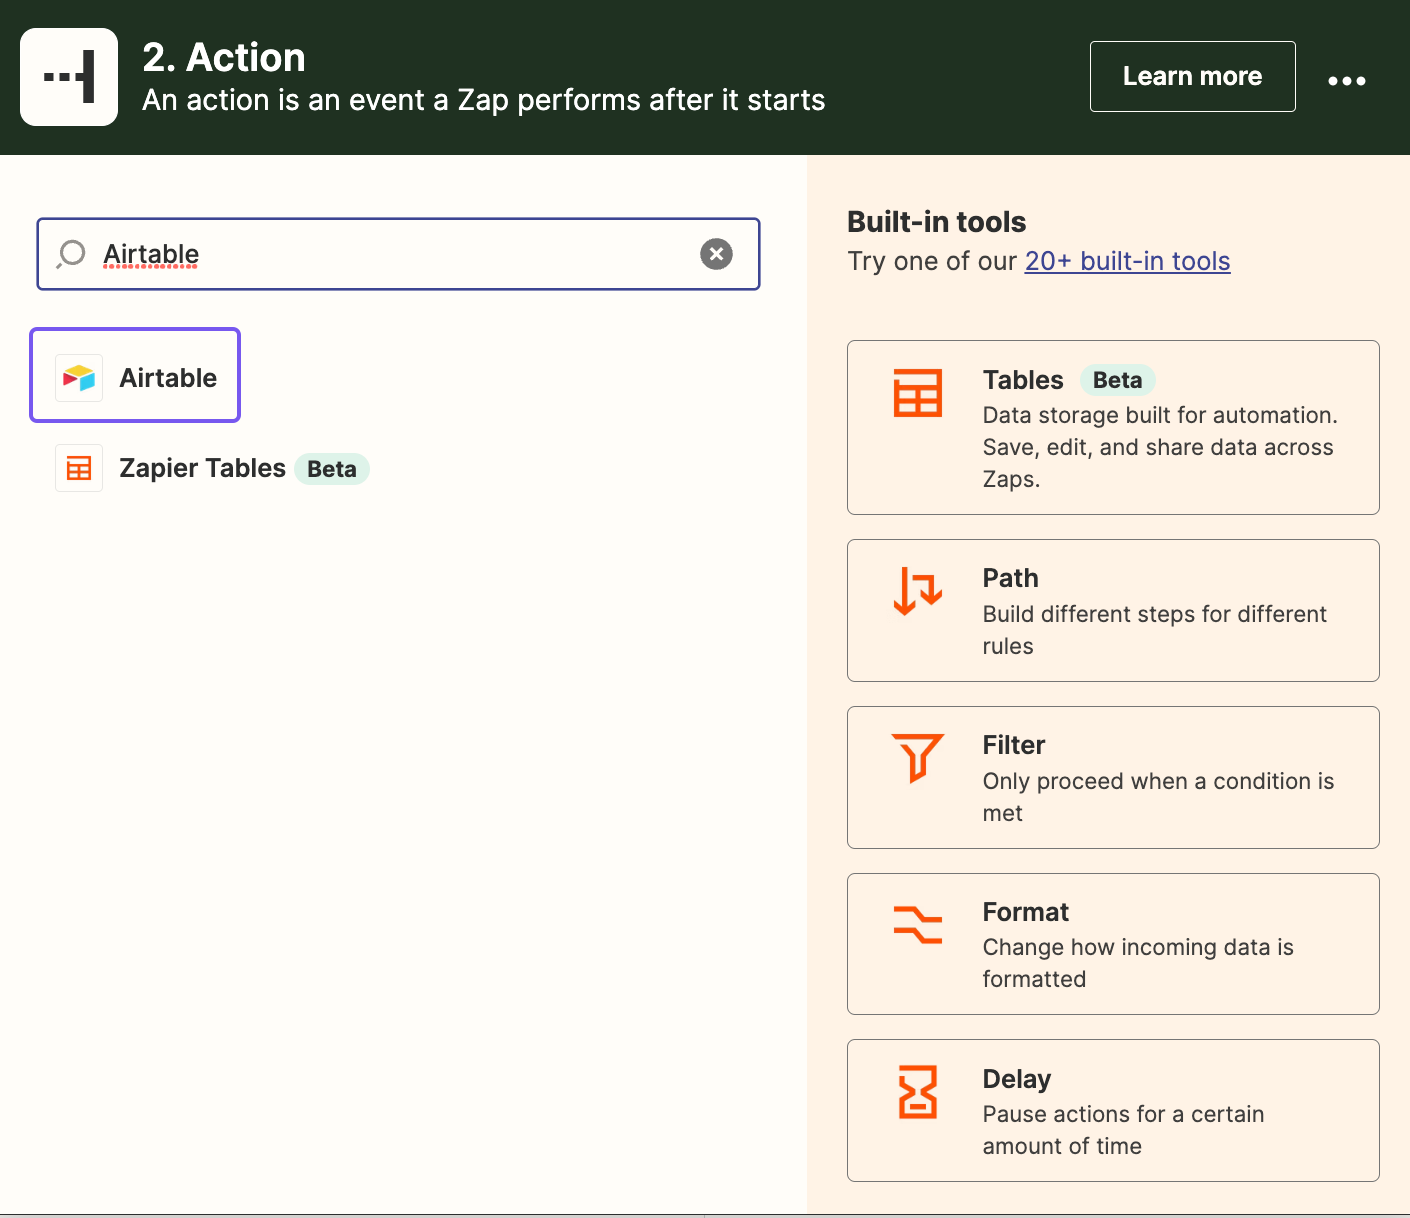
search for Airtable and select it.
-
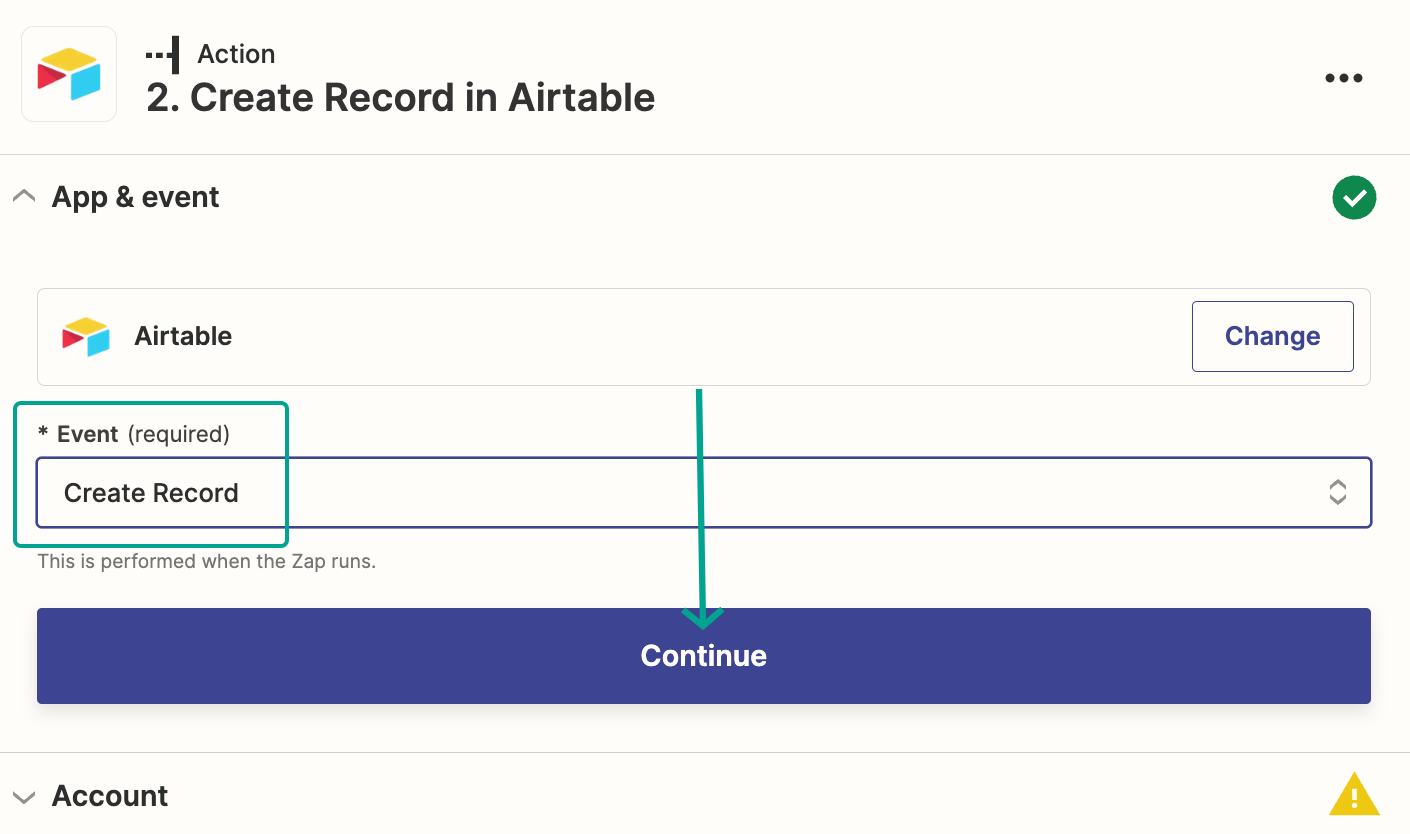
select Create Record as the action event.
- you will be asked to connect Airtable.
-
press Sign in, then
-
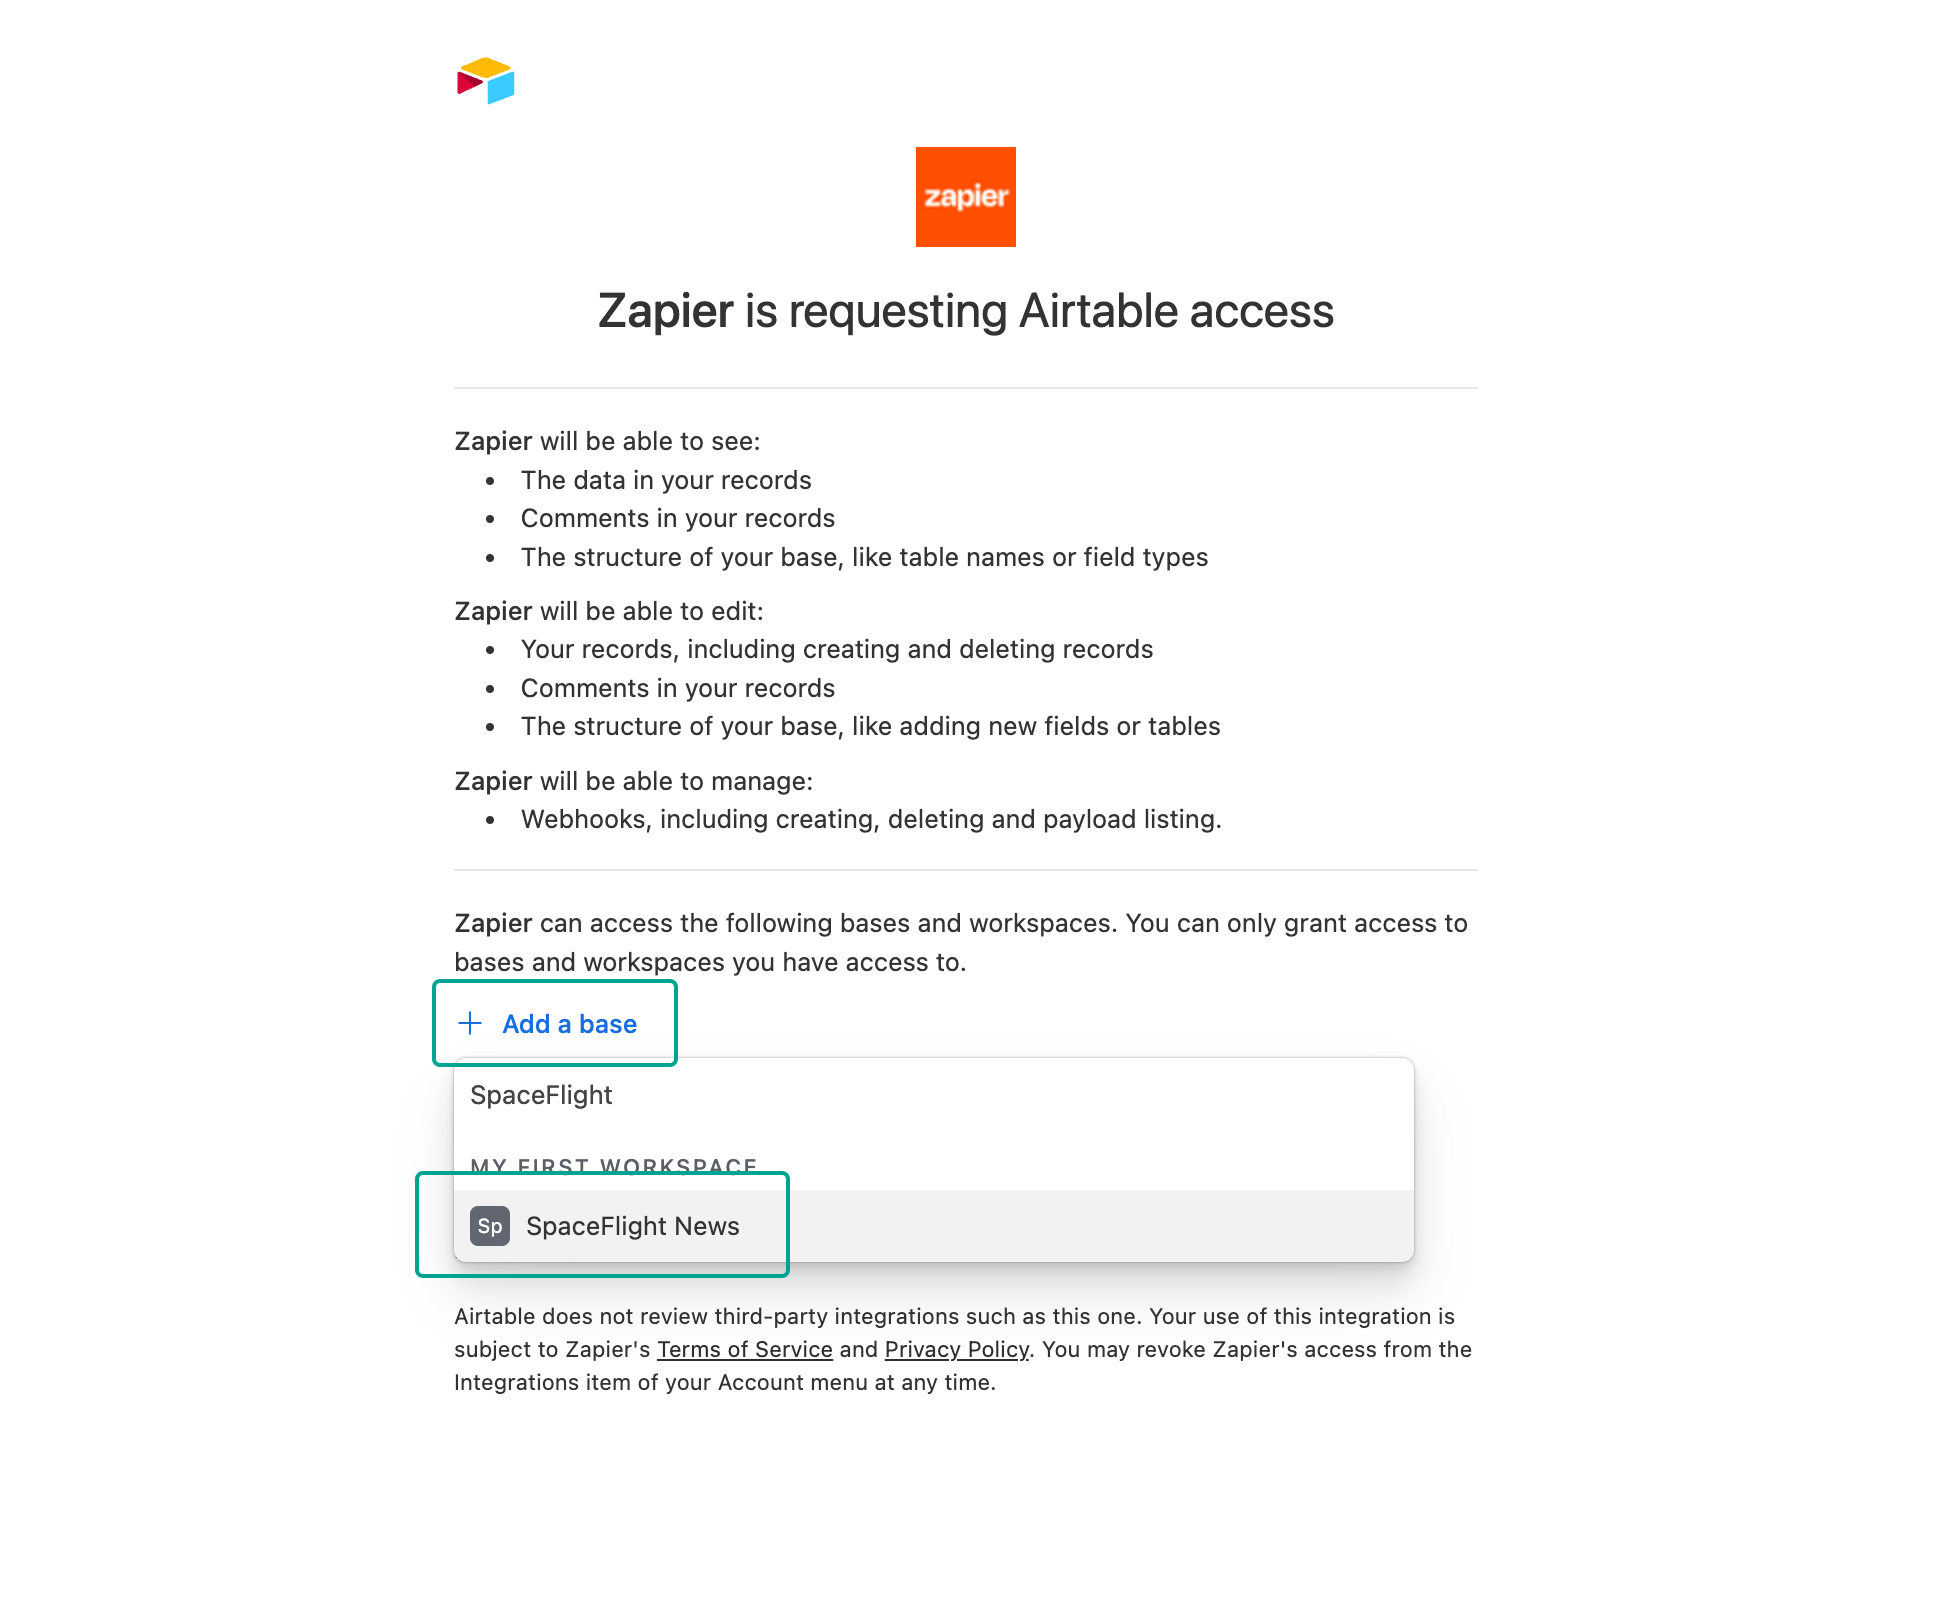
press Add a base
-
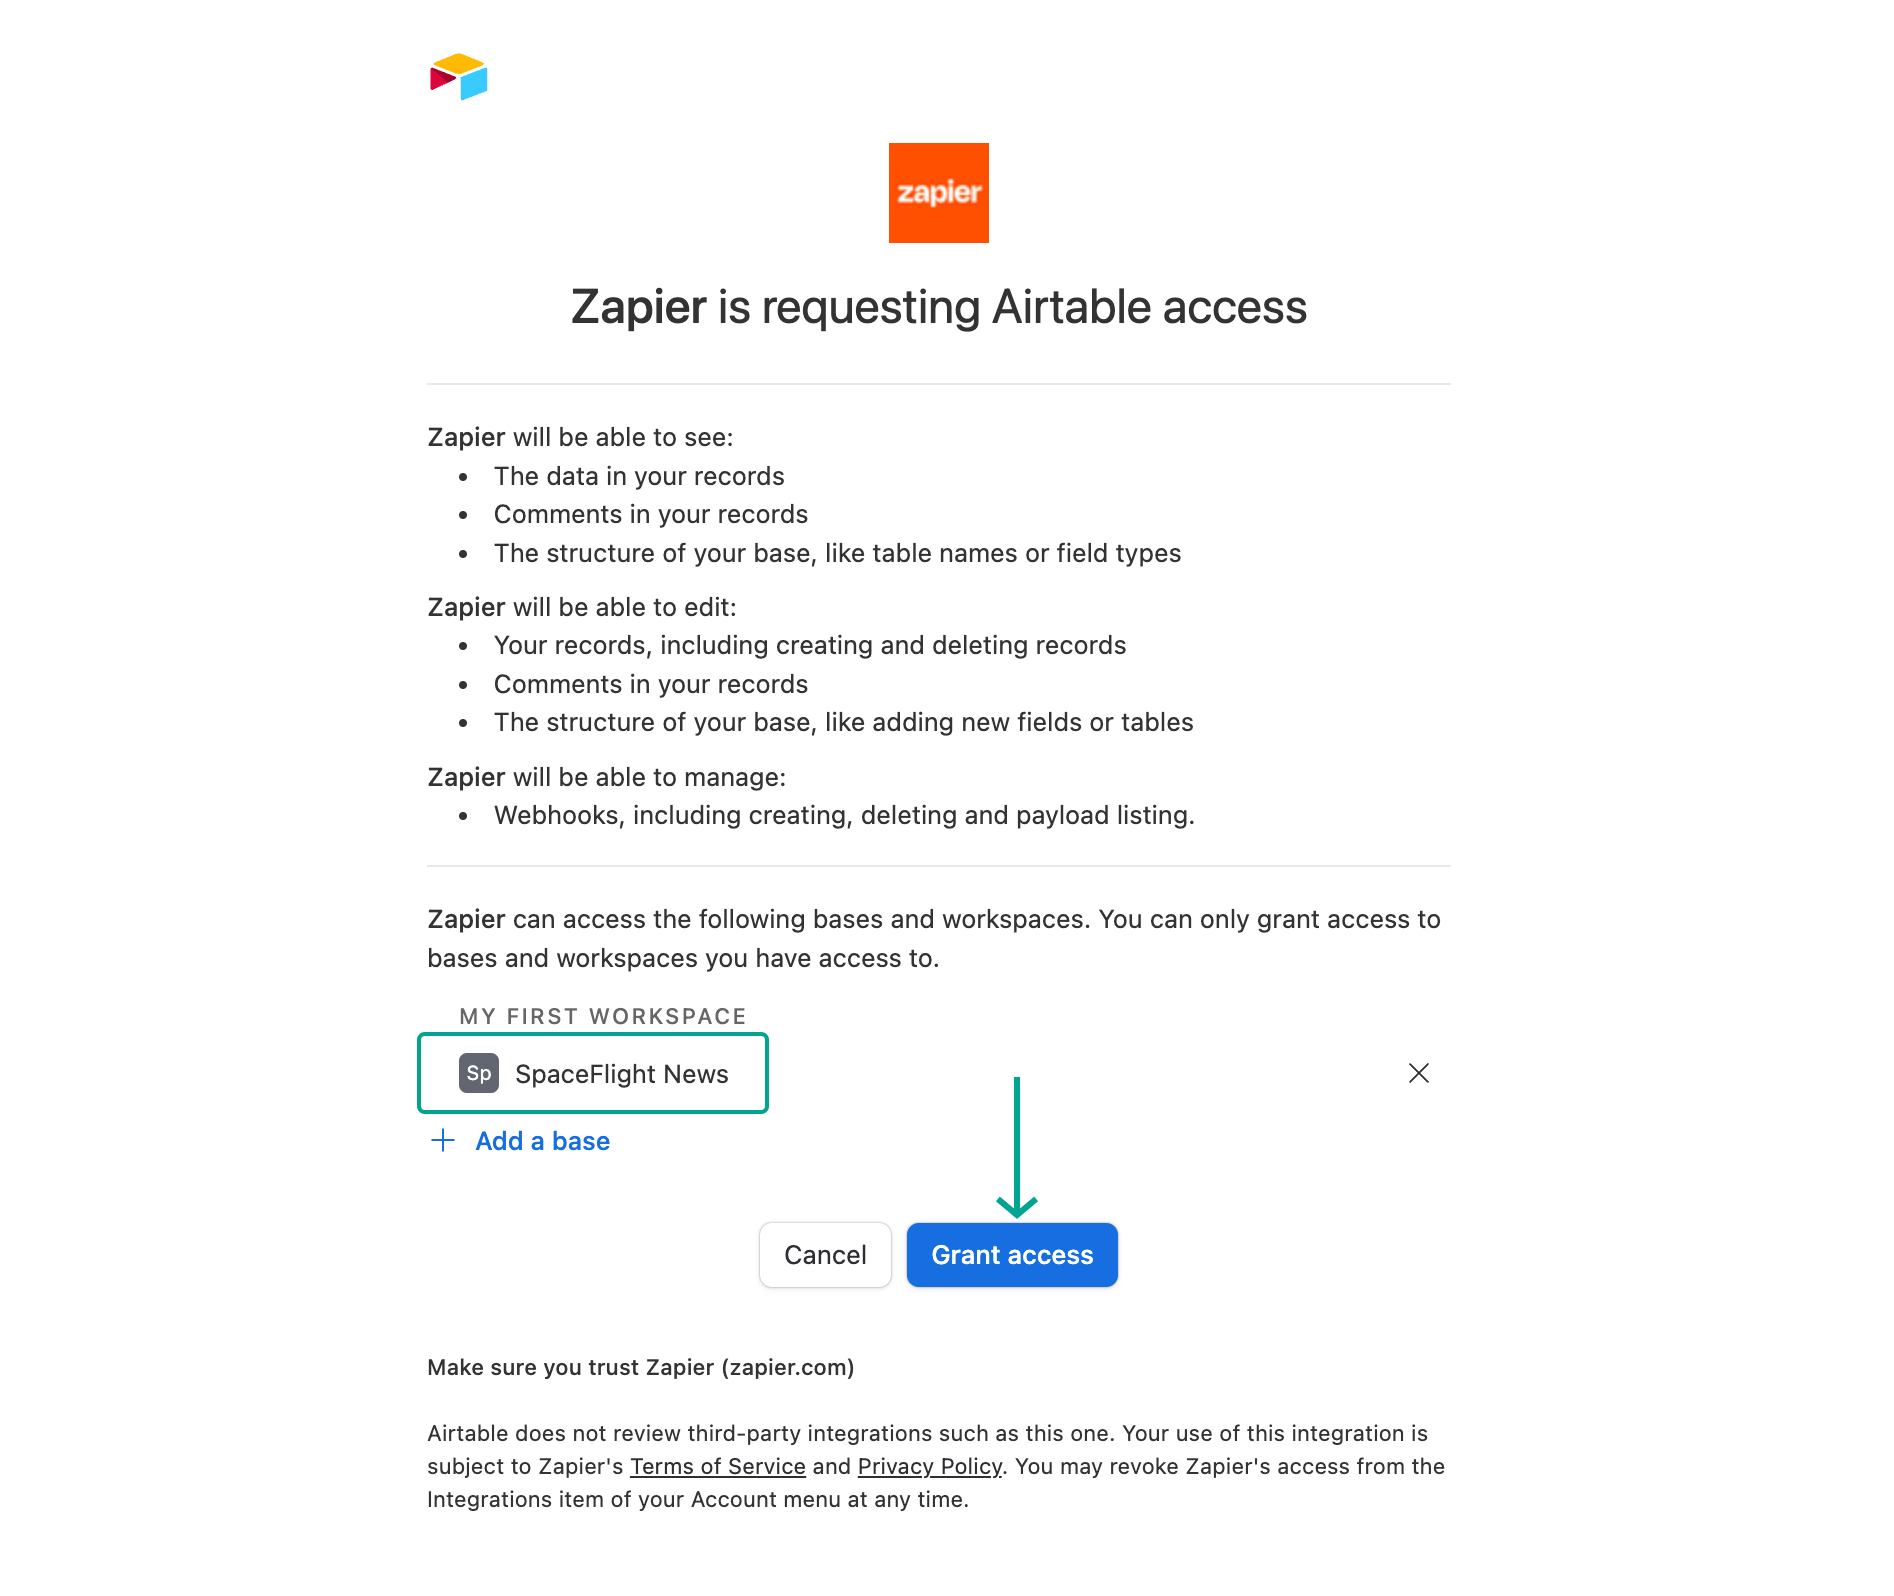
select the base you created earlier - e.g. SpaceFlight News.
-
authorize by pressing Grant access
-
-
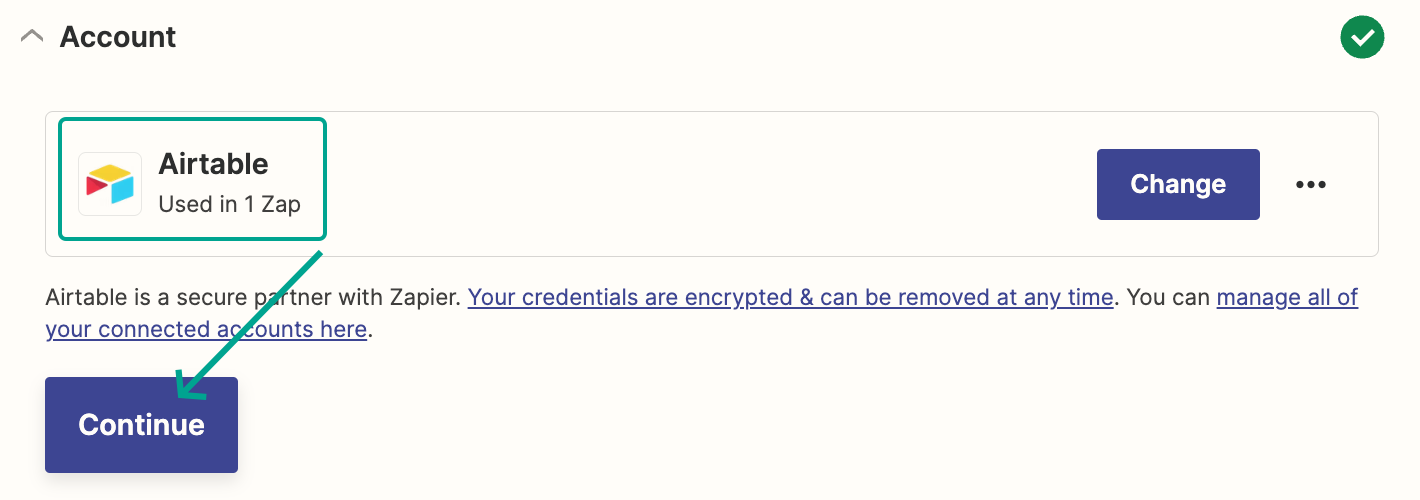
you should be redirected back to Zapier. Press Continue.
-
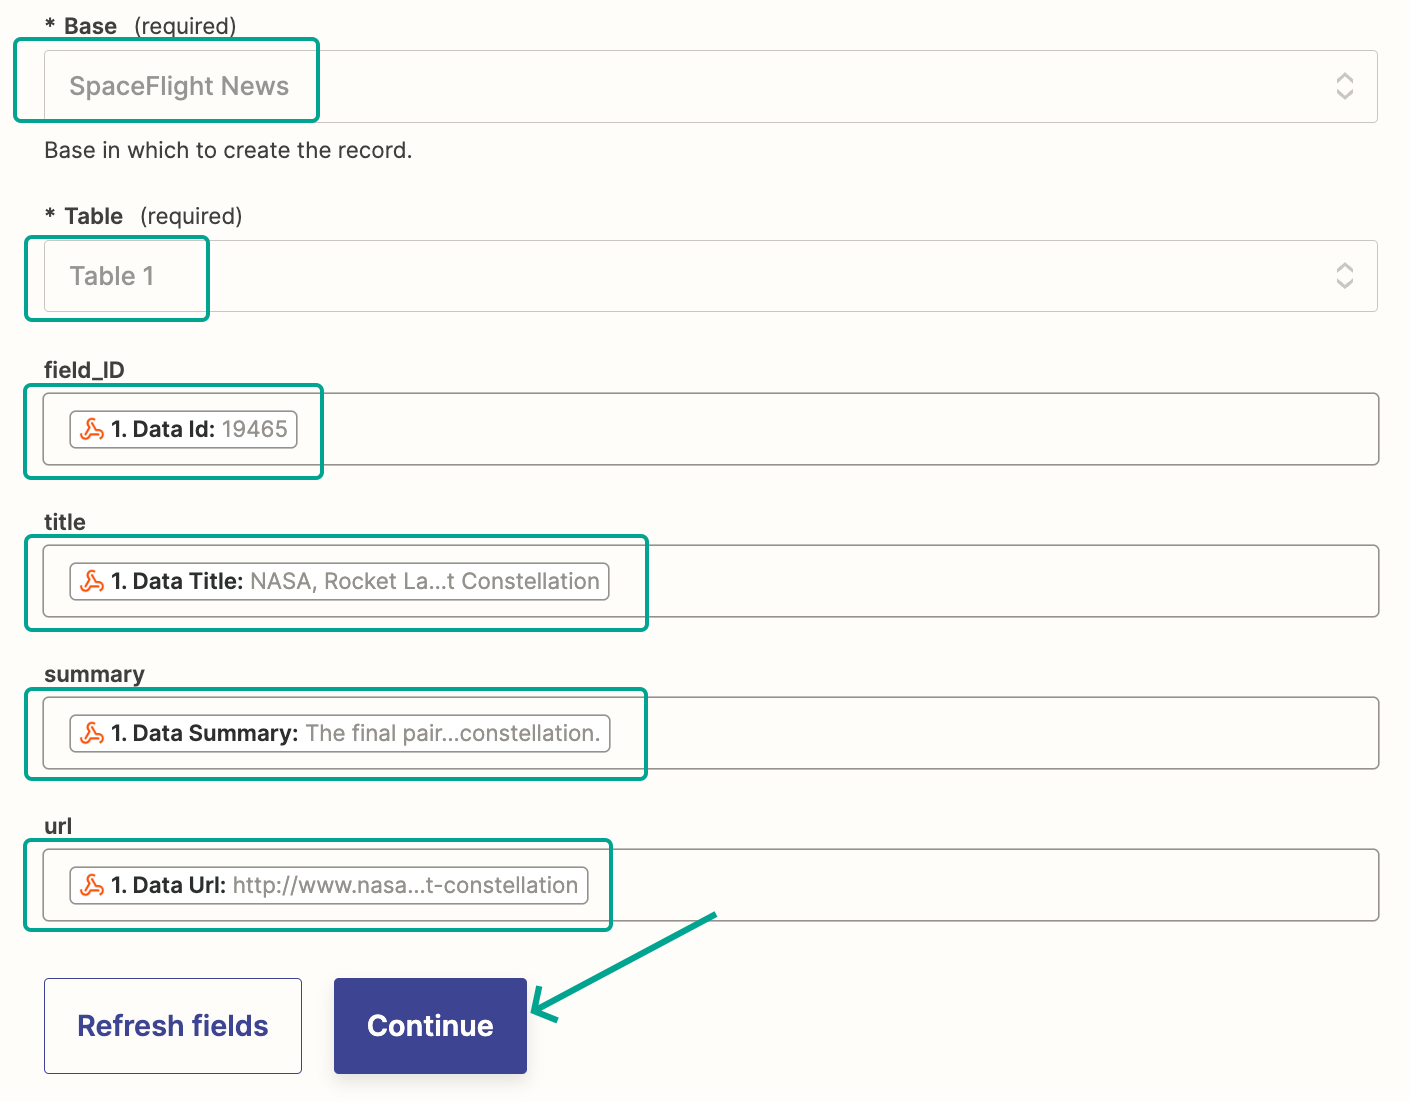
select the base - e.g. SpaceFlight News.
-
select the table - e.g. Table 1.
-
configure the data that goes in the table
- match each table field with the data you want to send from Crontap, like shown below
-
press Continue.
-
press Test Action.
- you should see a confirmation.

-
Press Publish
That's it! Next time the schedule runs, you should get a new entry in your Airtable table. 🎉

Final notes
To keep this tutorial simple, we didn't go into detail on how to handle:
-
a Crontap schedule that returns e.g. a list of articles.
-
how to handle a failure in one of the schedules
-
how to ensure that there are no duplicate entries in Airtable
We'll dive into each of those topics in future guides.